This tutorial guides you through installing and using Certbot from behind a Cloudflare reverse proxy – without using snap packages as the EFF’s own documentation would instead have you do. While I understand why they’d choose to distribute the software using a “platform agnostic” format, I – like many others – am not particularly a fan of snap packages.
In fact, Ubuntu’s support for snap is one of the reasons why I prefer Debian over it. Whenever possible, I will choose software from native repositories or another package format before I’ll resort to installing via snap. I’m certain I’m not alone in this sentiment.
This tutorial is written for Debian / Ubuntu based systems as well as Fedora based systems.
Prerequisites
There are a few things you’ll need to have in advance to complete this tutorial.
- You need a domain / subdomain. If you haven’t already registered a domain and need a registrar, I highly recommend Namecheap (affiliate) as an affordable registrar. Every domain includes the option for free private registration – nobody wants to get harassed because their domain info is public and you shouldn’t have to pay extra for the privilege.
- You need to know how to configure DNS for your domains / subdomains.
- You need somewhere to host your server – either in your own network or in the cloud. If you’re in need of a cloud server, I can personally recommend both Linode (affiliate) and DigitalOcean (affiliate) as quality service providers.
Software Installation
Installing the necessary software from the native repositories is a heck of a lot easier than following the EFF recommended method of removing pre-existing Certbot packages, installing snapd, configuring snapd, and then installing the software via snap.
Debian / Ubuntu
sudo apt install certbot python3-certbot-dns-cloudflare nano -yFedora
sudo dnf install certbot python3-certbot-dns-cloudflare nano -yThat’s it – a single command. So much simpler.
Cloudflare Credentials
With the software installation complete, you’ll next need to setup a credentials file with a Cloudflare API token to allow Certbot to function with your Cloudflare account.
Create Your API Token
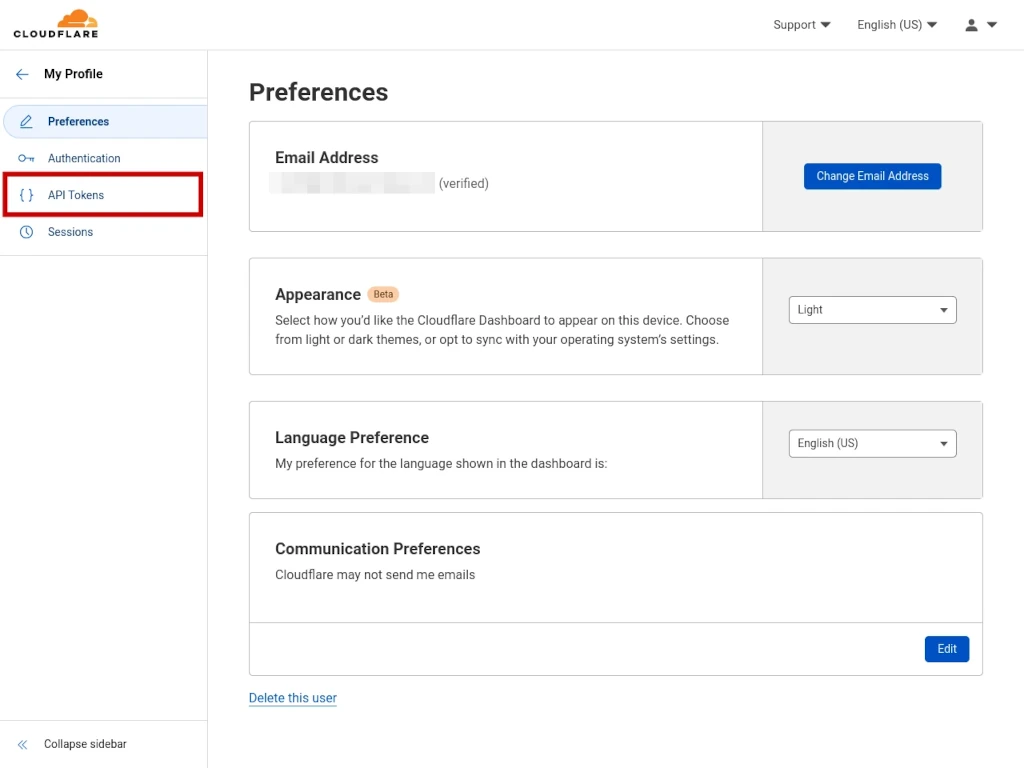
To create your API token, beginning from your profile page, click on API TOKENS on the left.
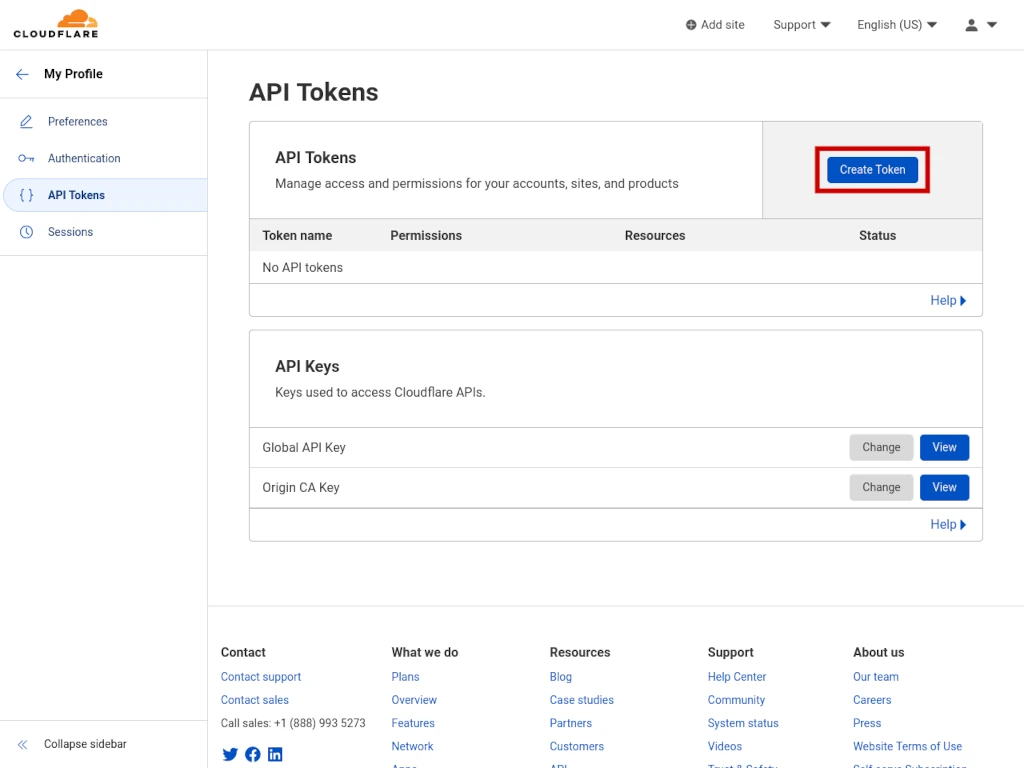
On the API TOKENS dashboard, click the blue CREATE TOKEN button.
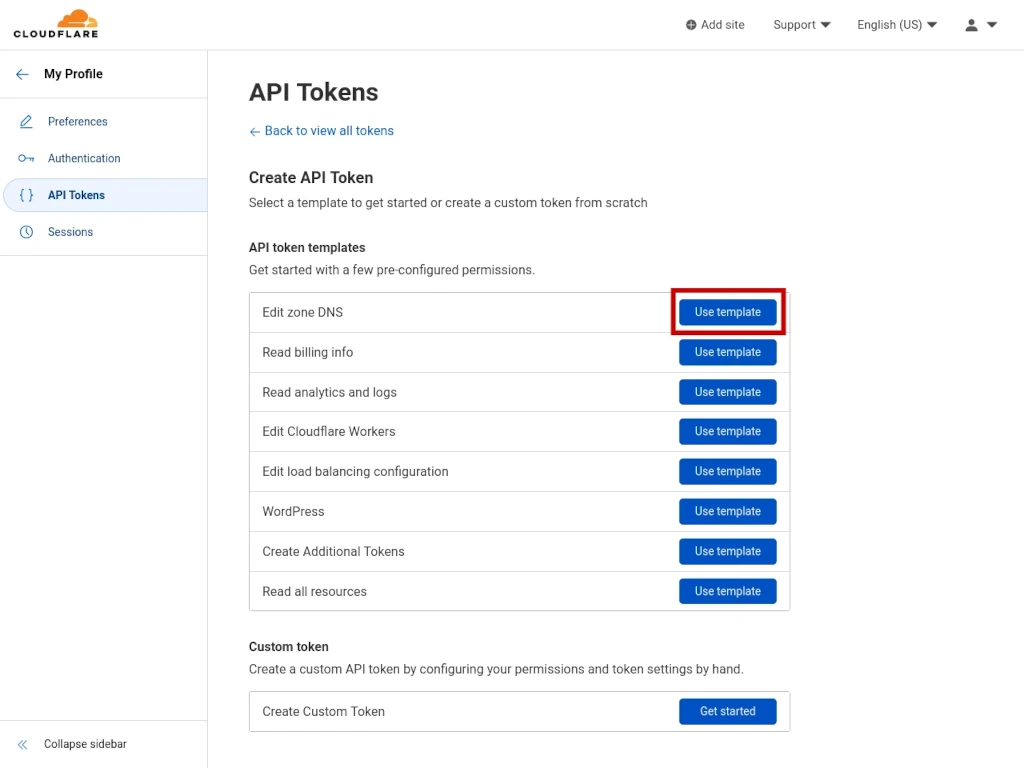
Next, click the blue USE TEMPLATE button next to EDIT ZONE DNS.
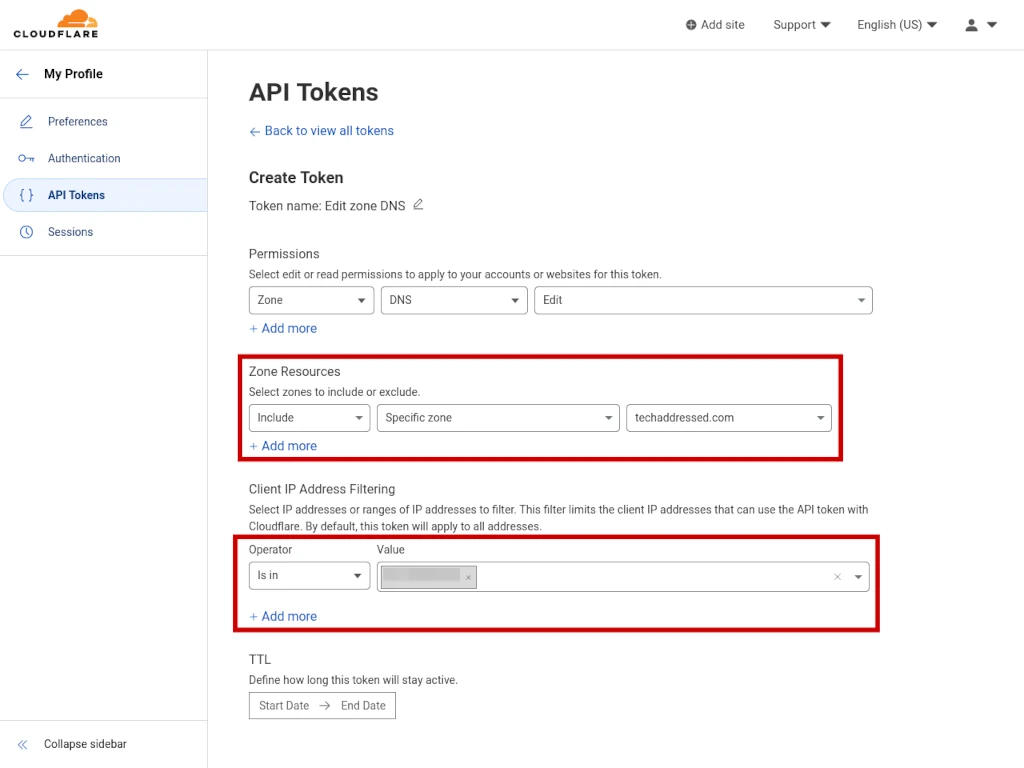
Now you need to configure what resources your token will allow access to as well as the IP address that token is allowed to be used by. I highly suggest keeping this list to only the domains you absolutely need to give it access to. You can always come back in and edit the token to add additional domains in the future if needed.
Under ZONE RESOURCES, select INCLUDE then SPECIFIC ZONE then select a domain you are granting your token access to.
Under CLIENT IP ADDRESS FILTERING, select IS IN for the operator then enter your server’s IP address under value. If you’re deploying Certbot on a local network behind a firewall, be sure you use the network’s public IP address.
After you’ve entered the necessary information, click the blue CONTINUE TO SUMMARY button – not shown on screenshot.
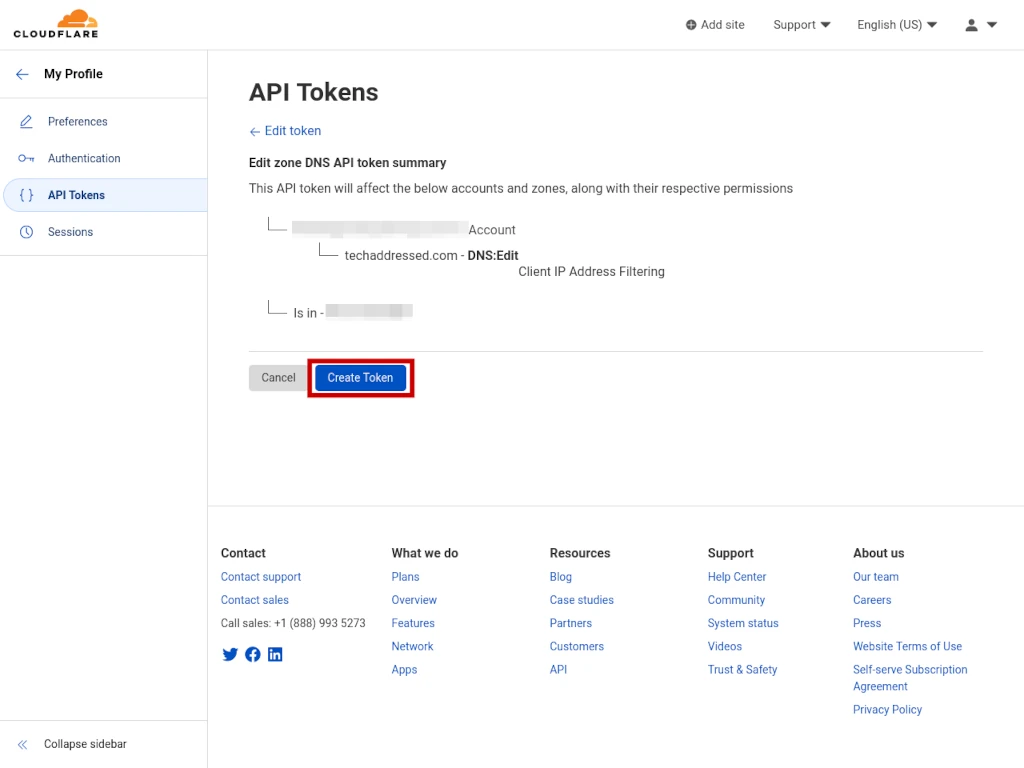
You now have a chance to review the token information before creating the token. If everything looks correct to you, click the blue CREATE TOKEN button.
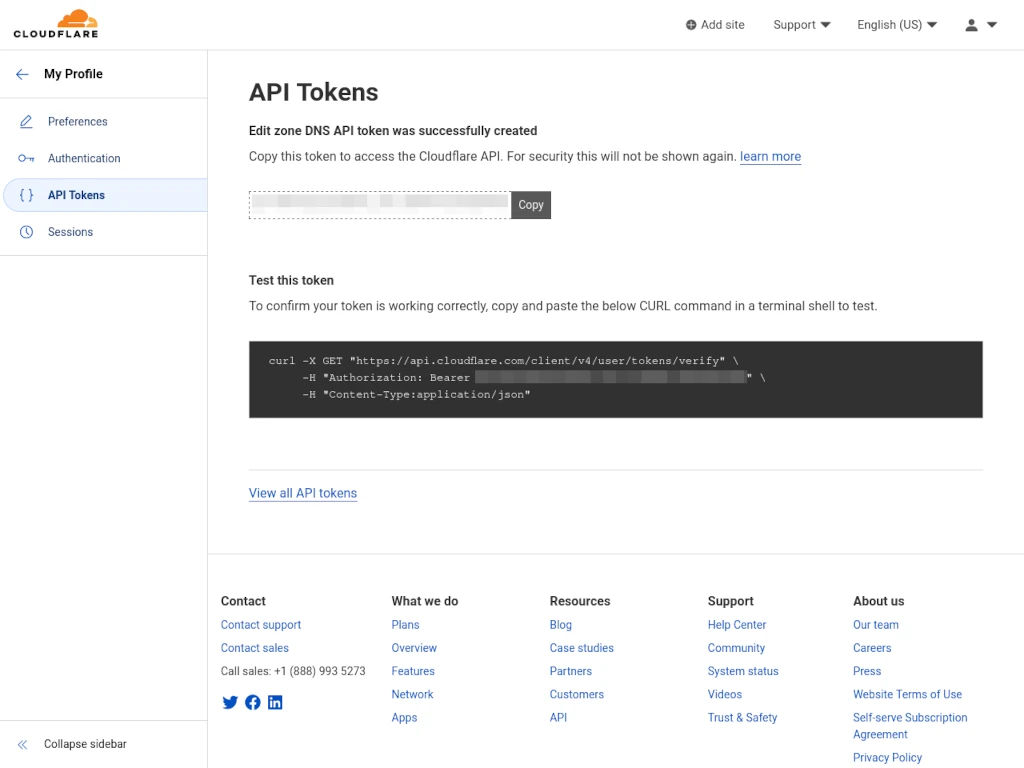
Your API token has been created. You’ll need this string of characters to create your credentials file. Do not browse away from this page without making a copy of the token, however, as Cloudflare will not display it to you again if you lose it. If that happens you’ll need to delete the token and create a new one.
Create Your Credentials File
On your server, we’re going to create a directory to store your Certbot credentials file with your Cloudflare API token.
sudo mkdir /etc/certbotInside this directory, create your credentials file using the NANO editor:
sudo nano /etc/certbot/credentialsThe contents of your credential file contents should look this example – be sure to replace the example token with your actual token:
dns_cloudflare_api_token = abcdef0123456789abcdef0123456789abcdef01To exit nano and save your file, press CTRL + X on the keyboard and when prompted press Y to save.
Now, to keep the credentials file safe you need to change its permissions:
sudo chmod 600 /etc/certbot/credentialsObtaining A Certificate
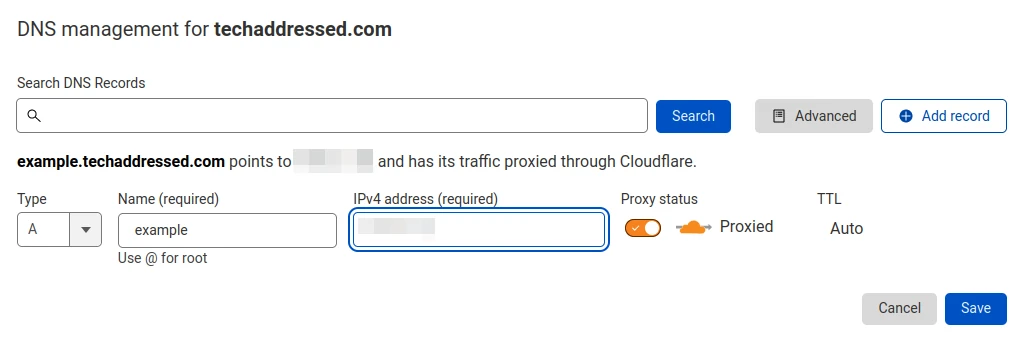
For this tutorial, let’s assume we need to obtain a certificate for the domain example.techaddressed.com.
To generate your certificates, you’d execute this command from your server’s terminal:
sudo certbot certonly \
  --dns-cloudflare \
  --dns-cloudflare-credentials /etc/certbot/credentials \
  -d example.techaddressed.com
Here, we’re specifying to Certbot that it needs to communicate with Cloudflare and where to obtain the credentials file we created. Lastly, we specify which domain we’re creating the certificates.
If you are looking to create certificates that work with multiple domains – such as a root domain and the www subdomain – you simply add the second domain to the command:
sudo certbot certonly \
--dns-cloudflare \
--dns-cloudflare-credentials /etc/certbot/credentials \
-d techaddressed.com \
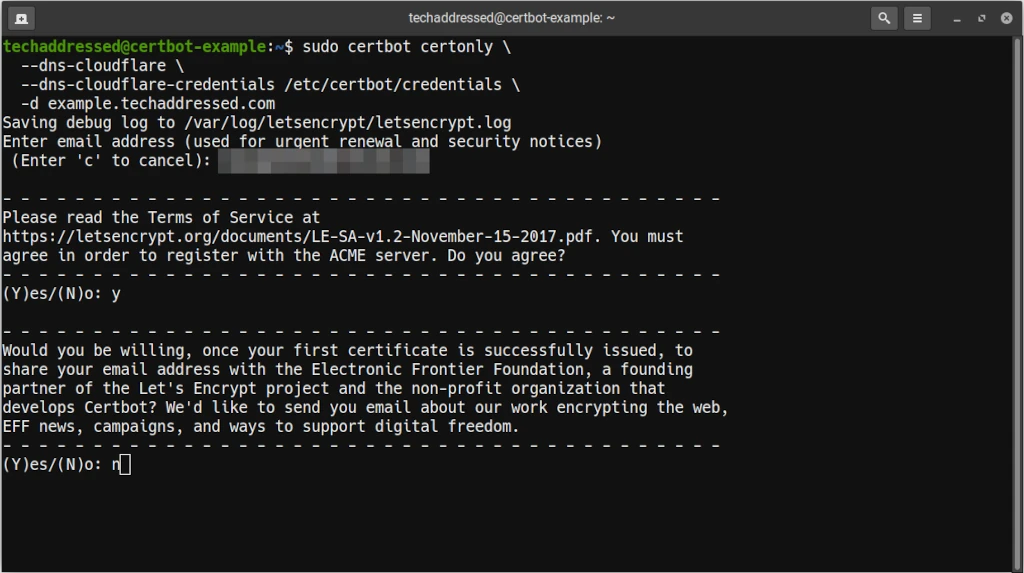
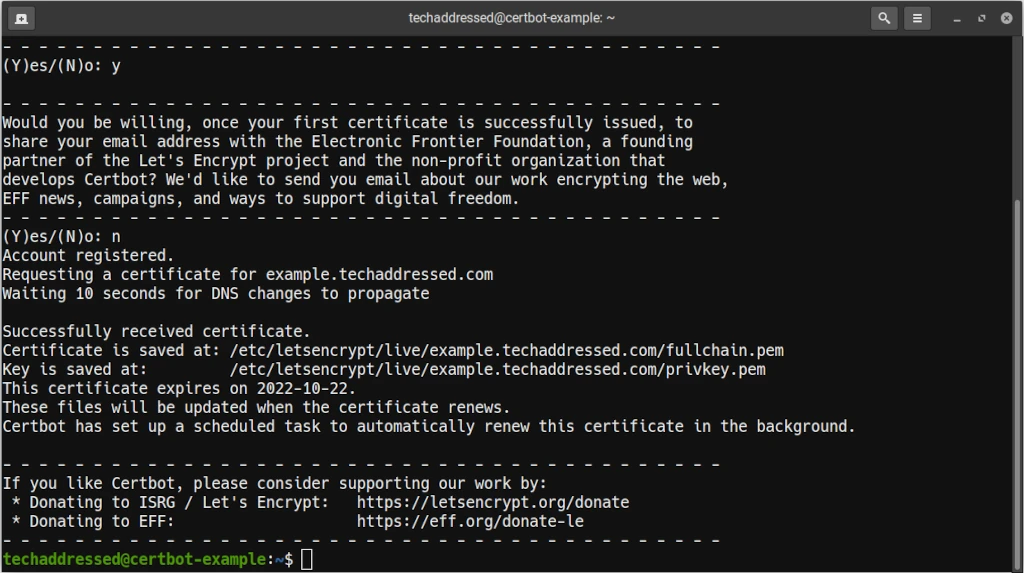
-d www.techaddressed.comWhen requesting a certificate, Certbot is going to prompt you for some information the first time you run it such as your email address, then to accept the terms of service, and lastly if you’d like to sign up for the EFF’s email list.
When your certificate has been created successfully, your results should look similar to this. Note that Certbot tells you the full path to both the certificate and key files so you know where to access them.
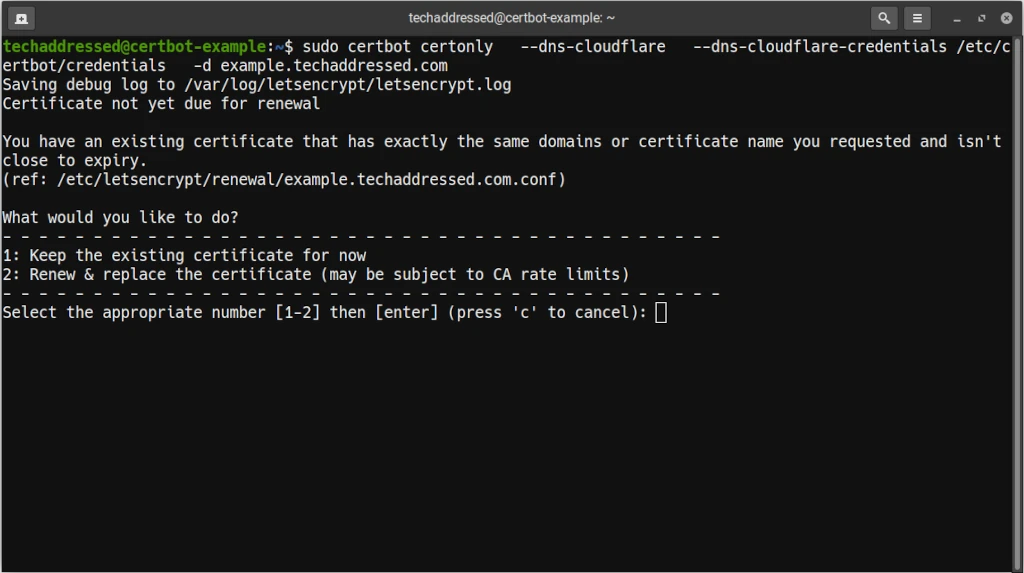
Lastly, Certbot will automatically update your certificates before they expire. If, however, you wish to update them yourself you can always run the same command as you did to generate the certificate initially and it will prompt you if you want to leave the existing certificate in place or if you’d like to generate a new one.
Conclusion
You should now be able to request certificates from Certbot from behind a Cloudflare reverse proxy. As always, if you have questions regarding this tutorial, please don’t hesitate to ask in the comment section below. I’m always willing to help explain something better if needed.
If you found this tutorial helpful and would like to support our efforts to create additional resources like this, please consider making a donation. Your support is greatly appreciated! Thanks for reading and I hope you visit again soon!