This tutorial details the steps necessary (and a few optional ones) for installing Pi-hole to your device or virtual machine running either Debian or Ubuntu – these instructions should work fine with either option. At the time this tutorial was last edited, the current version of Debian is 11 and the current version of Ubuntu Server LTS is 22.04. While for a time Ubuntu 22.04 was not officially supported by Pi-hole, those problems have been resolved.
This article is part of my Pi-hole series. Be sure to check out the other articles in this series for additional information.
Pi-hole Series Index
- What Is Pi-hole & Why Would You Want To Use It?
- Installing Pi-hole On Debian / Ubuntu Servers — You Are Here
- Installing Pi-hole Using Docker
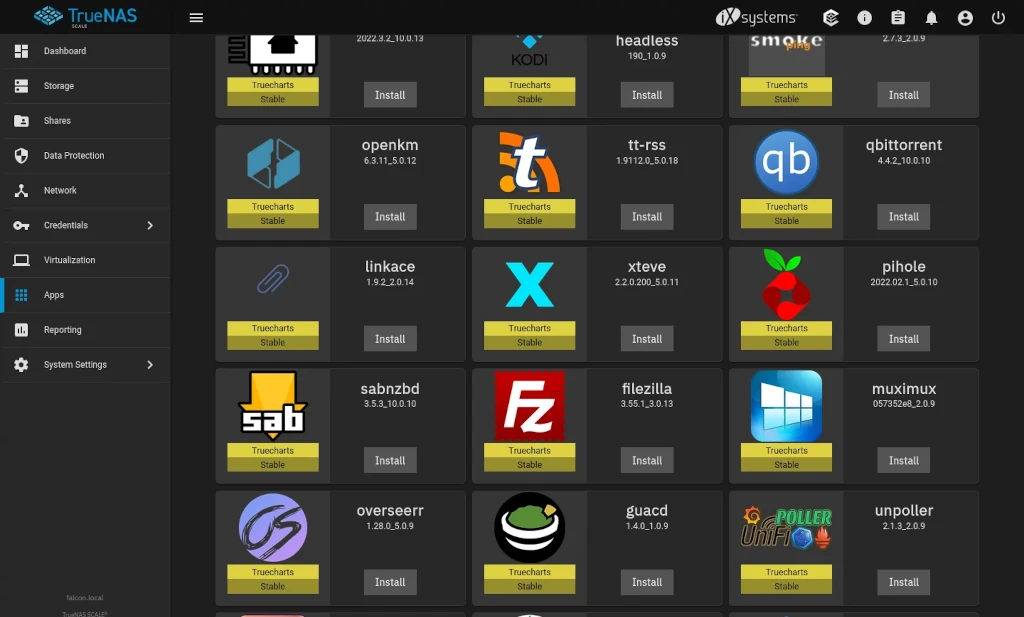
- Installing Pi-hole On TrueNAS Scale
- Basic Pi-hole Configuration
- Using Gravity Sync To Sync Multiple Pi-hole Instances
- Advanced Pi-hole Config: Recursive DNS With Unbound
- Using Pi-hole Local DNS And Why It’s Important In Your Homelab
Before We Begin
A few things we need to address before we begin.
Where To Install
First, you’ll need to have somewhere to install the Pi-hole software to. As the name implies, Pi-hole was designed with the idea of running it on an inexpensive Raspberry Pi system. Whether you choose to run your system on dedicated hardware like a Raspberry Pi or in a virtualized environment is up to you – both work just fine.
Going through the process of getting this server running is outside of the scope of this tutorial. It assumed going forward that you have a system ready for configuration / software installation.
A note about installing to a server in the cloud (outside of your private network) – It is absolutely possible to setup a Pi-hole to function on a server from a cloud provider such as Linode (affiliate) or DigitalOcean (affiliate), however, doing so properly requires additional firewall configuration / VPN configuration that is outside the scope of this tutorial.
A Note About Modern Browsers & DNS
Most modern browsers have the ability to use what’s called DNS Over HTTPS. While, generally speaking, this is a great feature, depending on how it’s configured it might skip your device’s configured DNS settings. This means, if you’re using a Pi-hole for your DNS, your browser might not be making use of it – negating it’s usefulness. I’ve written a post “DNS Over HTTPS – Everything You Need To Know” to help you sort out these settings.
Network Settings
As part of this tutorial, you’ll need to be aware of the settings required for your own network. You’ll want to have planned what static IP address your Pi-hole will use as well as what netmask, gateway, and dns servers to use. There are examples of these settings used in this tutorial. Be sure you change the values used with the values necessary for your needs.
1 – Package Installation
We’ll begin by making sure that everything on the system is fully updated and then install any packages we need for the project.
sudo apt update && sudo apt upgrade -yYour system may have some of these packages installed already, but it doesn’t hurt to run the command with them included just in-case they aren’t.
sudo apt install ssh ufw ntp curl nanoWhen you run this command you’ll see output that looks roughly like this. Press Y then enter to continue.
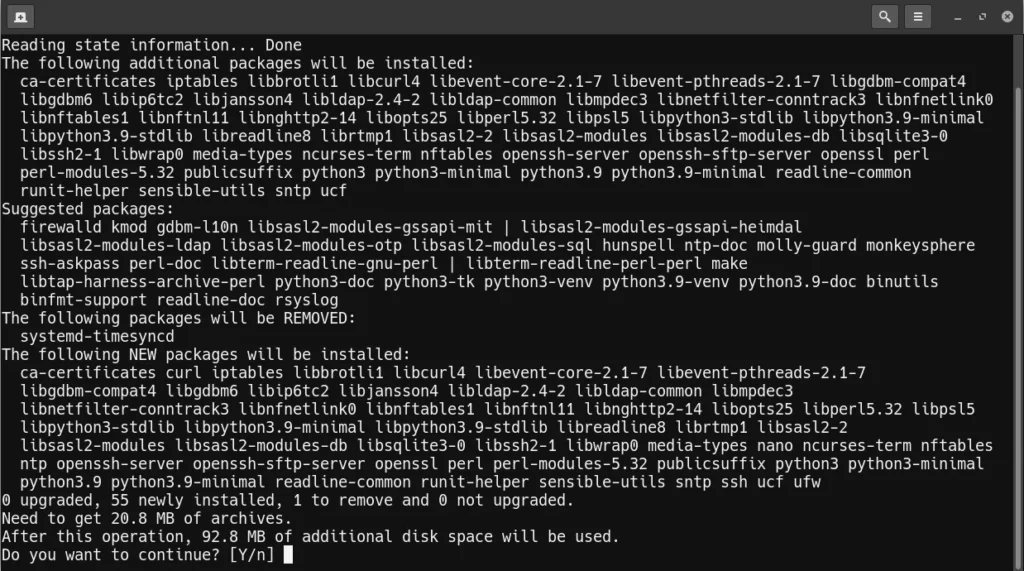
A little about these packages …
- SSH – Secure Shell – for the purposes of being able to easily remote into the Pi-hole operating system. For the purposes of this tutorial, we’re leaving the default SSH configuration in place.
- UFW – Uncomplicated Firewall – used to restrict the ports that can be used to access this server.
- NTP – Network Time Protocol – syncs the computer clock with internet based time servers / installed as a best practice for keeping accurate server logs.
- CURL – Client URL – used by the Pi-hole’s installation command to retrieve the installer script from their servers.
- Nano – editor we’ll be using in this tutorial for modifying configuration files. If you prefer another editor, such as vim or emacs, you may use those editors instead. For the purposes of a tutorial, however, it’s easier to demonstrate using nano.
Once the packages have installed, we can move on to configuring your server’s networking.
2 – Network Configuration
The only difference in this tutorial between installing on Debian vs Ubuntu is in how to configure networking. I’ve written tutorials specific configuring networking for Debian and also for Ubuntu if you don’t know already how to configure your system for a static IP address.
Once you’ve completed configuring your system with a static IP address, you can continue with your Pi-hole installation.
3 – Pi-hole Installation
There’s three ways we can go about installing Pi-hole – the easy way / the easier way / the not-as-easy way. I’m going to show you the easy and easier way here – starting with the easier way.
The Easier Way
The easier way consists of running a single command. This command pulls the full install script down from Pi-hole’s servers and runs the install.
curl -sSL https://install.pi-hole.net | sudo bashIt’s good advice, generally speaking, for security purposes to not run random scripts directly from the internet – at least not without actually being able to examine the script itself. This brings us to the easy way …
The Easy Way
The easy way of installing Pi-hole is to manually download the same script the command above uses and then run it. You might choose this method if you wish to examine the script used in the easier way to ensure that it’s not doing anything you don’t want it to do. I’ve run the install script numerous times, myself, without incident but it’s up to you to decide which method you prefer. The easy way, requires an additional package that we didn’t install earlier – wget. I’ll include the command to install it with the rest of the commands for the install.
sudo apt install wget -y
wget -O basic-install.sh https://install.pi-hole.net
sudo bash basic-install.sh
Regardless of whether you choose the easy way or the easier way, once you start the install it will start off looking something like this …
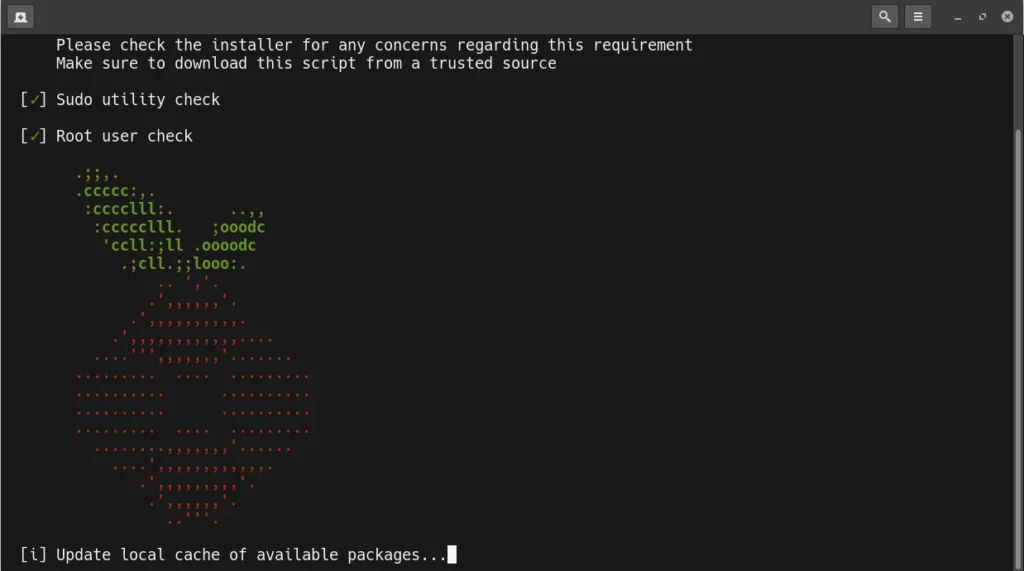
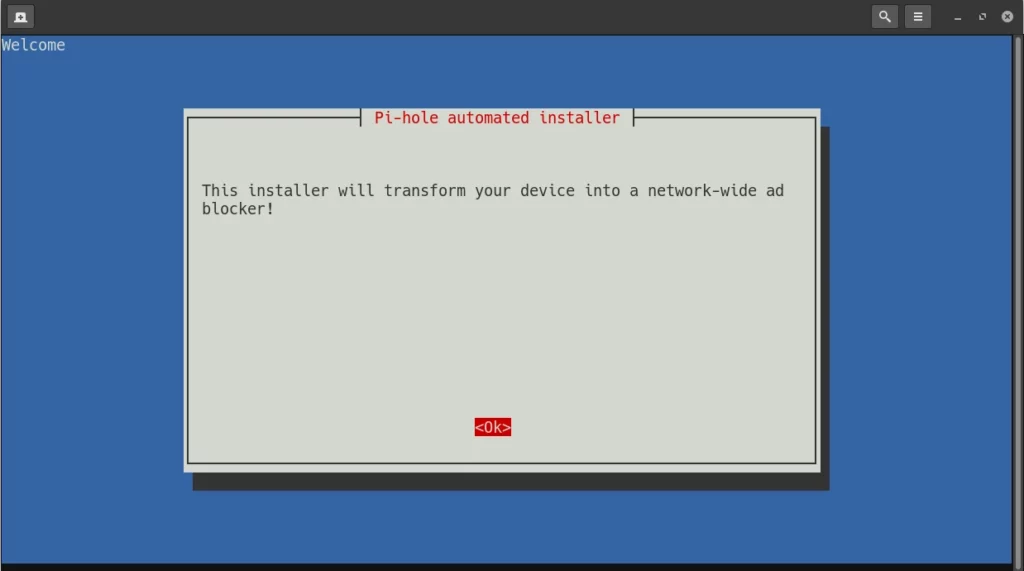
… and then take you to a Welcome Screen that looks like this. On your keyboard, press enter to continue.
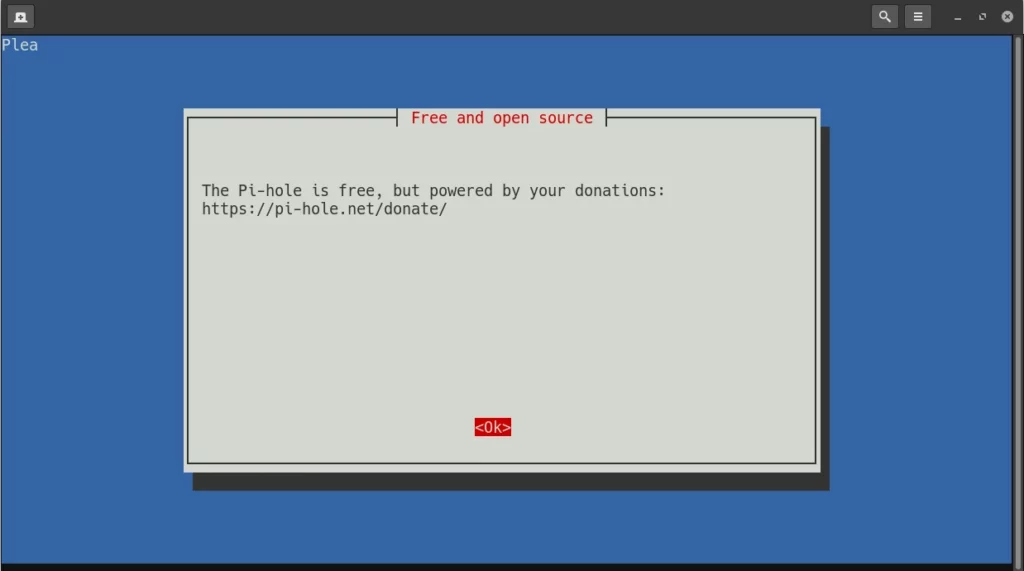
This leads you to a screen informing you that Pi-hole is open source software and provides you a URL where you can make donations to help fund its development. Press enter to continue.
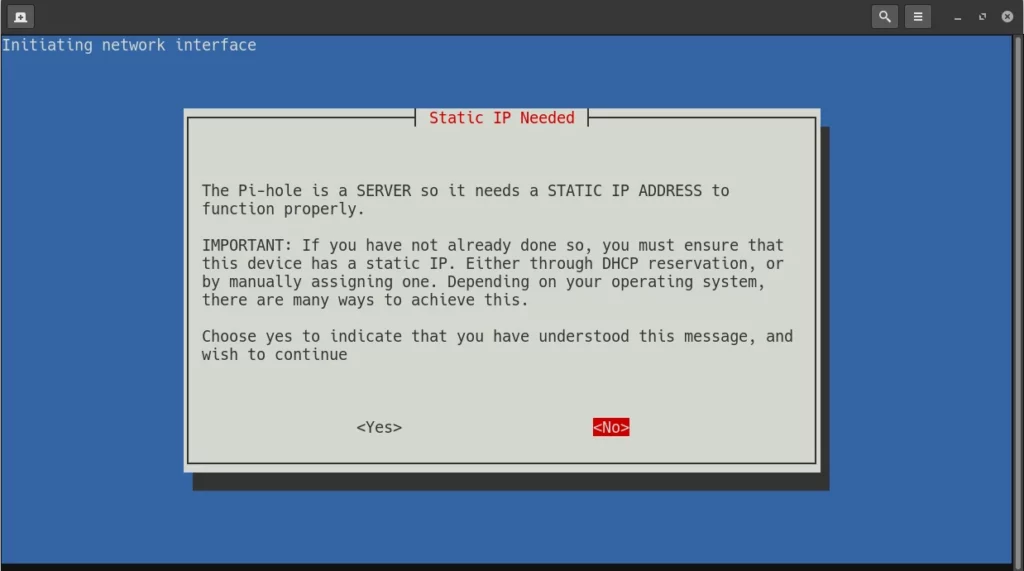
Next, the installer explains that a static IP address is required for Pi-hole to function properly. Arrow over to YES and press ENTER. If you need to go back and reconfigure your networking, you can choose NO here to do so.
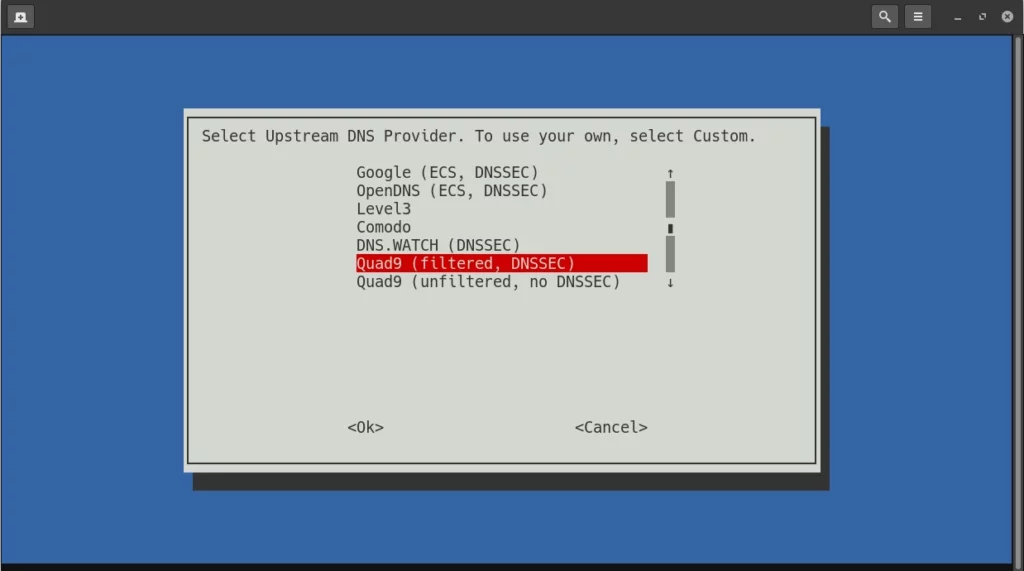
This is our 1st actual decision to make as part of the software installation – choosing your upstream DNS provider. I’ve highlighted my personal preference – Quad9 (filtered, DNSSEC). You can choose which ever provider you prefer. Once you’ve arrowed down to your selection, press tab on your keyboard to move the cursor and then mouse over to ok and press enter.
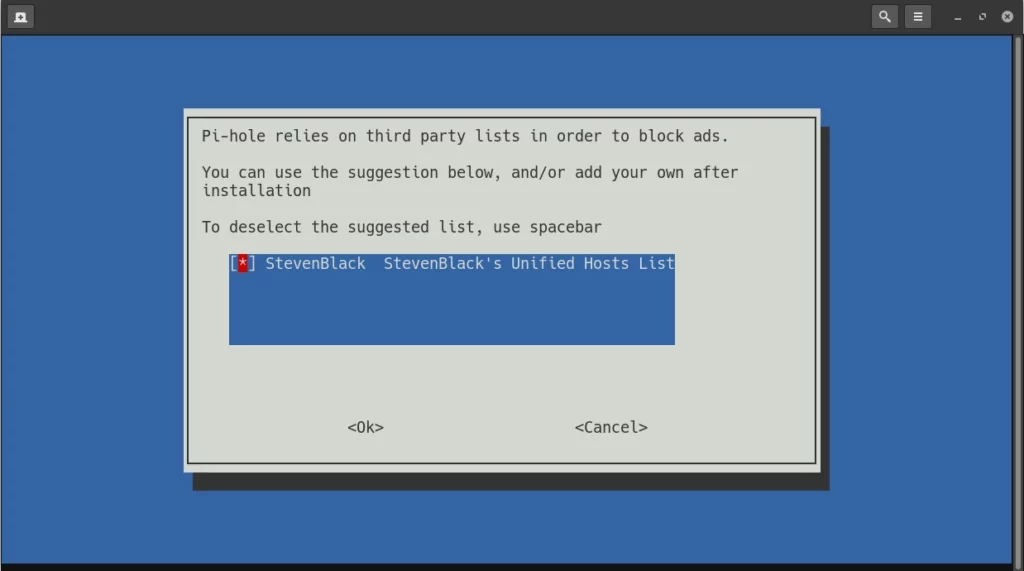
You’re next notified that Pi-hole relies on a 3rd party list of advertisers for use when blocking advertisements. If you do not wish to use this list, press space. If you’re fine with this leave it alone. Next press tab to move the cursor and then arrow to OK and press enter.
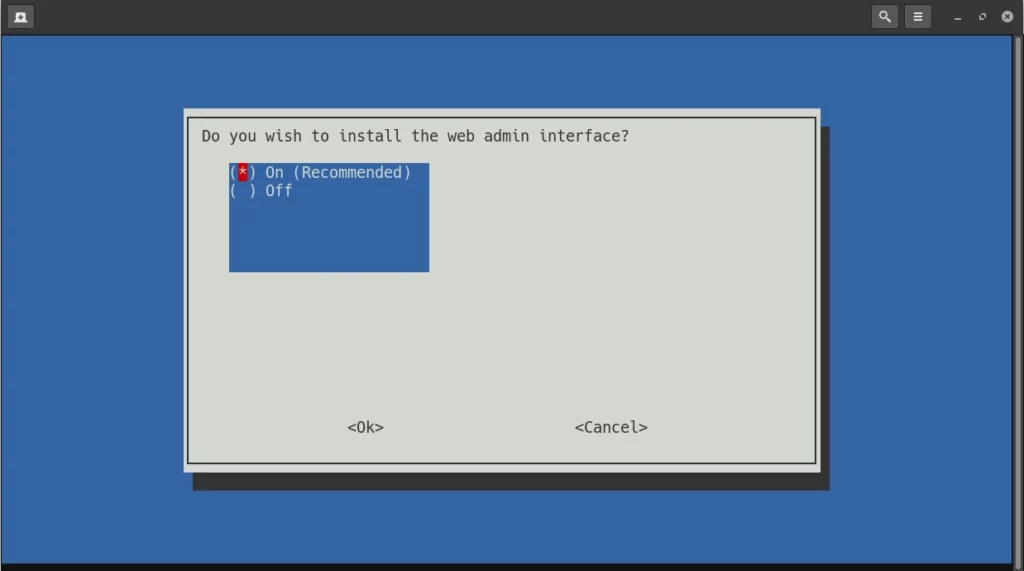
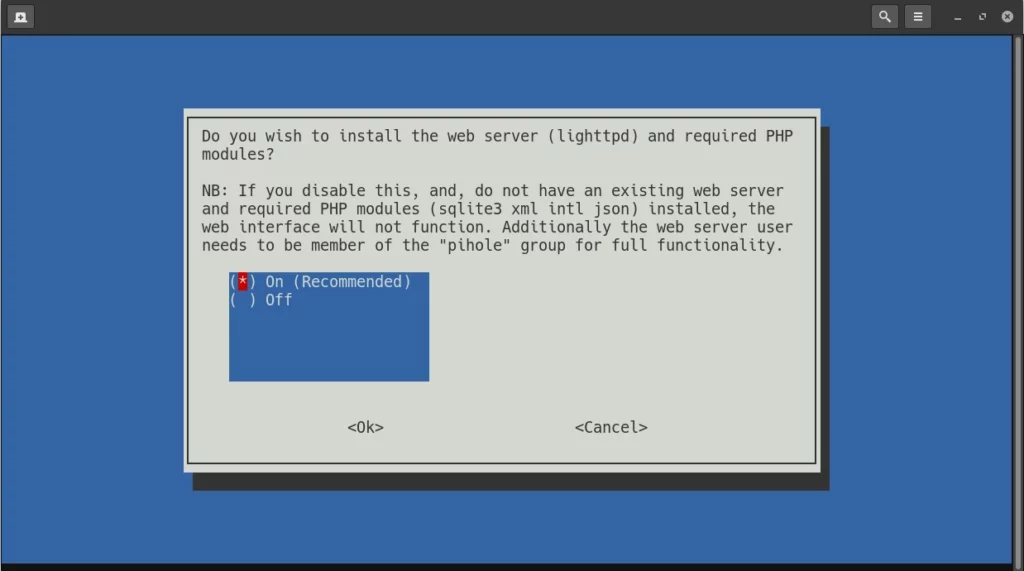
Now the installer needs to know whether you want to use Pi-holes web admin interface. Pi-hole can be controlled from a command line, however, it is MUCH simpler to manage from the web interface. It’s my strong recommendation to leave this option set to ON. Press tab on the keyboard then arrow to ok and press enter.
For the web admin interface to function, you will need web server software installed. Installing Pi-hole to use a web server that is already installed is beyond the scope of this tutorial. Leave the option set to on then press tab to move the cursor and arrow to ok and press enter.
Depending on how privacy conscious you are, you may not want your Pi-hole to keep logs of the DNS queries it makes – essentially a log of all the servers that the devices you configure to use your Pi-hole access. If you’re ok with Pi-hole creating logs, leave the option set to on otherwise arrow to off. Hit tab then arrow to ok and press enter. You can change this setting after install inside the admin panel should you choose.

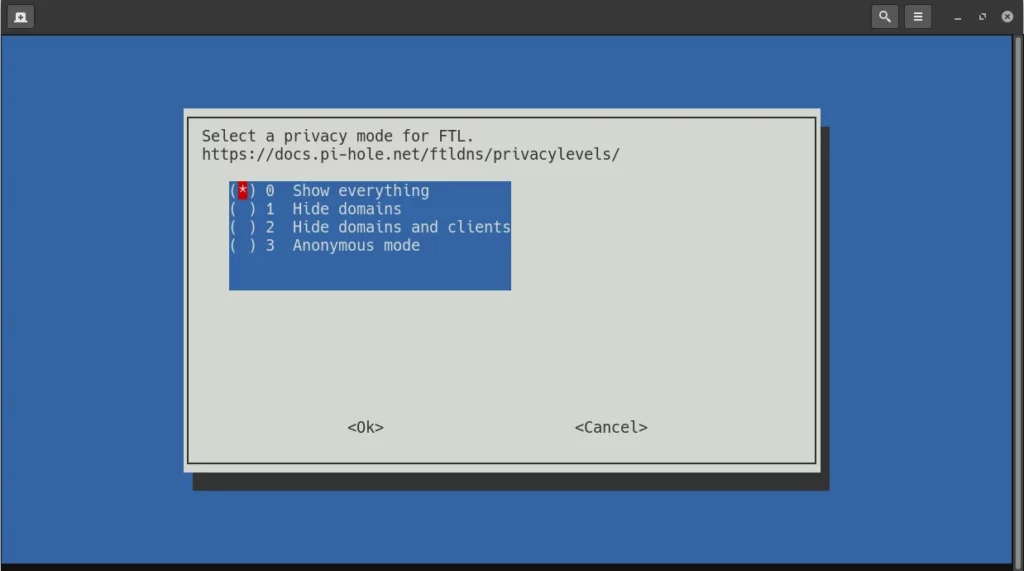
If you opted to enable logging in the previous screen you can now decide how much information gets logged. Your options are:
- Show everything – this is fairly self explanatory. All possible information is recorded in the logs.
- Hide domains – this option logs everything EXCEPT domain names.
- Hide domains and clients – this option logs everything EXCEPT domain names and which client has made a the request.
- Anonymous mode – this option disables everything except the most anonymous statistics.
Arrow to your choice and press space then tab and arrow to ok and press enter. This option can be changed later within the web admin interface should you change your mind later.
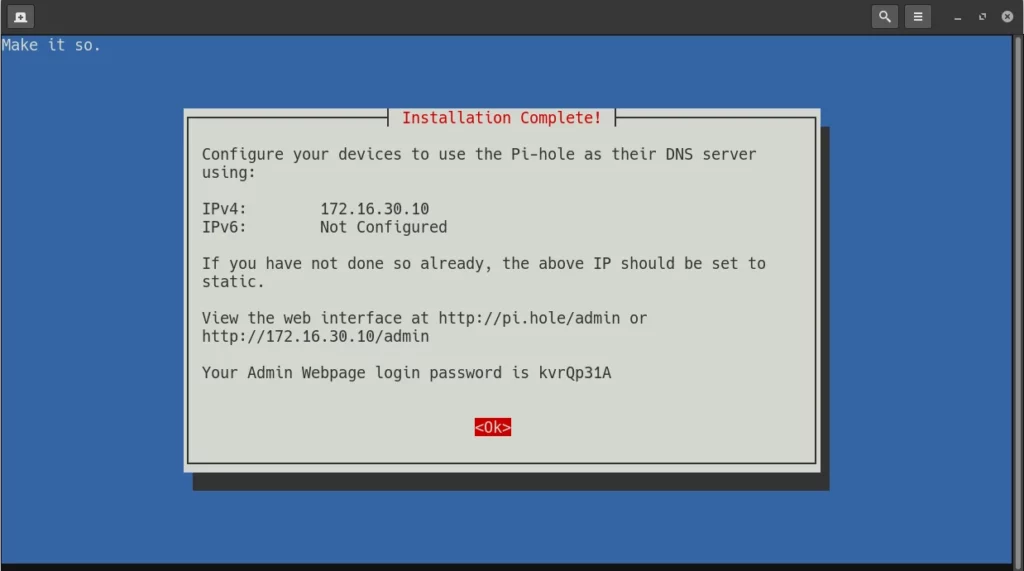
Your Pi-hole installation is complete, however, we have a few optional steps we can do before we use it. Note that Pi-hole gives you a URL to access your admin interface as well as a login password. Take down this URL and password. Press enter to finish.
4 – Optional – Change Password
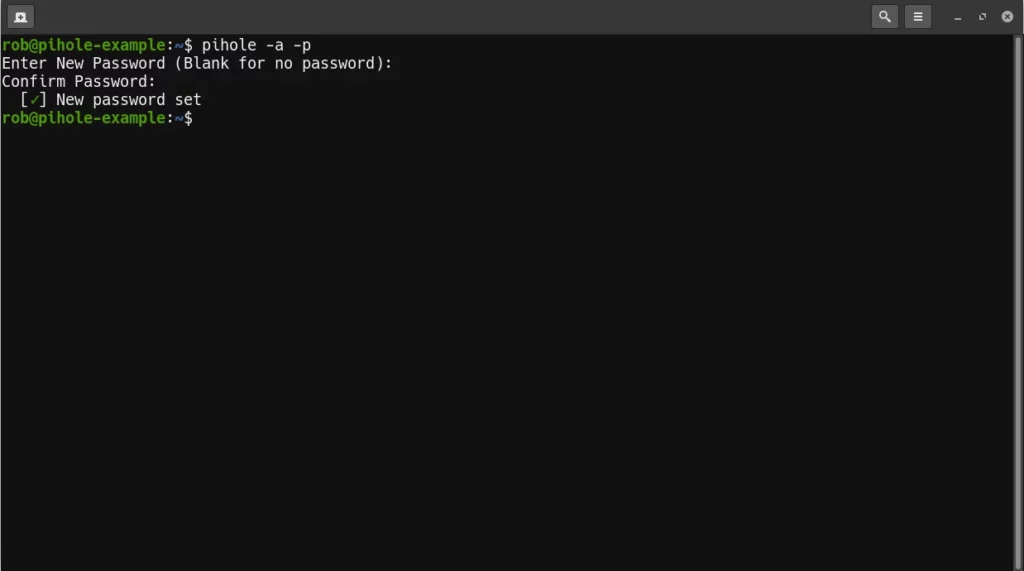
While the password that the Pi-hole installer generated is a fair password, if you’d like to choose your own password you can use this command to change it.
pihole -a -pYou’ll be prompted to enter a new password (or blank for no password – not recommended) and then to confirm it.
5 – Configure Pi-hole To Use Its Own DNS
Now that Pi-hole is installed we want to modify your server’s DNS settings to point to itself instead of the 3rd party setting we initially used in our network settings. To do this, edit your network settings like we did earlier in this tutorial and change the DNS nameserver value to 127.0.0.1 then restart networking / apply the new netplan settings for the change to take effect.
Note For Debian Servers
If your Pi-hole is running on Debian and your system is configured with a static IP, you’ll also want to edit the file /etc/resolv.conf as part of pointing the system to use its own DNS.
sudo nano /etc/resolv.confChange whatever the existing IP address is to 127.0.0.1.
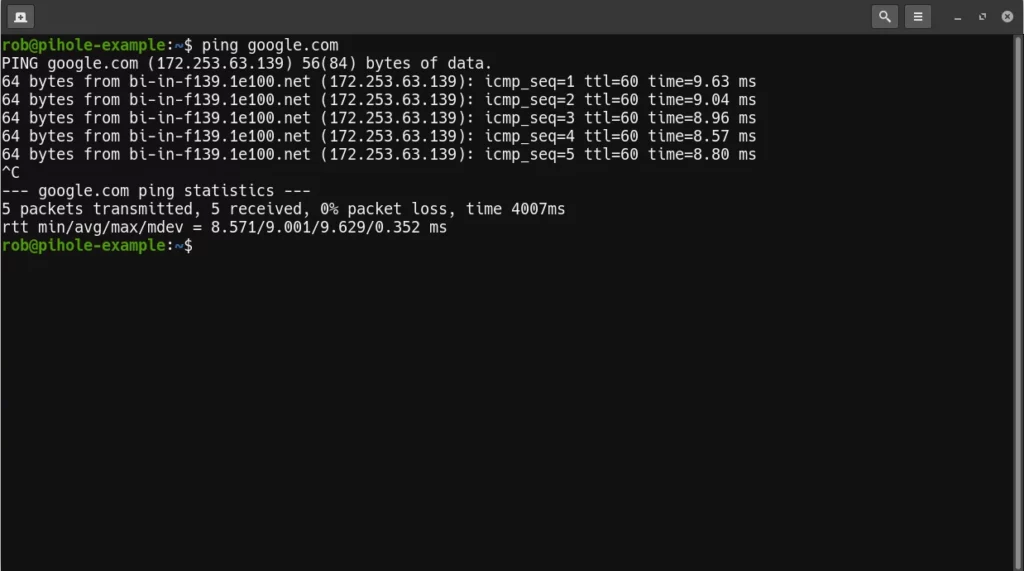
You can test that things are working by attempting to ping Google.
ping -c5 google.comIf you get responses back like the ones in the image below then everything is working.
6 – Optional – Change Management Port
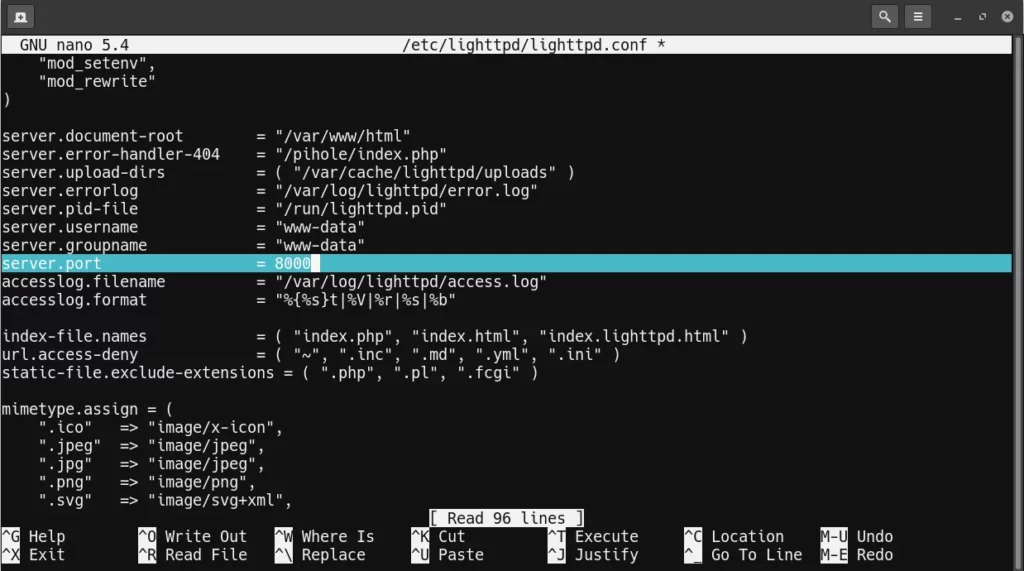
An optional change that I prefer doing is assigning my web management to a different port than the default of port 80. If you want to modify this, the setting is found in /etc/lighttpd/lighttpd.conf.
sudo nano /etc/lighttpd/lighttpd.confScroll down to the server.port setting and modify the value to which ever port you choose. I tend to use port 8000 – shown in the example below.
Once you’ve made your change, press CTRL + X on your keyboard to exit and when prompted press Y to save.
For this change to take effect you’ll need to restart lighttpd.
sudo systemctl restart lighttpd.7 – Optional – Configure Firewall
While this step is not necessary for Pi-hole to function, it’s generally a good idea to restrict any server to have only the ports it needs open to be open. To configure the firewall we’ll issue a few commands. For this example, I’m assuming you’re using SSH on the default port of 22, that DNS is running on port 53, and you’ve modified the lighttpd port to 8000 as I’ve shown above. If you haven’t changed this port, use the default of 80 instead.
Note – before anyone comments, I am aware that you could get more restrictive with your firewall settings by limiting access to specific IP addresses, however this is outside the scope of this tutorial.
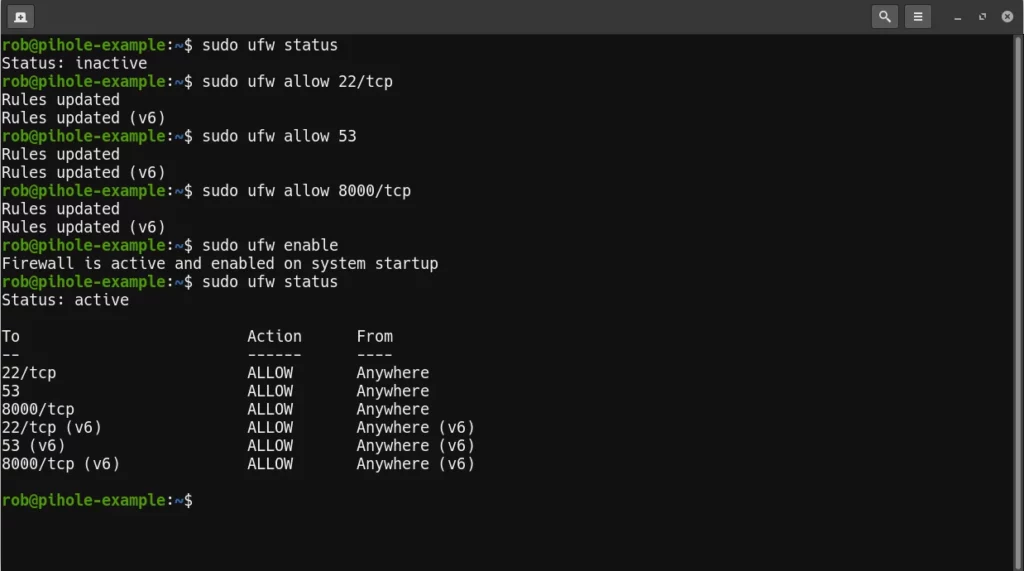
sudo ufw statusThis should return that the firewall is inactive.
sudo ufw allow 22/tcp
sudo ufw allow 53
sudo ufw allow 8000/tcp
sudo ufw enable
sudo ufw status
Now when you check the UFW status it should show you that the firewall is active with a list of the ports we just allowed access to. Note that we aren’t limiting port 53 to just allow for TCP based connections. I discovered through my own trial and error that doing so will prevent DNS queries to the Pi-hole software from resolving.
8 – Web Interface
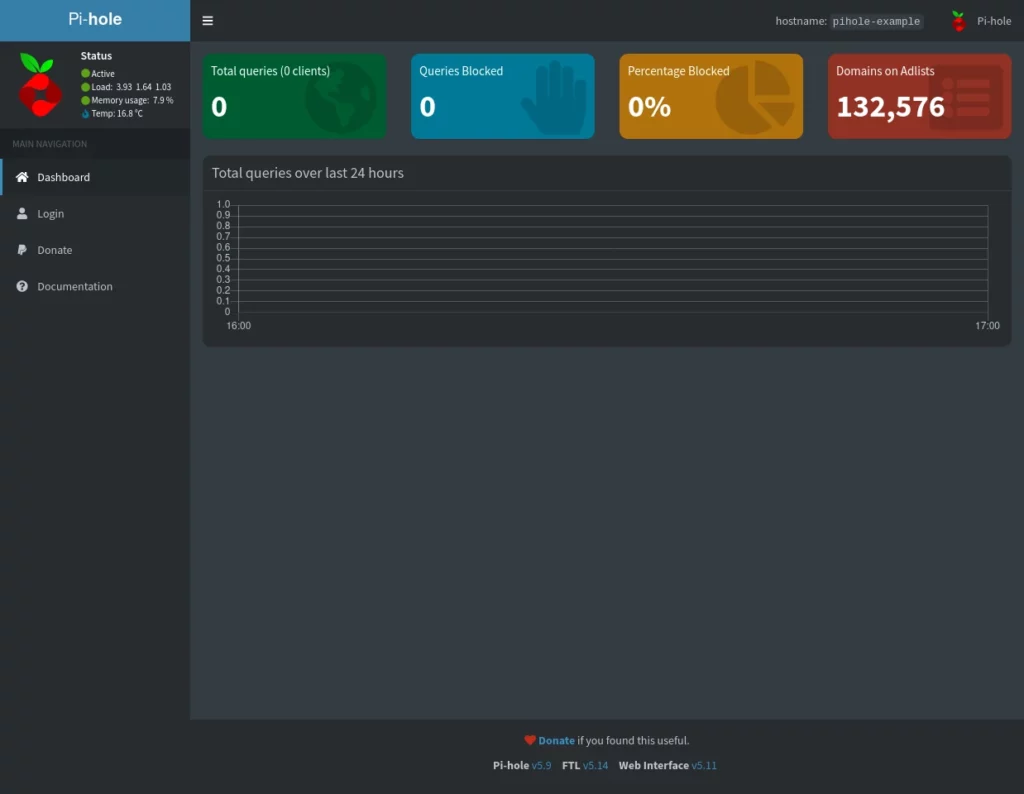
Now that we’ve completed the installation, we can connect to our web admin interface at the URL the installer provided above. Please note, if you changed the lighttpd port, you’ll need to add that to your URL. Example:
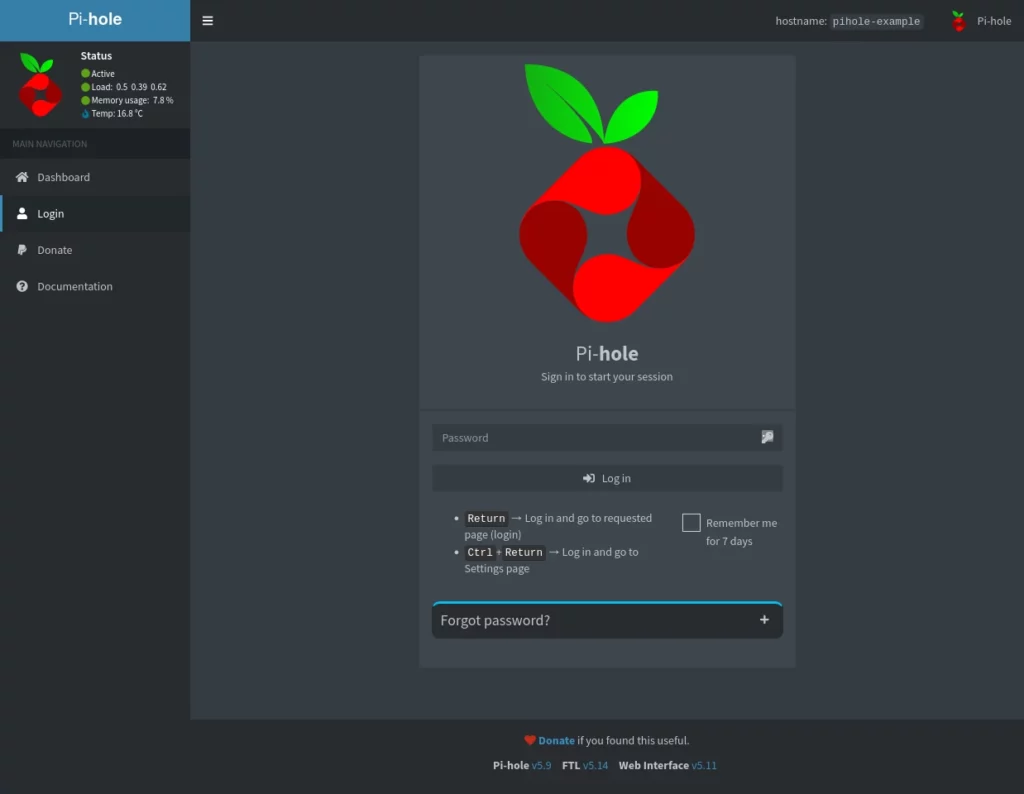
http://172.16.30.10:8000/adminWhen you browse to the URL it should look like this.
If you click on login on the left side you’ll get the login screen.
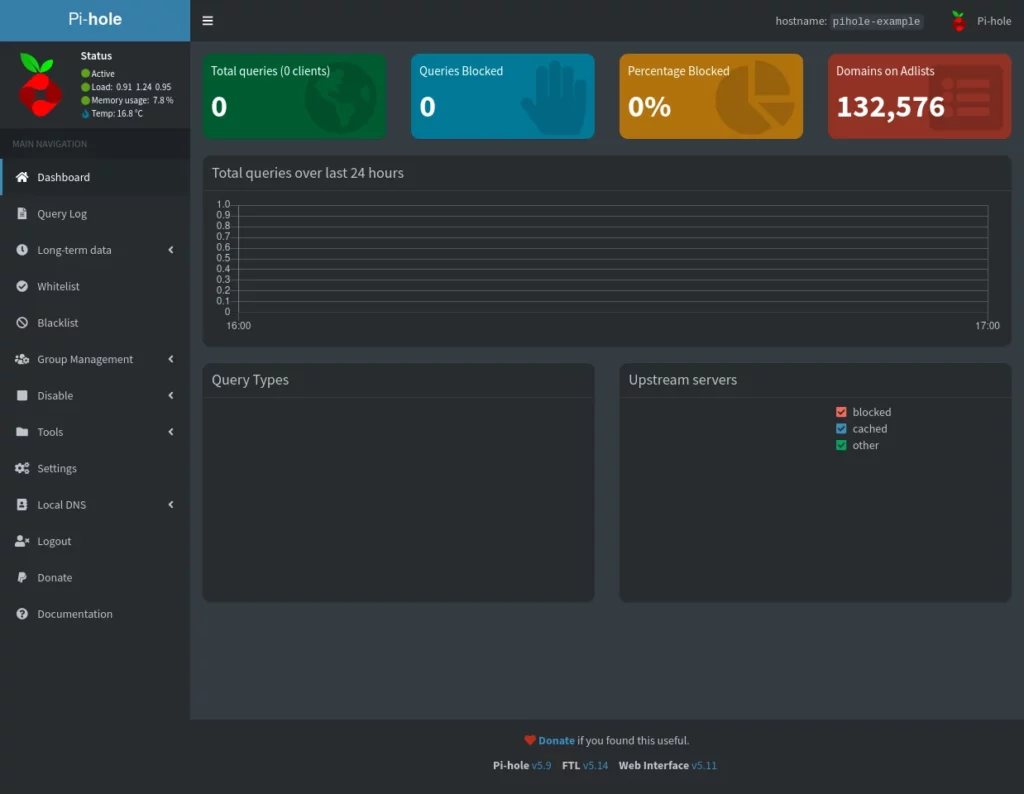
Once you login using your admin password, the main dashboard will load, as seen below.
9 – Optional – Updating Pi-hole
Keeping your Pi-hole software updated can be done with a single command.
pihole -upYou’re ready to move on now to my article on Basic Pi-hole Configuration to help you get started with using your new Pi-hole DNS server.
Closing
If you found this tutorial helpful and would like to support our efforts to create additional resources like this, please consider making a donation. Your support is greatly appreciated!
If you can’t make a donation, please consider sharing this tutorial with others who may be interested. If you have questions about anything regarding this tutorial, please be sure to leave them in the comments below. Thanks for reading, and I hope you visit again soon!

Pingback: Noob: On Debian, cannot set up static IP to install pihole - JTuto Mercure
I get an error on the last step of “Easy” install: Error: Unable to update package cache. Please try “sudo apt update”
I have added the cdrom, I get this error:
E: The repository ‘cdrom://[Debian GNU/Linux 11.6.0 _Bullseye_ – Unofficial amd64 DVD Binary-1 with firmware 20221217-10:46] bullseye Release’ does not have a Release file.
N: Updating from such a repository can’t be done securely, and is therefore disabled by default.
N: See apt-secure(8) manpage for repository creation and user configuration details.
I’m effectively stuck at this point.
Let me setup a test environment and see what happens and I’ll get back.
I’m unable to replicate the problem myself. I, however, found a Reddit thread with a thorough discussion of this problem.
https://www.reddit.com/r/pihole/comments/egqdlf/unable_to_update_package_cache/
Works right at first try on Debian 11 stable:
uname -a
Linux pihole-kvm 5.10.0-21-amd64 #1 SMP Debian 5.10.162-1 (2023-01-21) x86_64 GNU/Linux
# pihole version
Pi-hole version is v5.16.2 (Latest: v5.16.2)
AdminLTE version is v5.19 (Latest: v5.19)
FTL version is v5.22 (Latest: v5.22)
After this command:
sudo bash basic-install.sh
I get one “E” message:
[i] Processing apt-get install(s) for: dialog, please wait…
———————————————————————-
E: Package ‘dialog’ has no installation candidate
=====================================================
Any help will be appreciated.
.
What distro are you installing to so I can try to recreate it? Debian? Ubuntu?