This tutorial details the steps necessary to install the Pi-hole application on a TrueNAS Scale server. At the time this tutorial was created, the current version of TrueNAS Scale is 22.02.0.1. When newer versions are released, this document will be updated, if needed, to reflect necessary changes. Be sure after you’ve completed this tutorial that you move onto my tutorial on Basic Pi-hole Configuration for help in using your newly installed software.
This article is part of my Pi-hole series. Be sure to check out the other articles in this series for additional information.
Pi-hole Series Index
- What Is Pi-hole & Why Would You Want To Use It?
- Installing Pi-hole On Debian / Ubuntu Servers
- Installing Pi-hole Using Docker
- Installing Pi-hole On TrueNAS Scale — You Are Here
- Basic Pi-hole Configuration
- Using Gravity Sync To Sync Multiple Pi-hole Instances
- Advanced Pi-hole Config: Recursive DNS With Unbound
- Using Pi-hole Local DNS And Why It’s Important In Your Homelab
Before We Begin
A few things we need to address before we begin.
Where To Install
This tutorial assumes that you already have a working TrueNAS Scale server and that the TrueCharts application catalog is configured – check out this article on how to configure TrueCharts if you need help.
A Note About Modern Browsers & DNS
Most modern browsers have the ability to use what’s called DNS Over HTTPS. While, generally speaking, this is a great feature, depending on how it’s configured it might skip your device’s configured DNS settings. This means, if you’re using a Pi-hole for your DNS, your browser might not be making use of it – negating it’s usefulness. I’ve written a post “DNS Over HTTPS – Everything You Need To Know” to help you sort out these settings.
1 – Let’s Get It Started
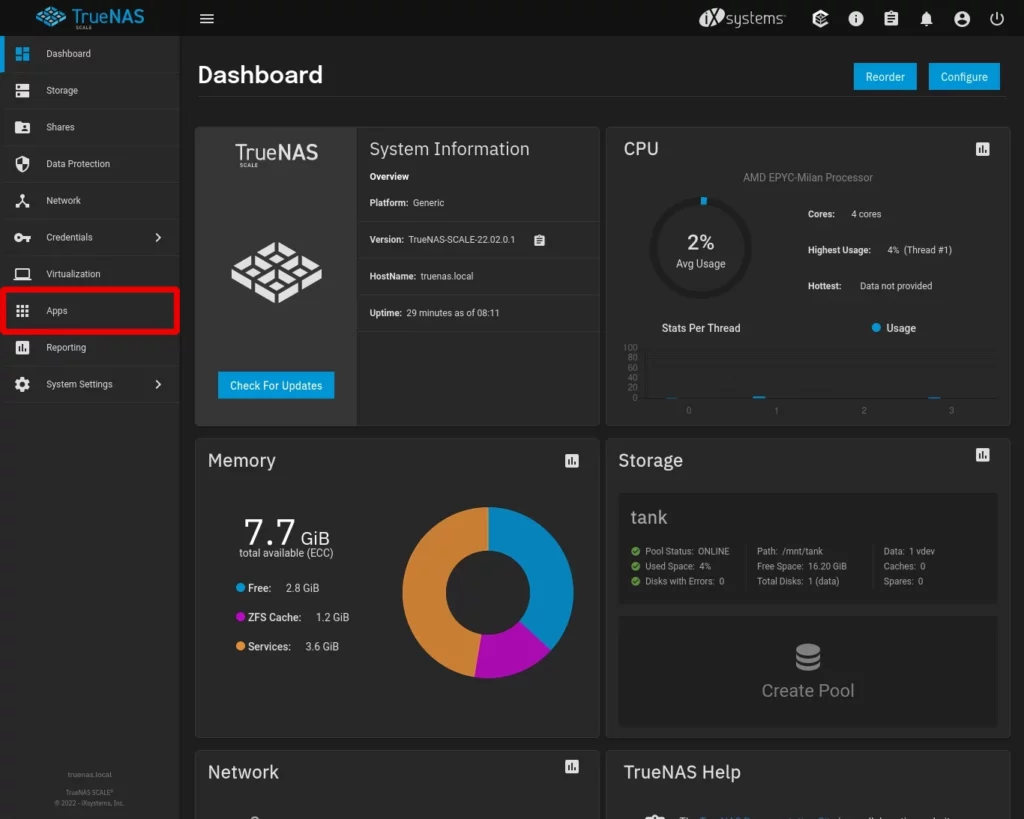
Starting at the main TrueNAS Scale dashboard, find and click on Apps on the left.
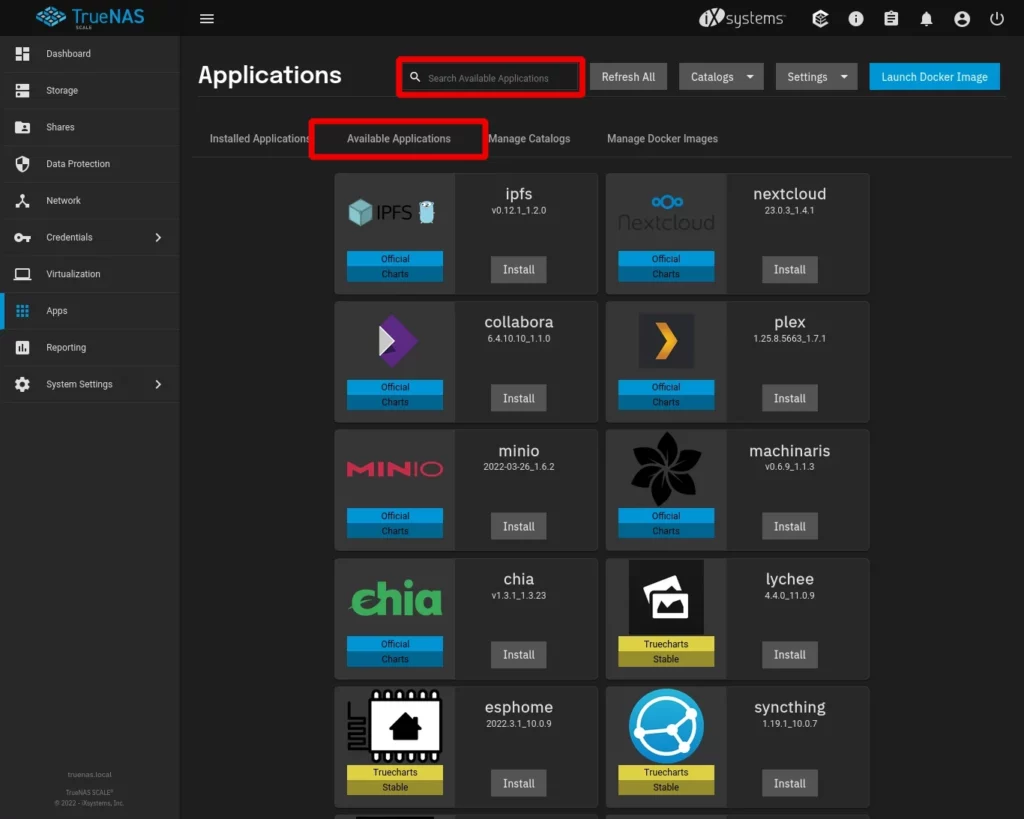
From the Applications dashboard click on Available Applications at the top and then locate the search box at the top of the page.
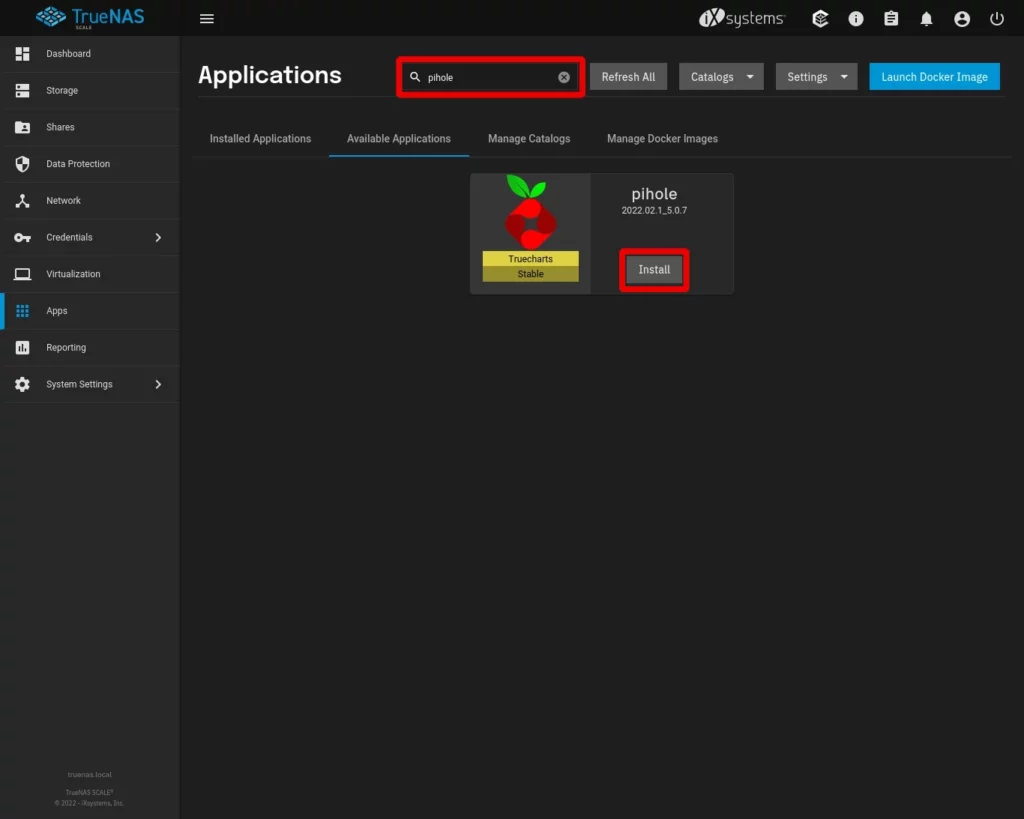
When you search for pihole, you’ll see the list of available applications update to narrow the list to just Pi-hole. Click Install to begin the installation.
2 – Stepping Through The Install Wizard
TrueNAS Scale uses a wizard style interface for installing and configuring apps and settings. We’ll now go through all of the steps of the wizard for installing our Pi-hole application. As you’d expect with a wizard interface, this process is fairly easy.
Application Name
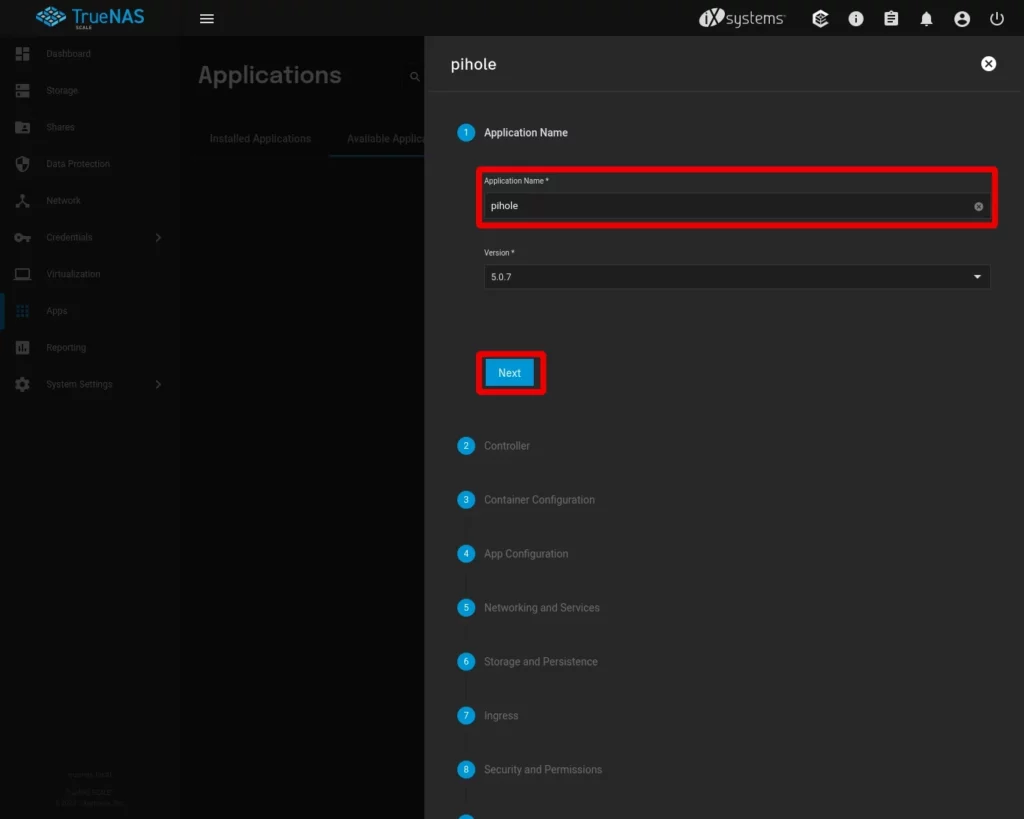
The first thing we need to do is give our Pi-hole installation an Application Name. This is done to allow TrueNAS to distinguish between multiple installations of the same application. You can choose whatever name you’d like. In my example, I’ve simply used the name pihole. Click Next to continue.
Controller
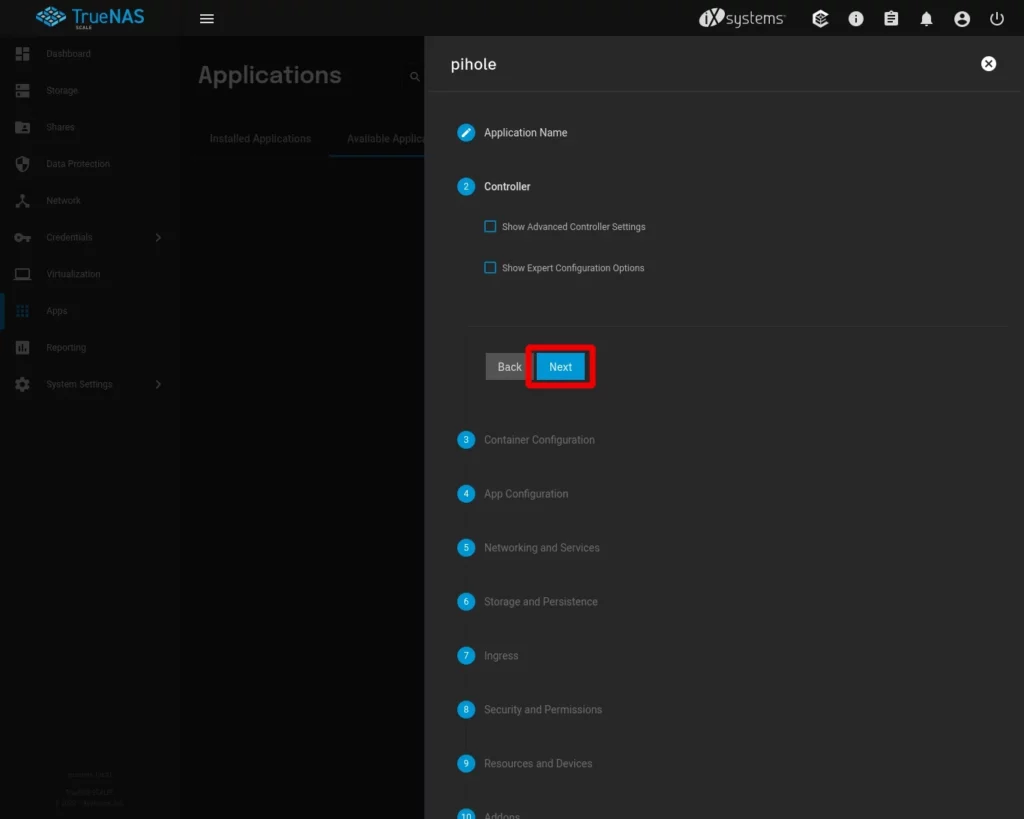
For this application, we don’t need to make any changes to the Controller settings. Click Next to continue.
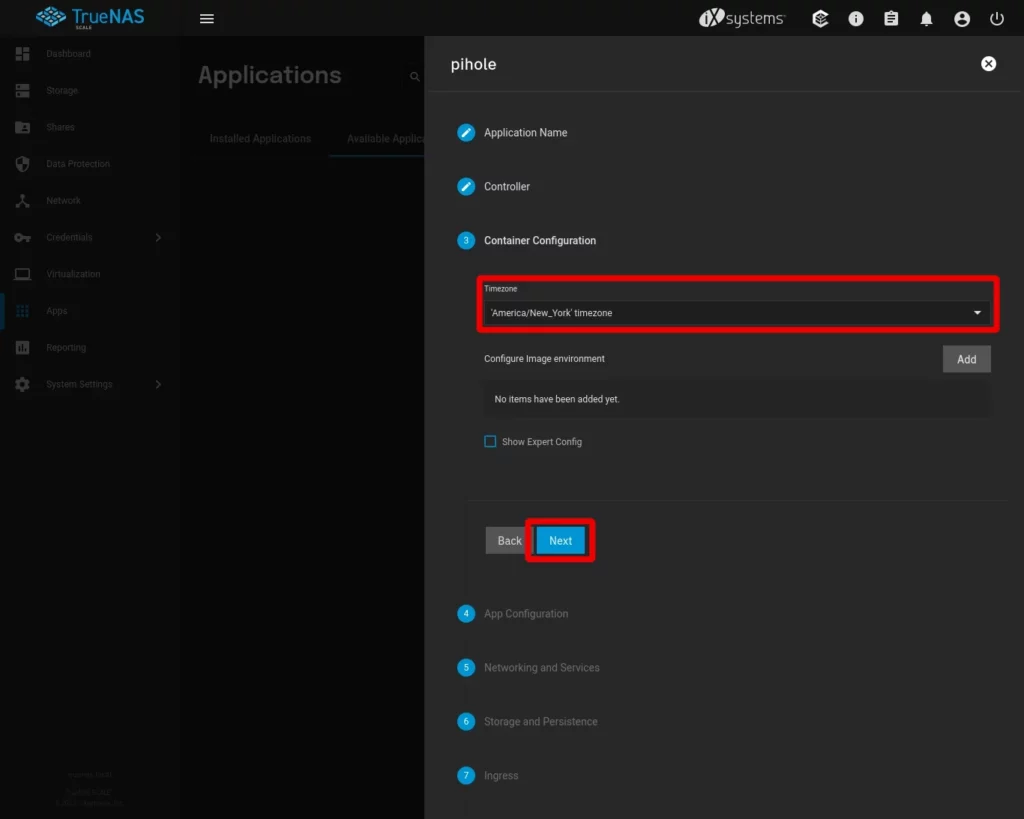
Container Configuration
Adjust the timezone setting to your timezone and then click Next to continue.
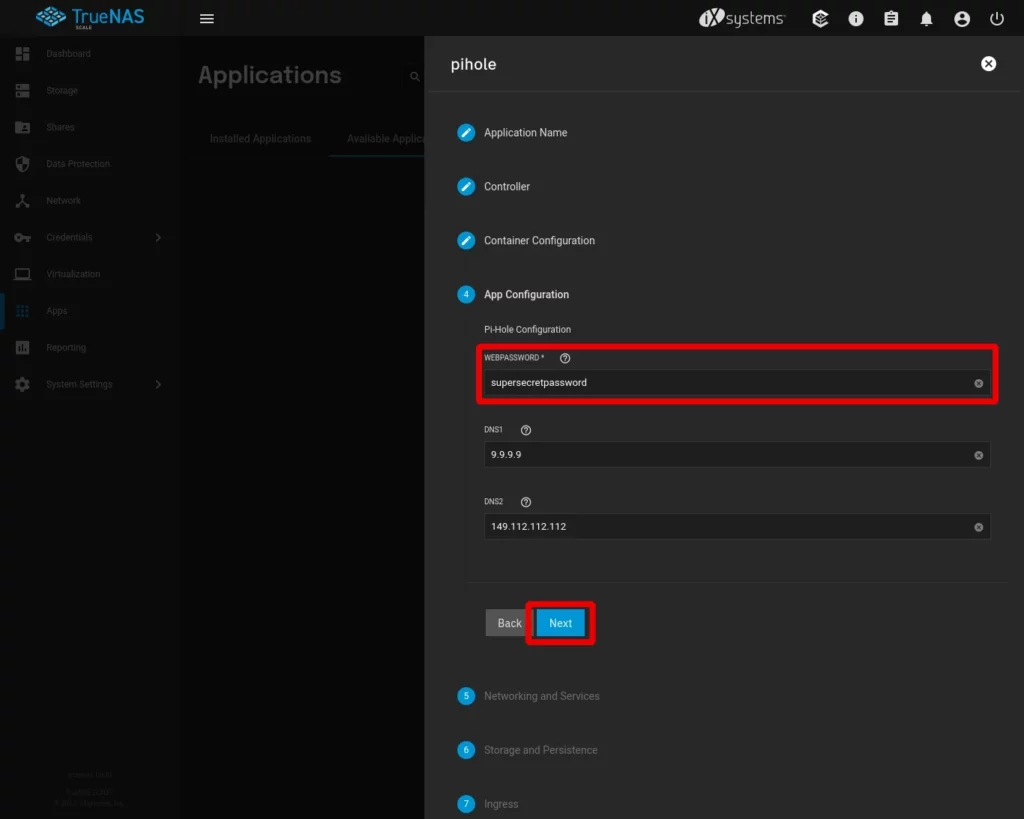
App Configuration
Here we need to configure our Pi-hole web admin password. Obligatory use a strong password warning goes here. If you wish to specify different 3rd party DNS settings from the defaults you can do so here. NOTE – the DNS values can be modified later from within the Pi-hole web admin if needed. Click Next to continue.
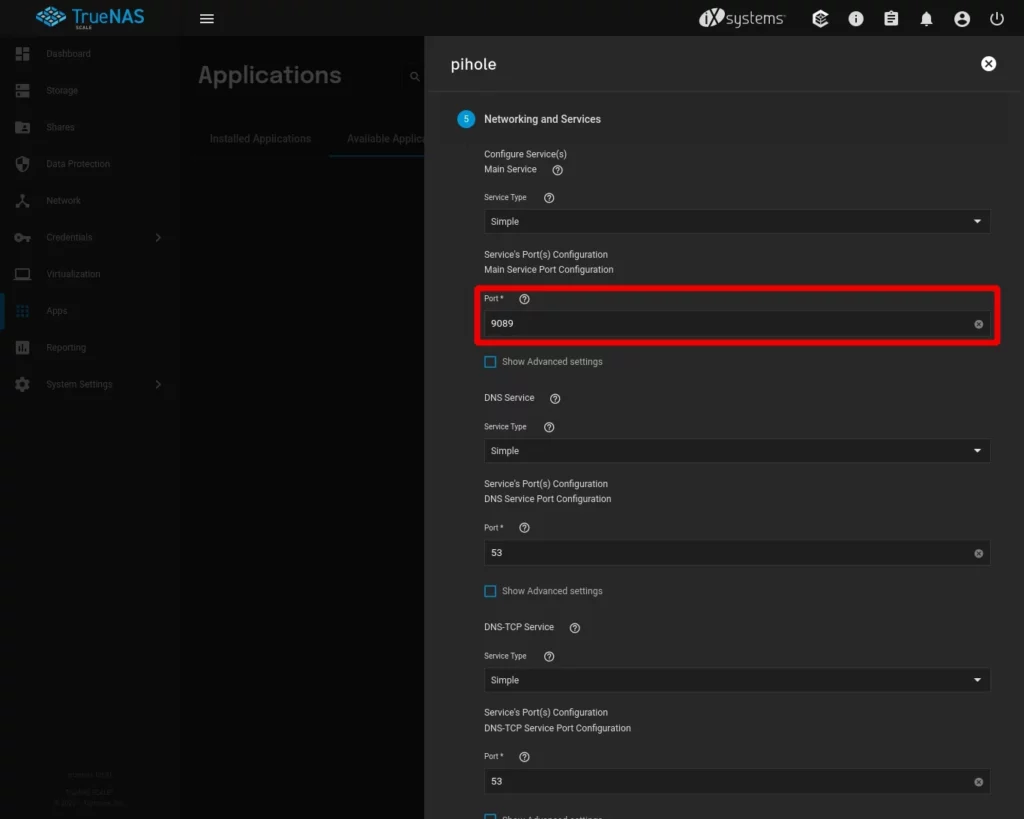
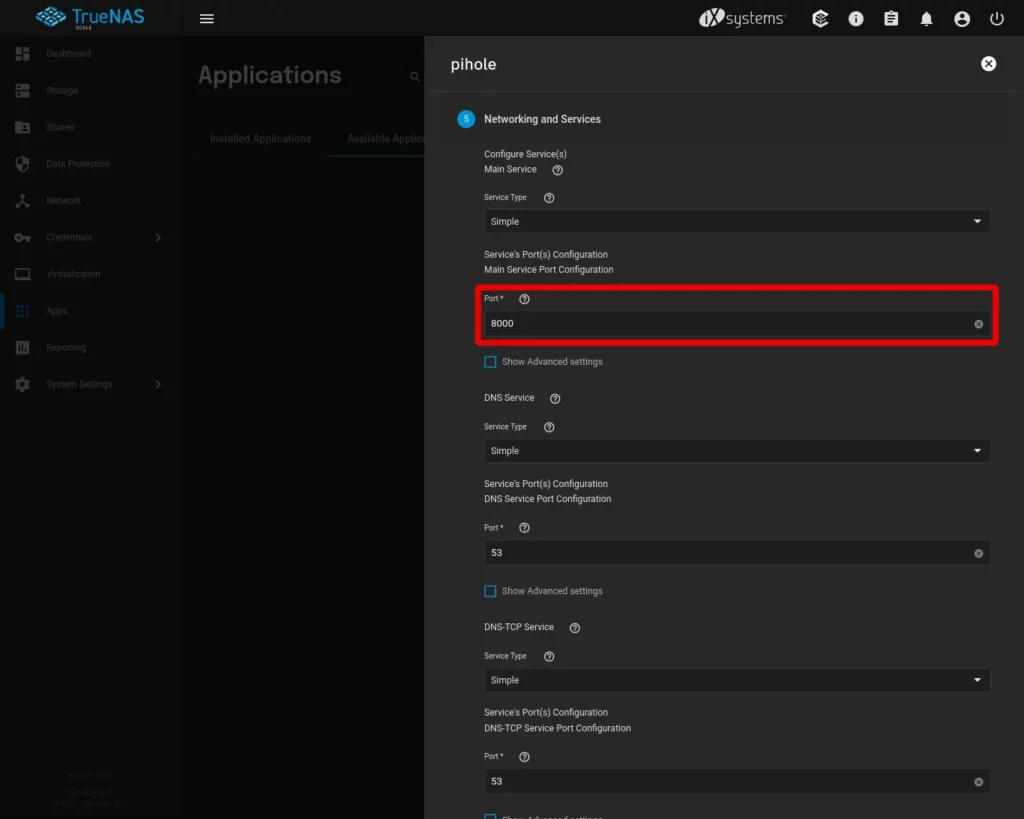
Networking and Services
We don’t need to adjust any settings on this step unless you want or need to make changes to the network ports that your Pi-hole install will use. In the image below, I’ve adjusted the Main Service Port to 8000 from the value that was there by default.
After you’ve made your changes, if any, scroll down and click Next to continue.
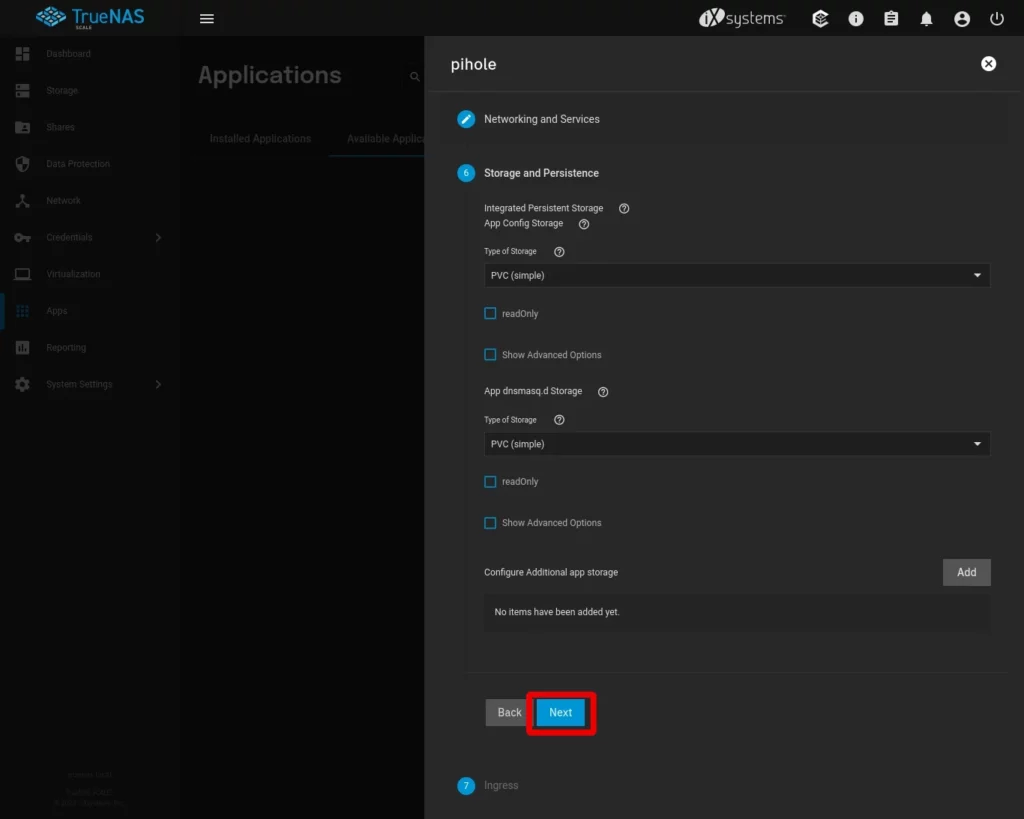
Storage and Persistence
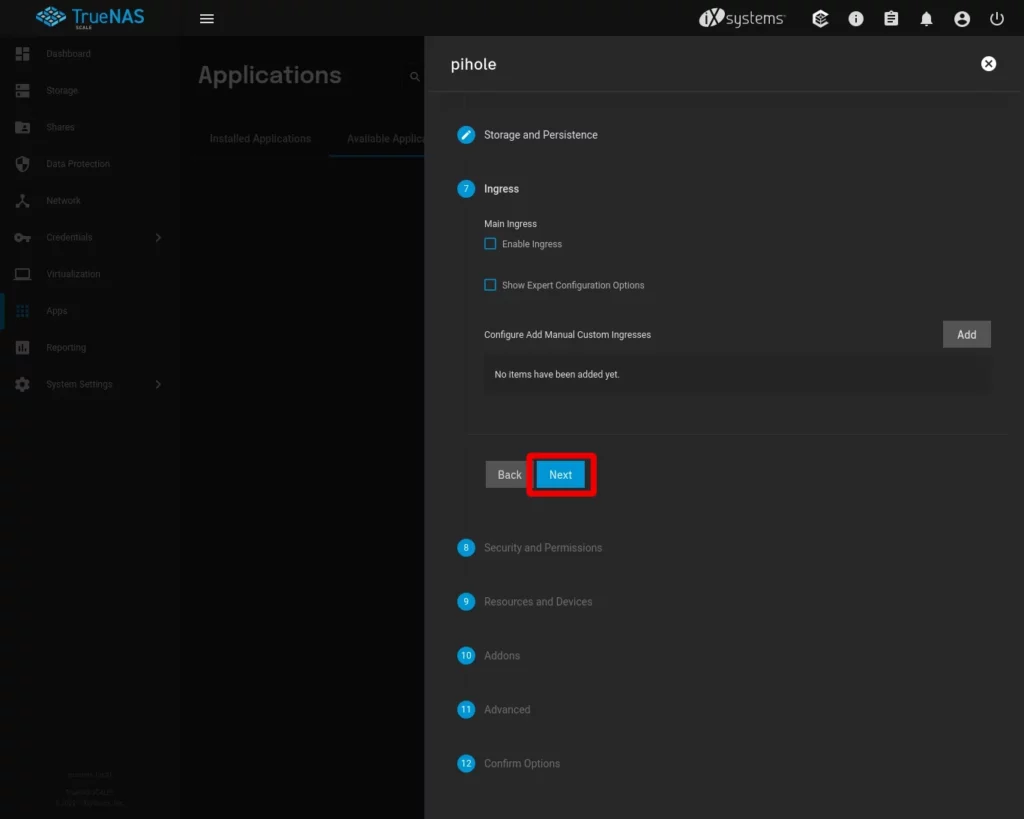
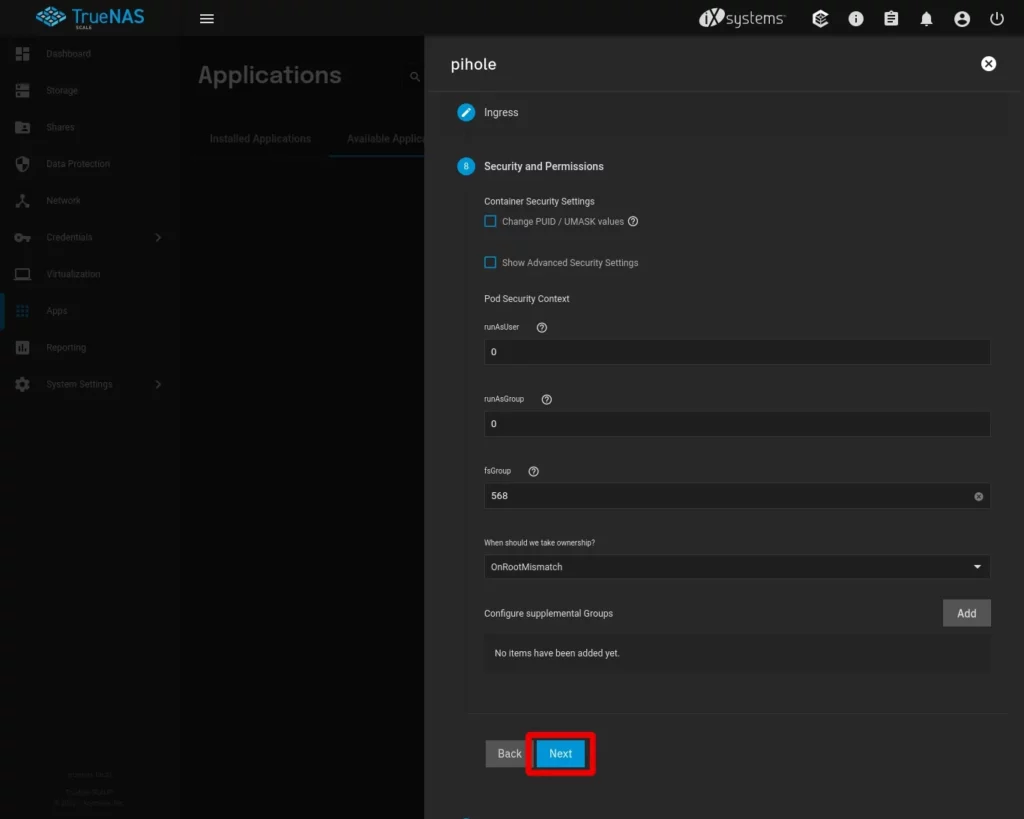
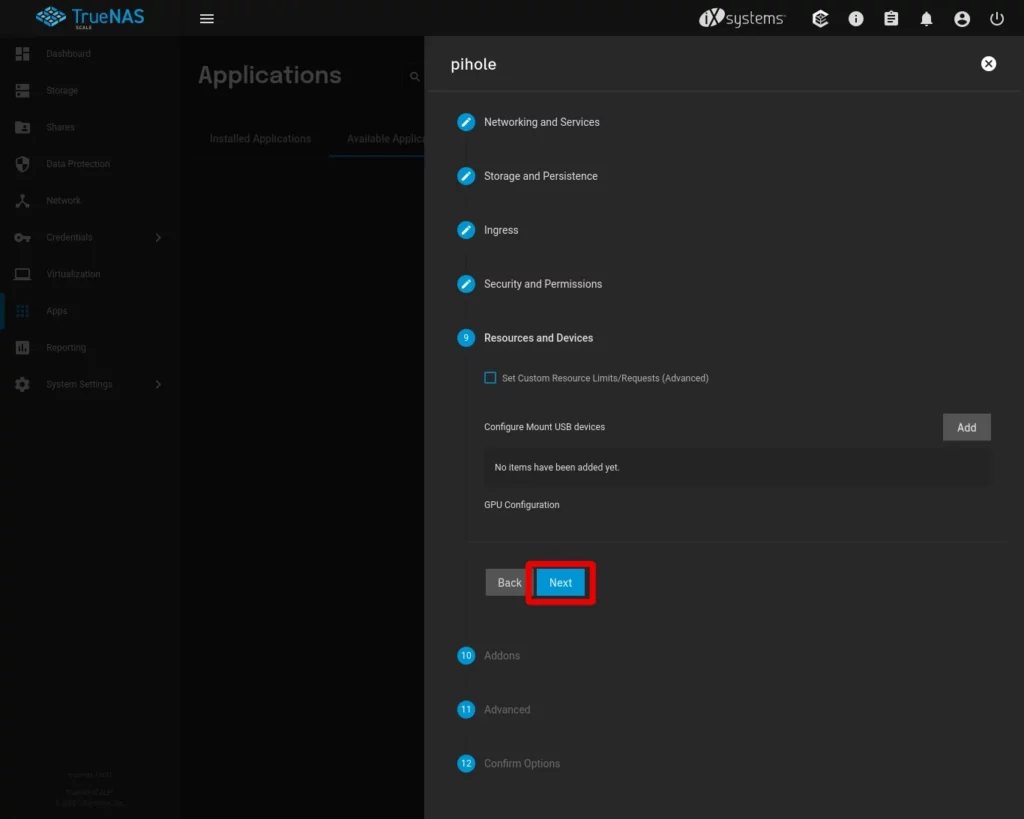
The remaining steps do not require any settings changes.
Click Next to continue.
Ingress
Click Next to continue.
Security and Permissions
Click Next to continue.
Resources and Devices
Click Next to continue.
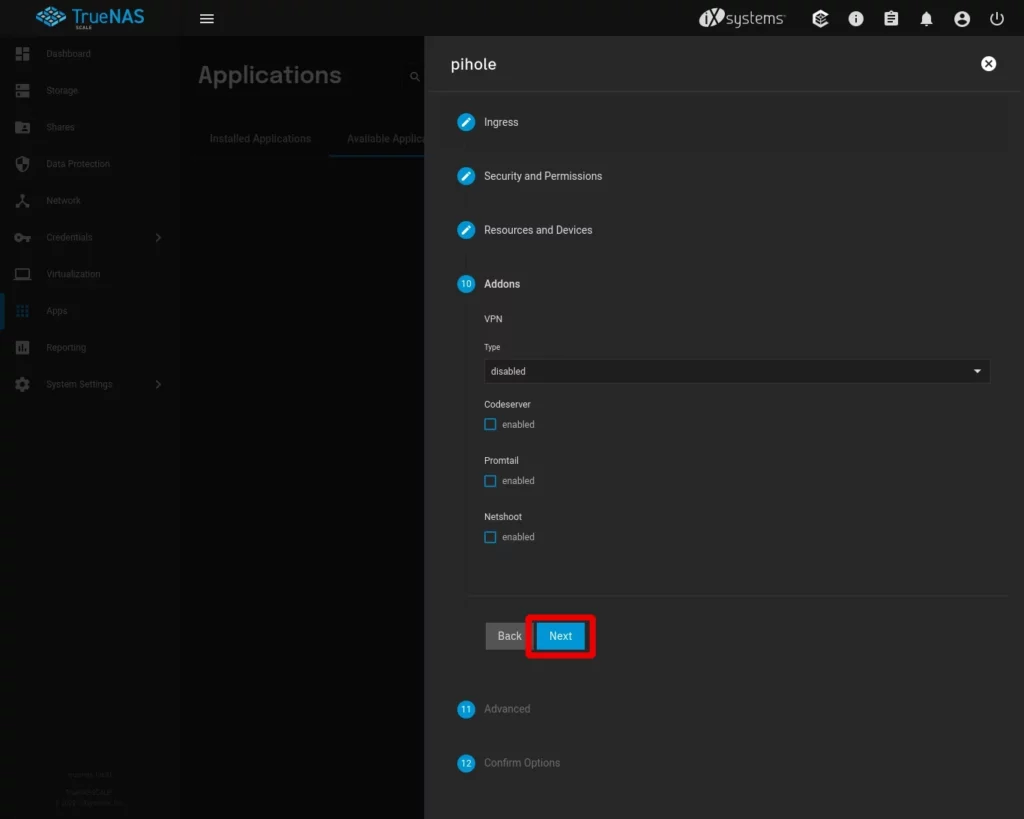
Addons
Click Next to continue.
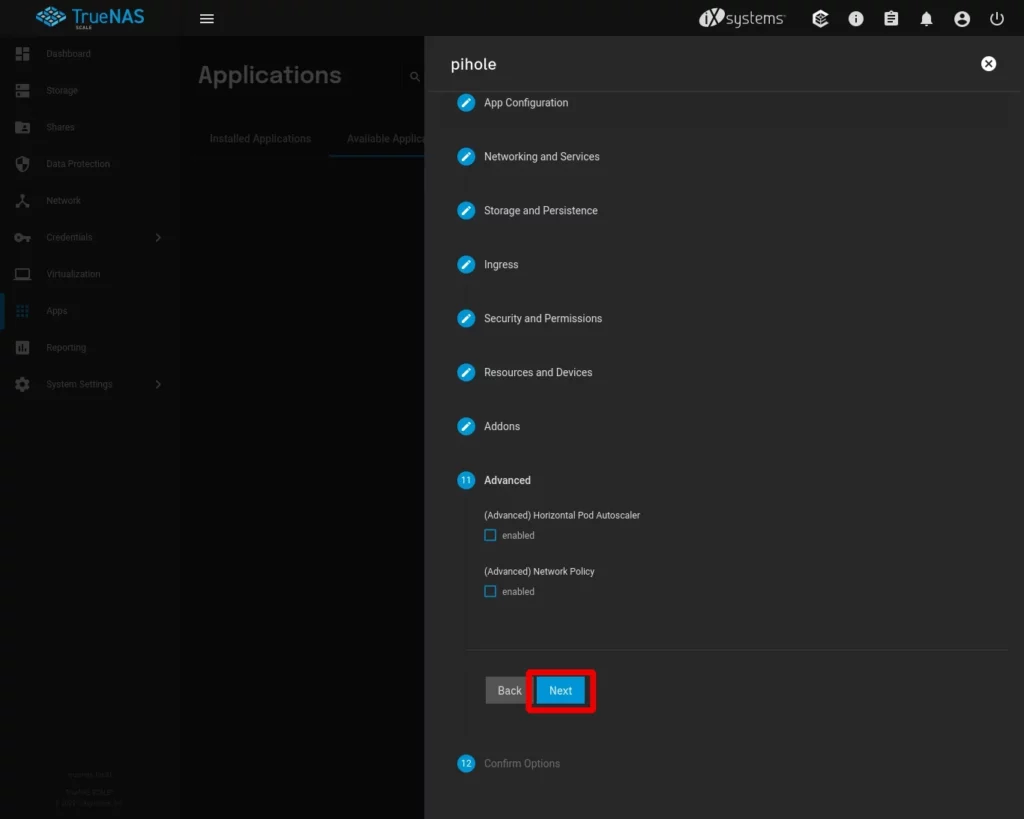
Advanced
Click Next to continue.
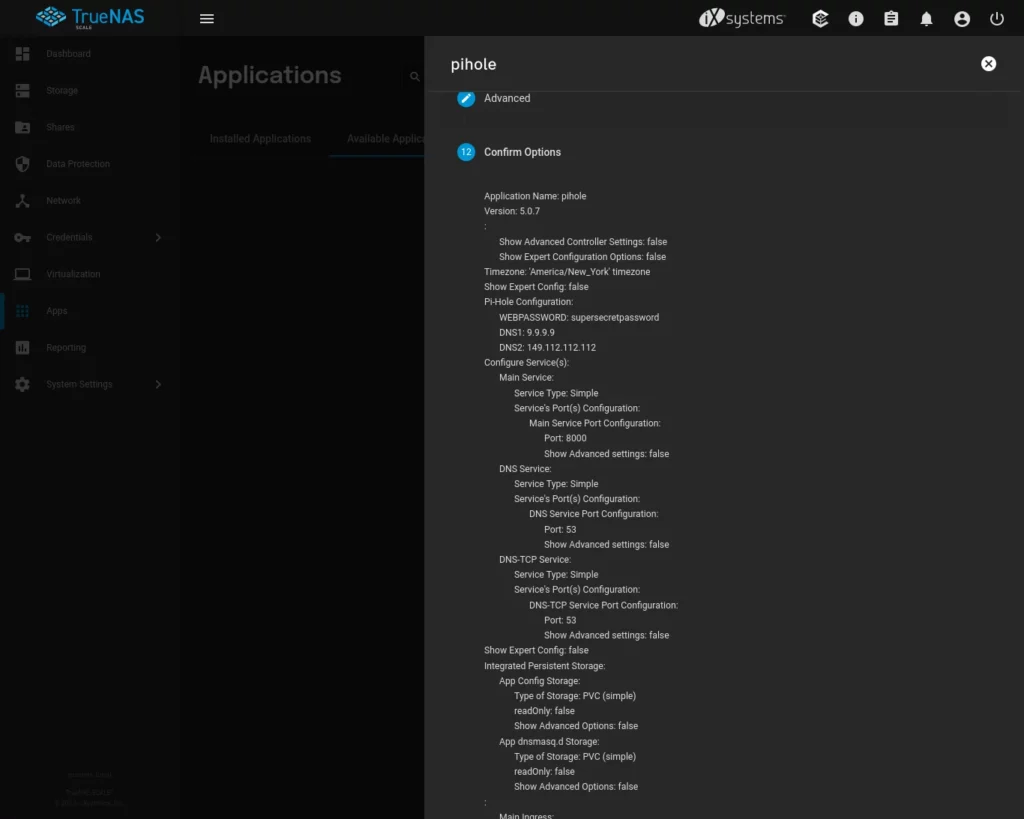
Confirm Options
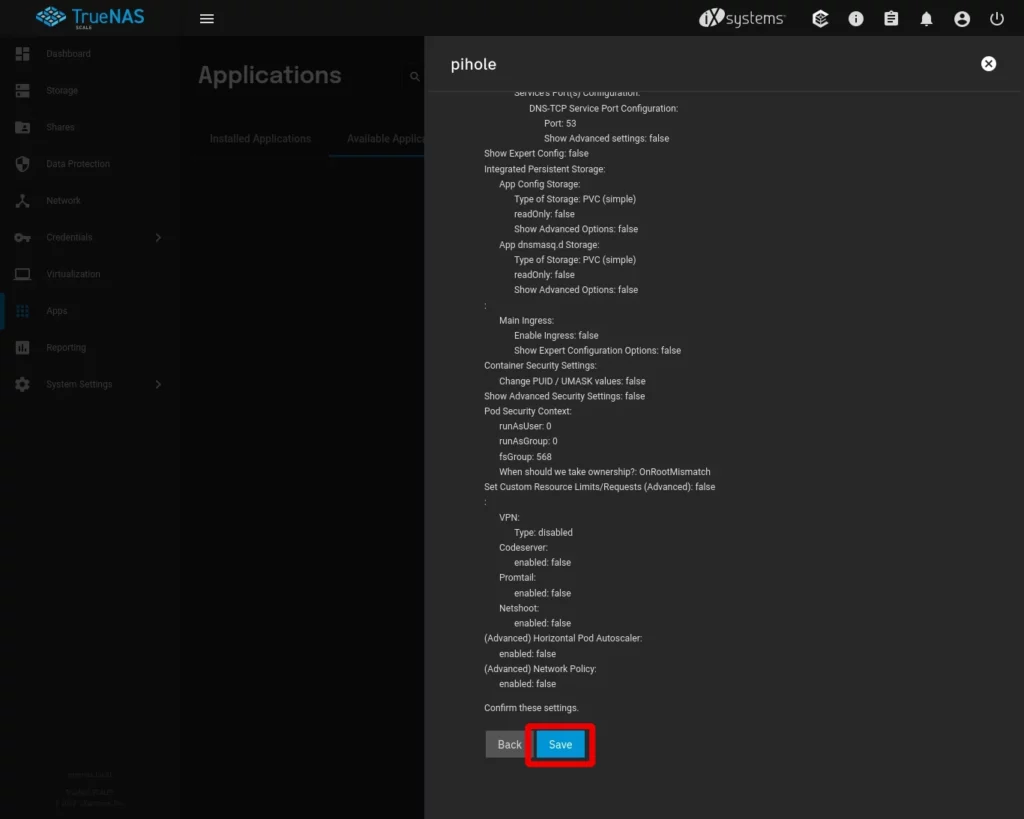
Lastly TrueNAS asks us to review all of the settings we’ve chosen to make sure they are correct before deploying the application. Double check the values here.
Once you’ve completed reviewing the settings, click Save to deploy Pi-hole.
3 – Almost Done
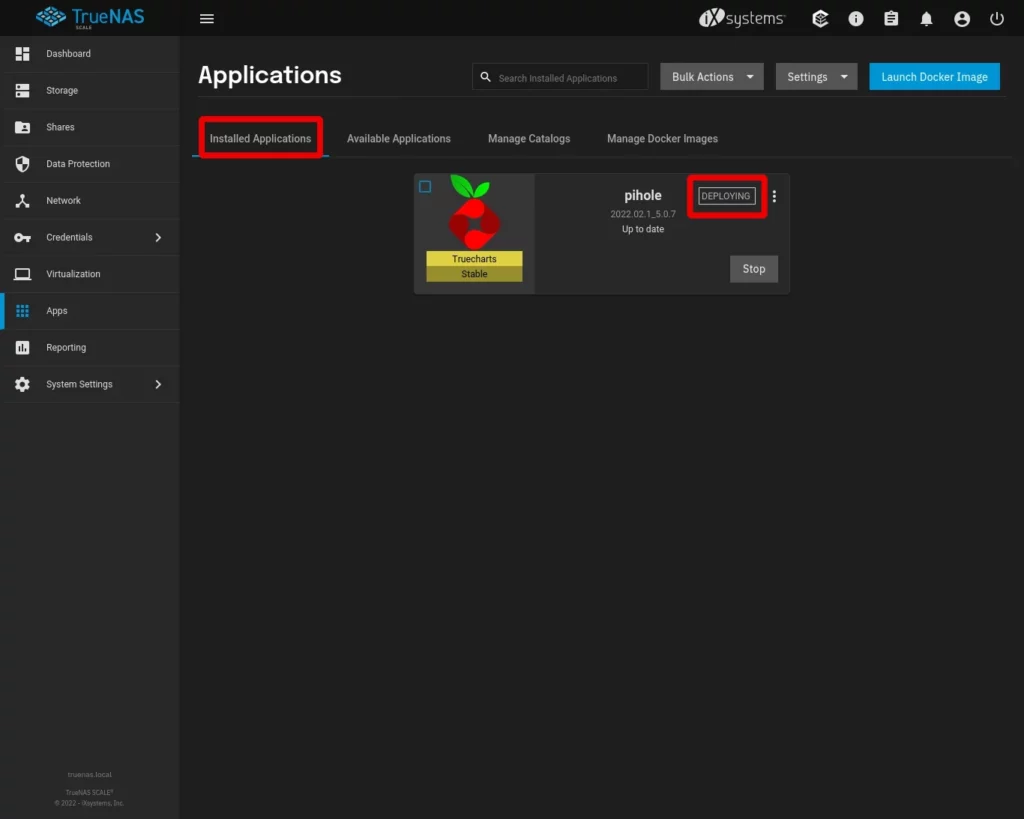
If you click back now to the Installed Applications tab at the top of the screen you’ll see that our Pi-hole instance is being deployed.
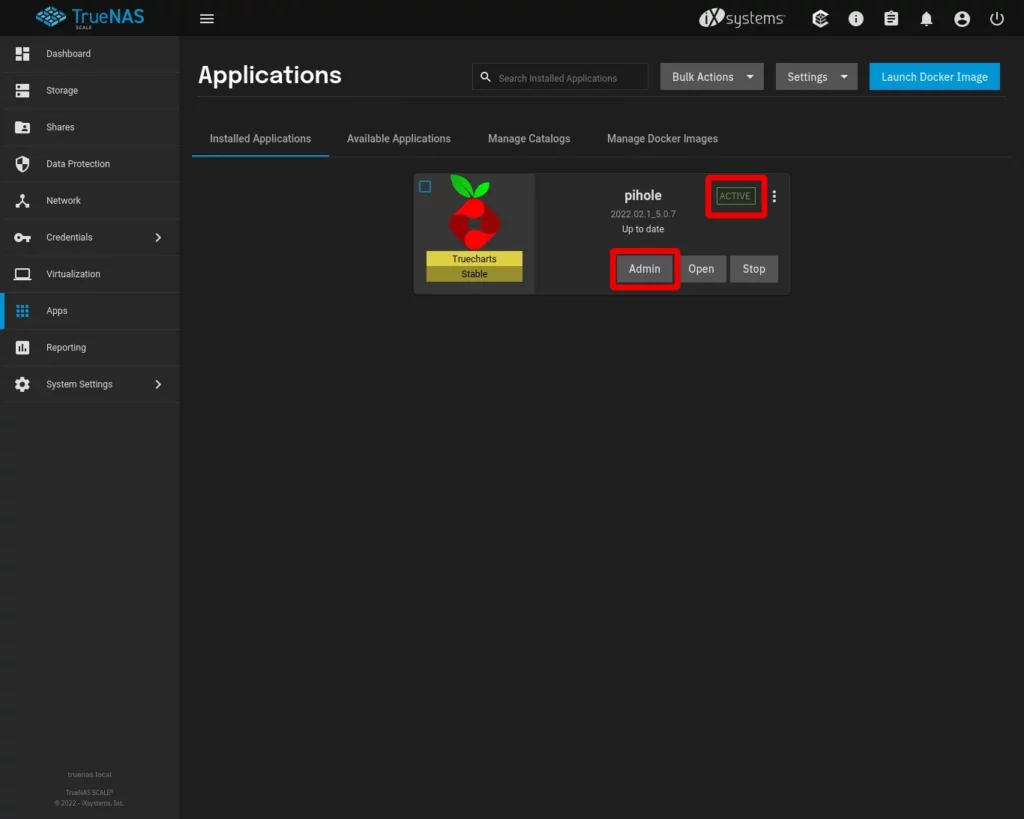
After a few moments the installation will complete and you’ll see that our Pi-hole is now active. From here, if we click on the Admin button it will open our Pi-hole web admin inside a new browser tab where we can login to modify the Pi-hole settings.
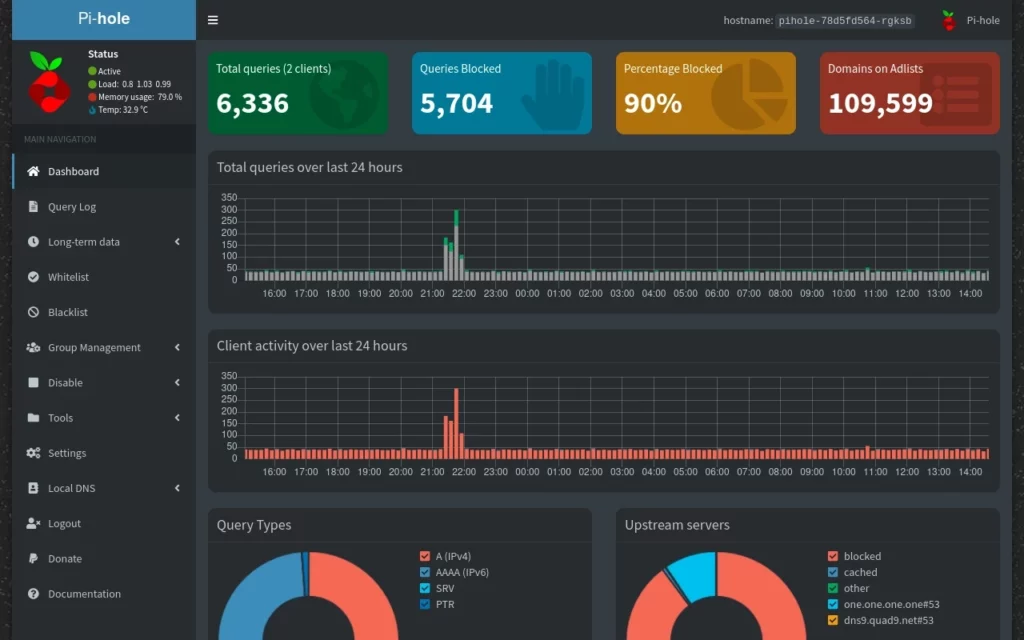
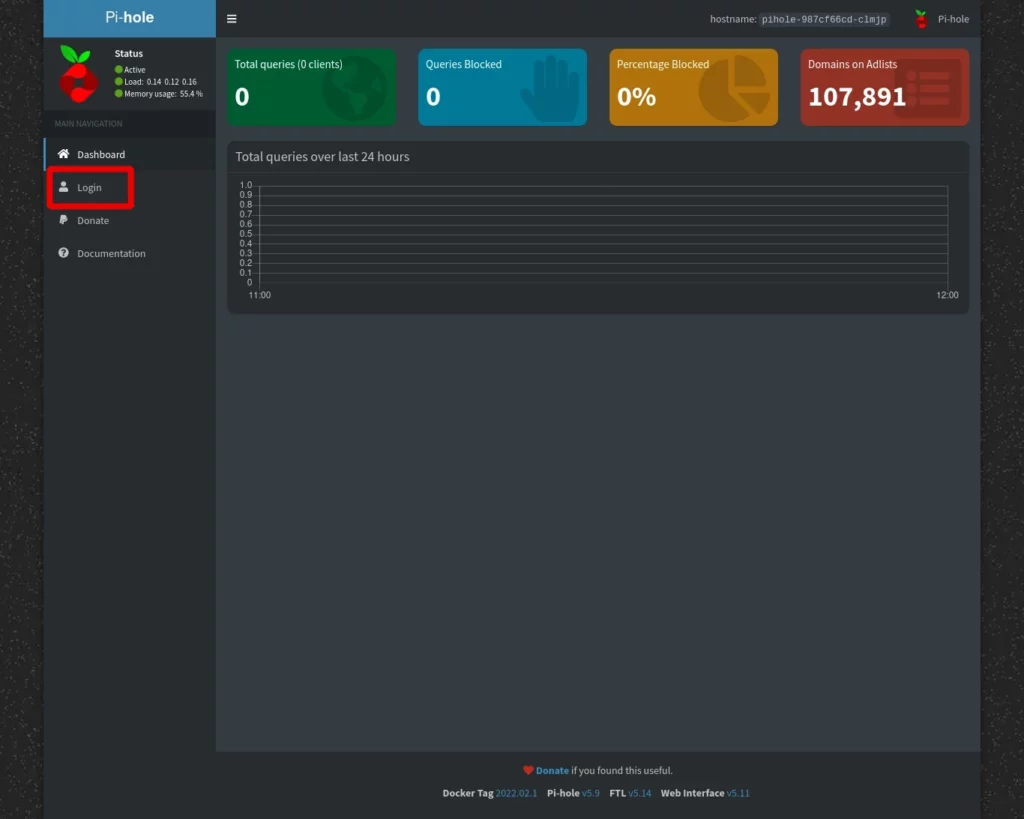
The web admin should look like this. If you click on Login on the left you can log in using the super secret password you picked in the install process.
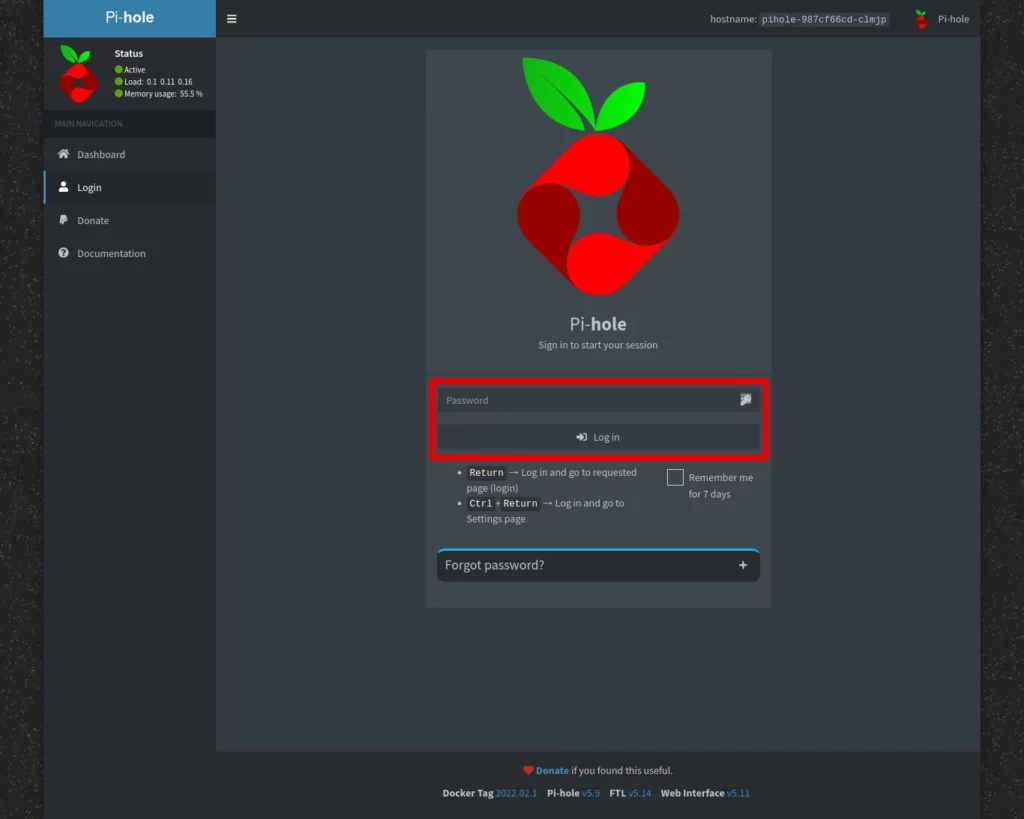
Once you’ve logged in you’ll be taken to the main web admin dashboard.
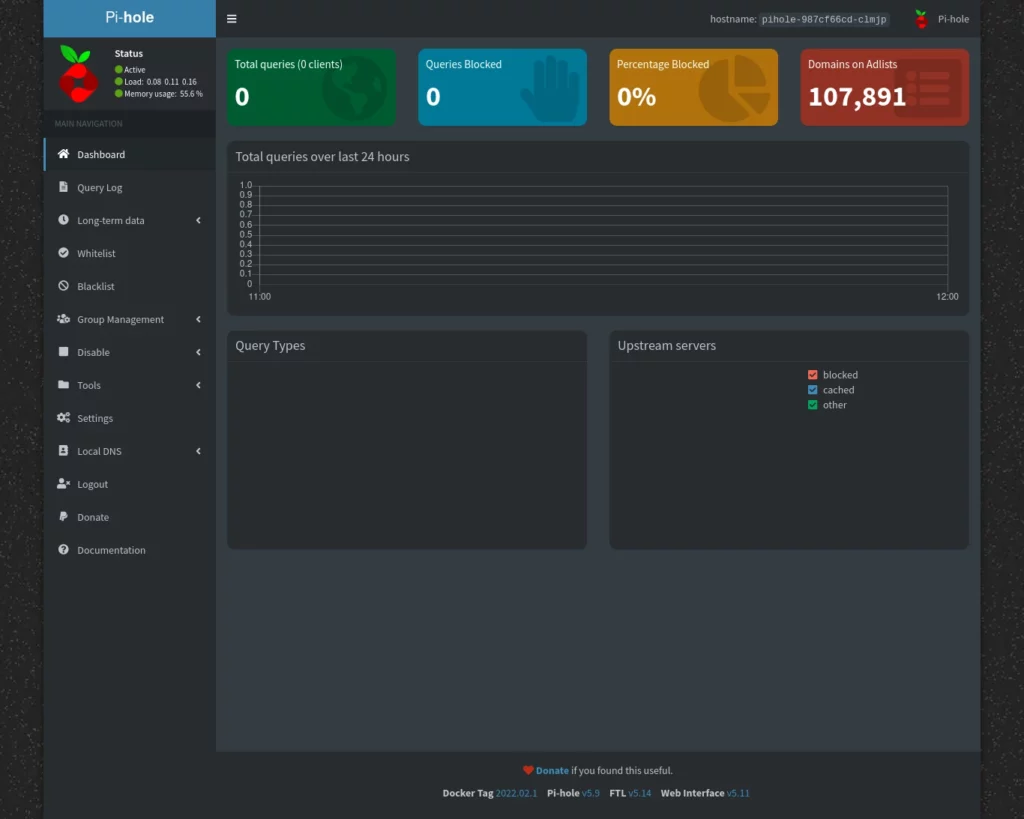
You’re ready to move on now to my article on Basic Pi-hole Configuration to help you get started with using your new Pi-hole DNS server.
Thanks
If you found this tutorial helpful and would like to support our efforts to create additional resources like this, please consider making a donation. Your support is greatly appreciated!
If you can’t make a donation, please consider sharing this tutorial with others who may be interested. If you have questions about anything regarding this tutorial, please be sure to leave them in the comments below. Thanks for reading, and I hope you visit again soon!
