With what seems to be the growing prevalence of spyware and surveillance happening online, the Internet Engineering Task Force put forth a standard called DNS Over HTTPS to help improve peoples’ online privacy. Since it’s introduction in 2018, it’s been made available in all of the major web browsers – such as Google Chrome, Microsoft Edge, and Mozilla Firefox.
What exactly is DNS Over HTTPS? What are the benefits / drawbacks to using it? How do you configure it in your browser? I answer all these questions and more, below.
What Is DNS?
DNS stands for Domain Name System – it’s the thing that tells your computers and devices how to connect to websites and servers on the internet. If, like me, you’re old enough to remember phone books … think of DNS like a giant connected phone book. When you want to connect to a website, DNS looks up the website’s domain name and returns back the its IP address. For this example, think of IP addresses like a phone number.
So, now you might be thinking, “Great! So then, what is DNS Over HTTPS?”
What is DNS Over HTTPS / Secure DNS?
If DNS tells your computer how to connect to a website by looking up its IP address, what exactly then is DNS Over HTTPS? In simple terms, DNS Over HTTPS is a method of performing end-to-end encrypted DNS queries. Secure DNS is simply the user friendly term that Google has chosen to use when referring to DNS Over HTTPS.
Some of you might be wondering, “Why is this even important? Why should I care?”
Benefits Of DNS Over HTTPS
So why should you care about DNS Over HTTPS? In a word – privacy.
When DNS was invented in 1983, there was no consideration put into whether the DNS requests would be able to be monitored by somebody else. Standard DNS queries are able to be seen by anyone who wants to watch them.
Let’s say, for example, that you’re sitting in Starbucks on a laptop sipping your venti caramel macchiato and doing research for a book you’re writing using the free wifi at Starbucks. It’s possible for Starbucks to monitor every website you visit while on their wifi. Often, public wifi networks will require you to provide an email address in order to access them. If your Starbucks requires this, now they know not only what websites you’re looking at online but also who you are to attribute this information to.
Maybe there’s half a dozen other people inside Starbucks on their laptops while you’re there. One of them could be running software called a packet sniffer that examines the network traffic to gain information about what is happening on the network. Any traffic on that wifi network that isn’t encrypted is able to be seen by this would-be network snoop – including all of your DNS requests.
If you value your online privacy at all, you’d likely prefer that other people / entities not necessarily know what it is you do when you’re online.
DNS Over HTTPS encrypts the DNS requests on your computer before transmitting them using the HTTPS protocol where it’s then decoded by the DNS server on the other end of the transmission … and then does it all again when it returns back the results. By transmitting using HTTPS, the DNS requests look just like any other encrypted HTTPS web traffic.
If your laptop is configured properly to use DNS Over HTTPS, nobody is monitoring where it is you visit while you’re on the Starbucks wifi.
Drawbacks Of DNS Over HTTPS
While there are definite privacy benefits to DNS Over HTTPS, there are a few potential drawbacks to be aware of as well.
DNS Server Owners Still Know Where You Go
So while DNS Over HTTPS prevents anyone from monitoring your DNS requests while they’re transmitting, what about the owner of the DNS server itself? While Starbucks in my example now can’t snoop on where you’re going online, the owner of the DNS server certainly does. At least, in this situation, you get the option to select in advance who will resolve your DNS requests.
If you trust Google, for example, to know every domain you access – even if that domain doesn’t make use of Google Analytics, which tracks the visitors to a website – then you might be alright with using Google’s free DNS servers. Other options include Cloudflare’s free 1.1.1.1 DNS service and Quad9’s free DNS services, among others.
In the end, unless you setup and run your own recursive DNS server, someone else is going to know where you’re going online – choose wisely who you want that to be.
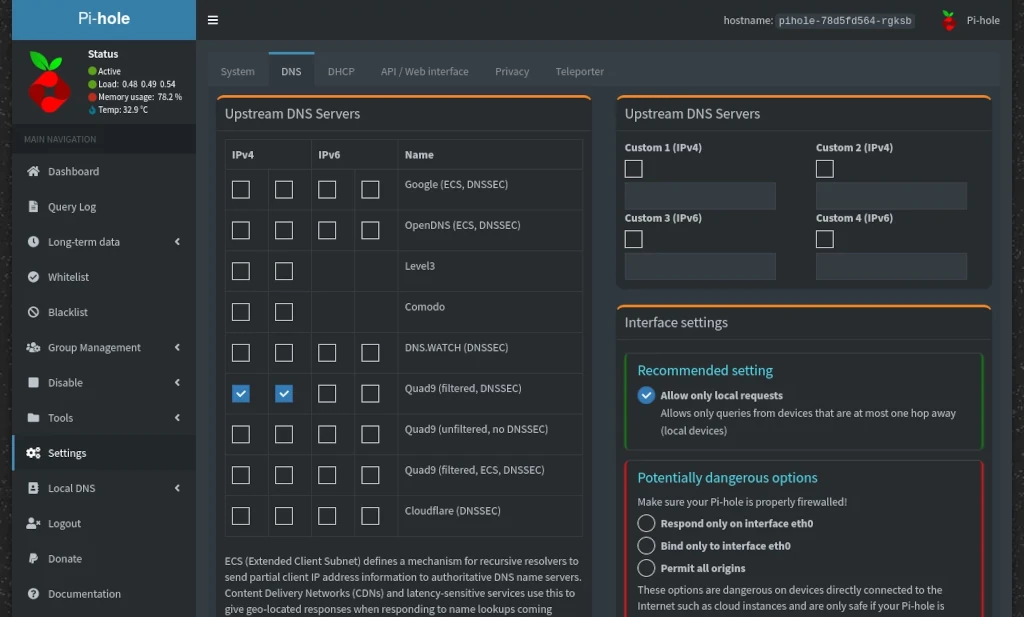
May Ignore Custom DNS Settings
Depending on what browser you’re using, in this case Mozilla Firefox, the browser will completely ignore whatever DNS settings your computer is configured to use. As I show further on in this article, without modifications Firefox sends all DNS queries to Cloudflare’s DNS servers using DNS Over HTTPS. This can be important in corporate networks (see below) or if you make use of a something like a self hosted Pi-hole server for handling your DNS queries. You will need to modify your browser settings to make sure that DNS Over HTTPS is behaving in the way you expect.
Corporate Networks
Many corporate networks do inspection of network traffic as a security measure. This inspection is often done through examining DNS requests. When DNS traffic is encrypted, however, it’s impossible to perform this kind of scanning.
Some browsers, like Google Chrome, have considered exactly this possibility. When used in managed corporate environments that deploy appropriate network policies, Chrome does not enable DNS Over HTTPS by default.
Internet of Things Devices
While DNS Over HTTPS is designed to improve privacy online, It’s possible for it to be used in a manner that works against your online privacy. It is possible for IoT (Internet of Things) devices to come hard coded with their own DNS Over HTTPS settings that are not able to be modified by the device owner. In this scenario, you have zero control over who resolves the DNS queries of the device – as a result, potentially providing information of your online activity using the device to whoever controls the DNS servers.
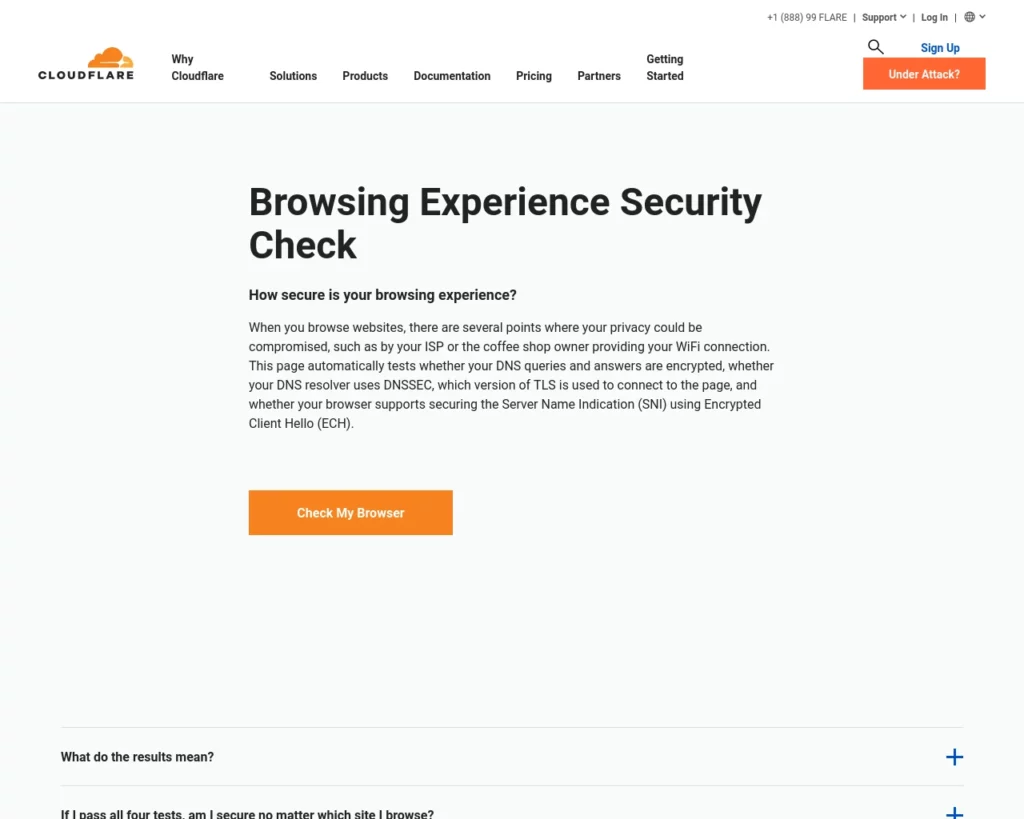
Check Your Current Browser
It’s easy to check whether you’re currently using DNS Over HTTPS. Cloudflare has created an easy to use Browsing Experience Security Check that can tell you how your computer scores with just the click of a button.
How To Modify Your Web Browser Settings
I’ve detailed here how to modify the settings for Google Chrome, Microsoft Edge, and Mozilla Firefox below. Continue reading after the browser instructions for my thoughts on which DNS providers to use.
Google Chrome
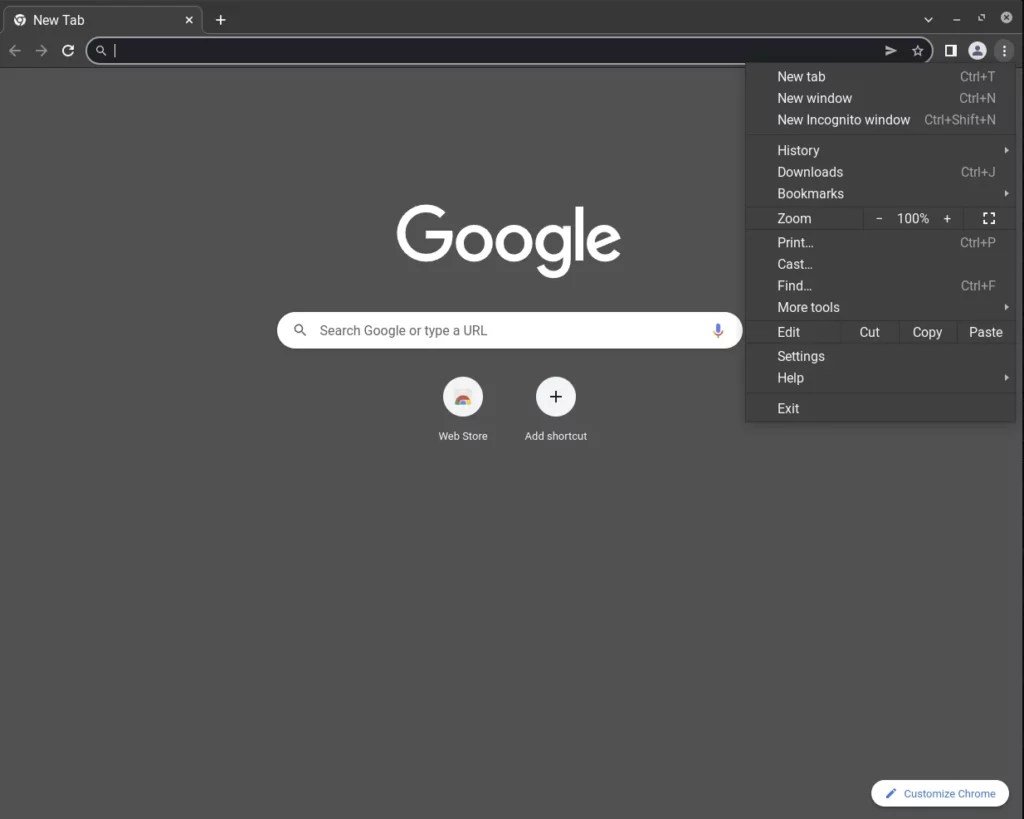
In Google Chrome, start by clicking the Menu Button (it looks like 3 vertical stacked dots) and then click on Settings.
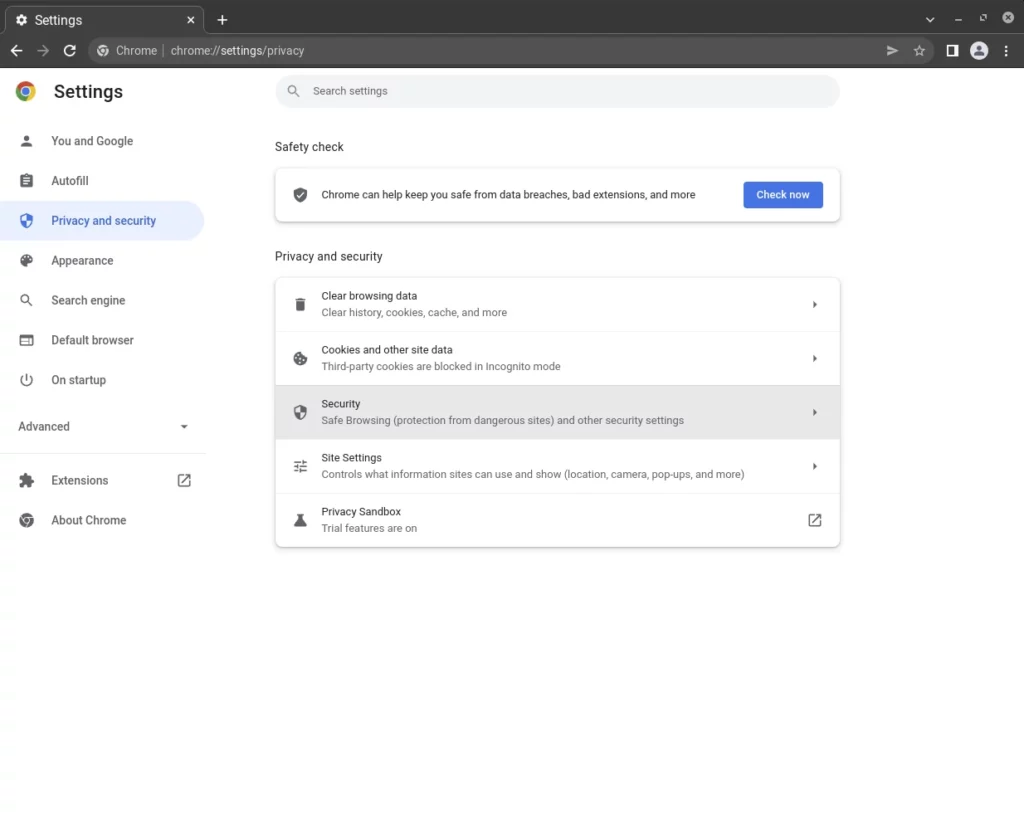
On the left side of the screen, choose Privacy and Security, then in the main part of the screen click where it says Security.
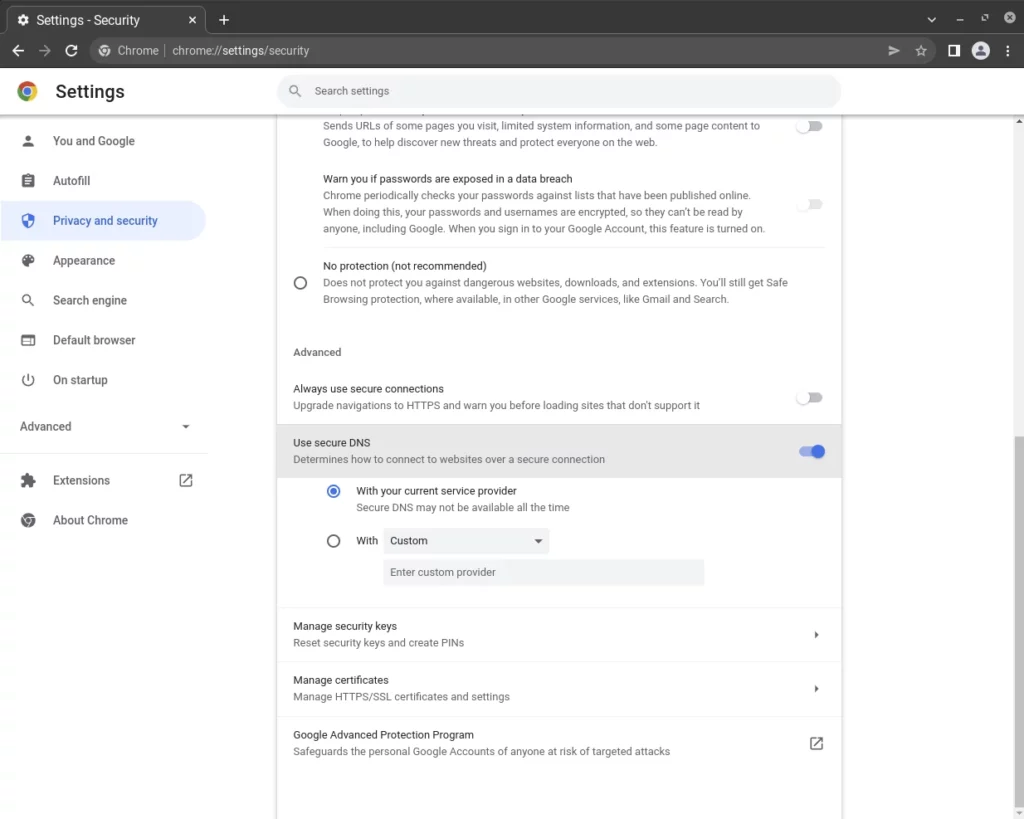
Now, scroll down until you come to the Advanced heading where you’ll see Use Secure DNS. By default, Chrome is set to have secure DNS enabled, but it’s set to use whatever DNS servers your computer would use by default.
This is fine if you’re happy using your default DNS server (most people use DNS from their ISP – ex: Xfinity, Verizon, Cox). If you’d prefer to use another DNS server, select the option with the Custom drop down box. You can choose one of the predefined options in the drop down box, or if you leave the box set to Custom, you can enter the IP address for your chosen provider in the box that says Enter Custom Provider.
Microsoft Edge
In Microsoft Edge, start by clicking the Menu Button (it looks like 3 horizontal dots) and then click on Settings.
On the left side of the screen click on Privacy, Search, and Services.
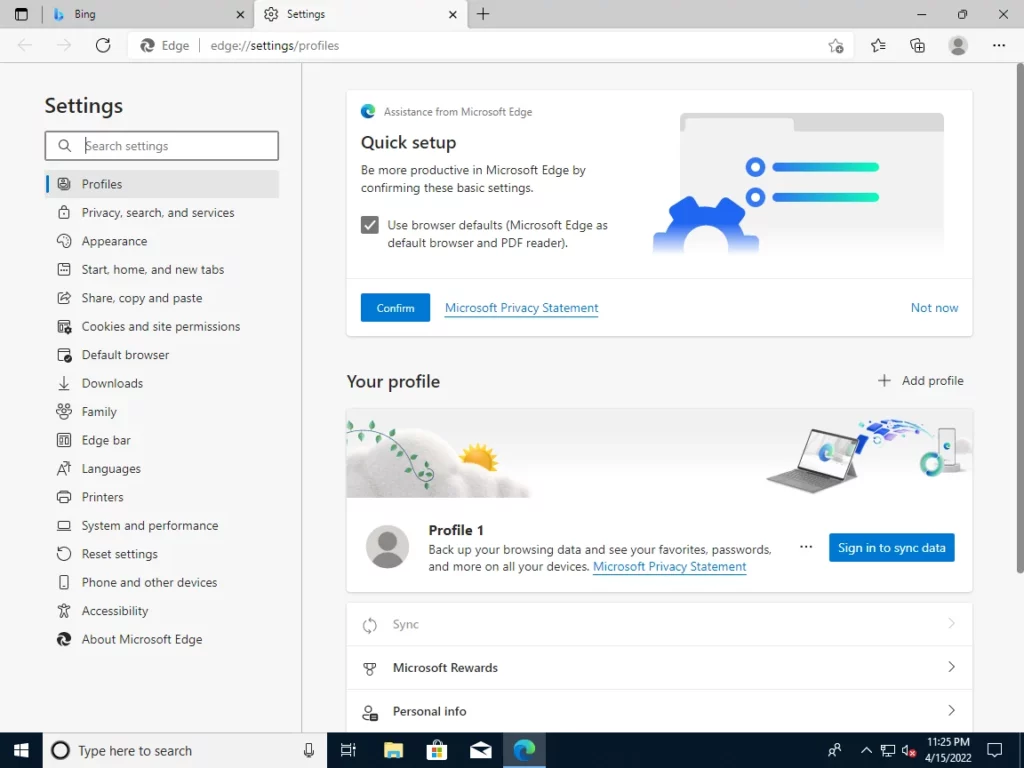
Now, scroll down until you reach where it says Use Secure DNS To Specify How To Lookup The Network Address For Websites. Edge has this setting enabled by default, but it’s set to use whatever DNS servers your computer would use by default.
This is fine if you’re happy using your default DNS server (most people use DNS from their ISP – ex: Xfinity, Verizon, Cox). If you’d prefer to use another DNS server, select the option Choose A Service Provider. You can choose one of the predefined options in the drop down box, or you can enter the IP address for your chosen provider.

Mozilla Firefox
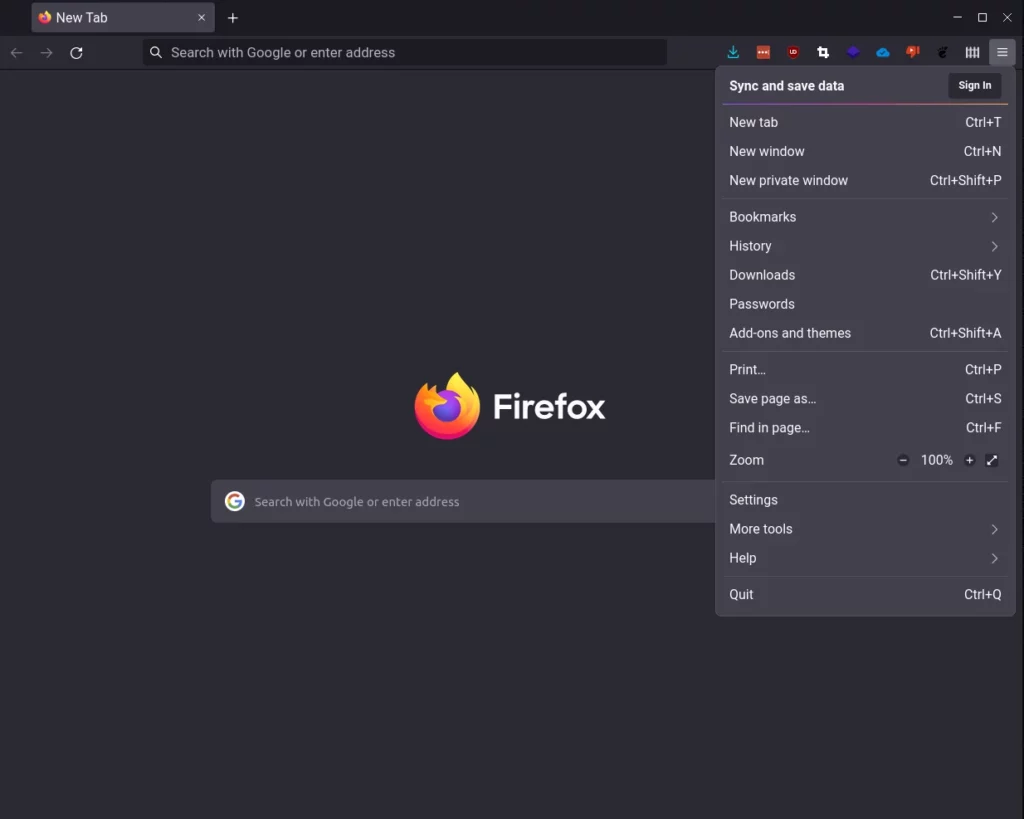
In Mozilla Firefox, start by clicking the Menu Button (it looks like 3 vertical stacked lines) and then click on Settings.
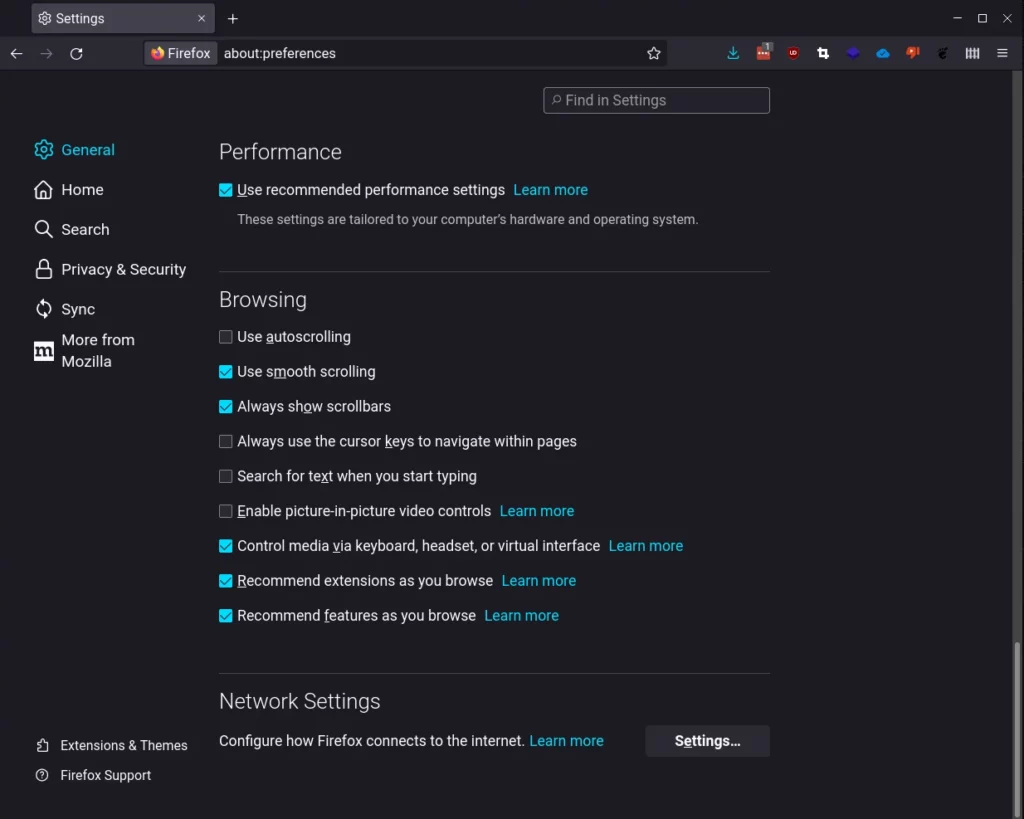
Now, scroll down to where it says Network Settings and then click the Settings… button.
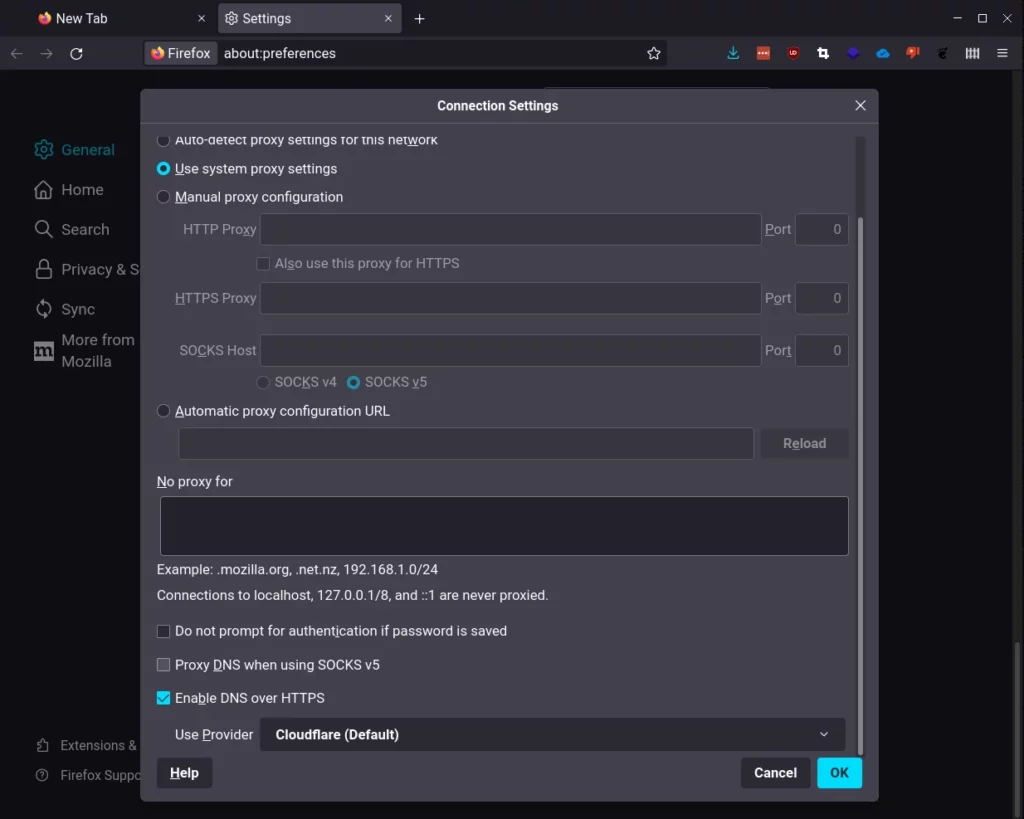
Scroll down to the bottom and you’ll see a check box that says Enable DNS Over HTTPS. This is enabled by default and set to use the DNS servers from Cloudflare.
Which Provider To Use
My recommendation on which DNS provider to use largely depends on your feelings regarding privacy. Odds are you wouldn’t be reading this article if you weren’t at all interested in improving your online privacy. With this in mind, I have two suggestions depending on how much effort you’re willing to put into them.
Improved Privacy The Easy Way
If you want improved privacy but don’t want to put a lot of work into it, change your DNS Over HTTPS settings to use Quad9 as your DNS provider. Quad9 is a not-for-profit foundation, started in the US but now based in Switzerland because of their superior privacy laws, that provides free DNS resolution services for everyone. Information on their settings / services can be found on their website.
Improved Privacy The DIY Way
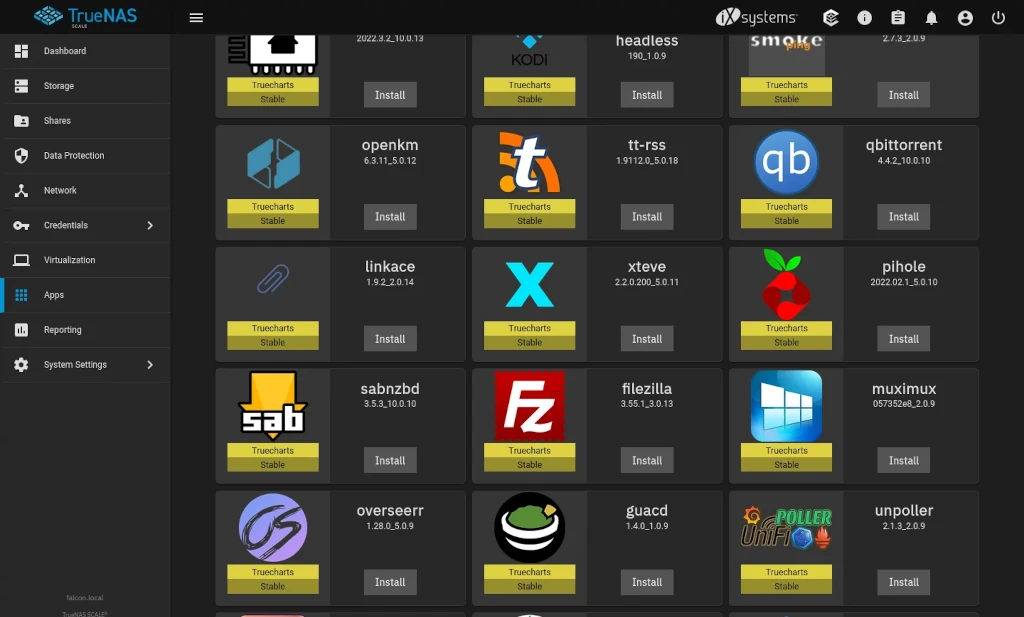
If you’re not afraid of taking on a project or if you like the idea of having as much control as possible over your online privacy, my recommendation for DNS provider is to setup your own server using Pi-hole. I’ve written an entire series on what Pi-hole is, how to install it, and how to configure it. Give my article “What Is Pi-hole & Why Would You Want To Use It?” a read to see if this is something you’d like to setup for yourself.
Thanks
If you found this tutorial helpful or have any questions, I encourage you to please share it with others and/or leave a comment below. If you would like to support our efforts to create additional resources like this, please consider making a donation. Your support is greatly appreciated! Thanks for reading and I hope you visit again soon!