This tutorial details the steps necessary to setup a working Pi-hole installation using Docker / Docker Compose. The server I’m using for the purpose of this tutorial is Debian 11 but should also work for Ubuntu or other similar distros. Aside from package installation, this tutorial should work fine with other non-Debian based distros. This tutorial will be updated in the future to reflect changes as necessary.
This article is part of my Pi-hole series. Be sure to check out the other articles in this series for additional information.
Pi-hole Series Index
- What Is Pi-hole & Why Would You Want To Use It?
- Installing Pi-hole On Debian / Ubuntu Servers
- Installing Pi-hole Using Docker — You Are Here
- Installing Pi-hole On TrueNAS Scale
- Basic Pi-hole Configuration
- Using Gravity Sync To Sync Multiple Pi-hole Instances
- Advanced Pi-hole Config: Recursive DNS With Unbound
- Using Pi-hole Local DNS And Why It’s Important In Your Homelab
Before We Begin
A few things we need to address before we begin.
Where To Install
First, you’ll need to have somewhere to install the Pi-hole software to. As the name implies, Pi-hole was designed with the idea of running it on an inexpensive Raspberry Pi system. Whether you choose to run your system on dedicated hardware like a Raspberry Pi or in a virtualized environment is up to you – both work just fine.
Going through the process of getting this server running is outside of the scope of this tutorial. It assumed going forward that you have a system ready for configuration / software installation.
A note about installing to a server in the cloud (outside of your private network) – It is absolutely possible to setup a Pi-hole to function on a server from a popular cloud provider such as such as a Linode node (affiliate) or a DigitalOcean droplet (affiliate), however, doing so properly requires additional firewall configuration that is outside the scope of this tutorial.
Network Settings
Pi-hole is intended to run on systems with a static IP address. This tutorial assumes that the environment you’re installing to is already configured to use a static IP address.
A Note About Modern Browsers & DNS
Most modern browsers have the ability to use what’s called DNS Over HTTPS. While, generally speaking, this is a great feature, depending on how it’s configured it might skip your device’s configured DNS settings. This means, if you’re using a Pi-hole for your DNS, your browser might not be making use of it – negating it’s usefulness. I’ve written a post “DNS Over HTTPS – Everything You Need To Know” to help you sort out these settings.
1 – Package Installation
We’ll begin by making sure that everything on the system is fully updated and then install any packages we need for the project.
sudo apt update && sudo apt upgrade -yYour system may have some of these packages installed already, but it doesn’t hurt to run the command with them included just in-case they aren’t.
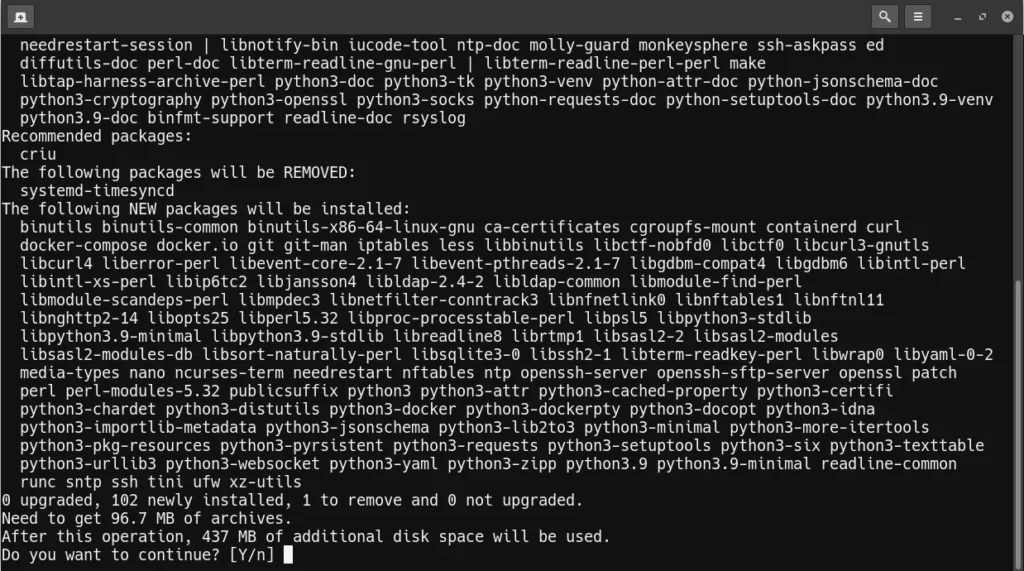
sudo apt install ssh ufw ntp curl nano docker.io docker-composeWhen you run this command you’ll see output that looks roughly like this. Press Y then enter to continue.
A little about these packages …
- SSH – Secure Shell – for the purposes of being able to easily remote into the Pi-hole operating system. For the purposes of this tutorial, we’re leaving the default SSH configuration in place.
- UFW – Uncomplicated Firewall – used to restrict the ports that can be used to access this server.
- NTP – Network Time Protocol – syncs the computer clock with internet based time servers / installed as a best practice for keeping accurate server logs.
- CURL – Client URL – used by the Pi-hole’s installation command to retrieve the installer script from their servers.
- NANO – editor we’ll be using in this tutorial for modifying configuration files. If you prefer another editor, such as vim or emacs, you may use those editors instead. For the purposes of a tutorial, however, it’s easier to demonstrate using nano.
- DOCKER.IO – this is the Docker software itself
- DOCKER-COMPOSE – allows us to more easily configure and deploy docker containers
Once the packages have installed, we can move on to installing the Pi-hole software..
2 – DOCKER COMPOSE FILE
We’ll be deploying our Pi-hole docker container using Docker Compose. To begin, we need somewhere to put a docker-compose.yml file for this purpose. I prefer to create a docker folder under my home folder and then a folder underneath that for each container I’ll be deploying – in this instance, a folder called pihole. To create the necessary folders and change into the pihole folder, execute these commands:
mkdir -p ~/docker/pihole
cd ~/docker/pihole
Next, we’ll use the NANO editor to create our docker-compose.yml file. To make things easy, I suggest you copy / paste my example configuration and make changes if necessary for your needs. If you must type this information in manually, please be aware that the indents are done using spaces and not tabs – this is actually very important.
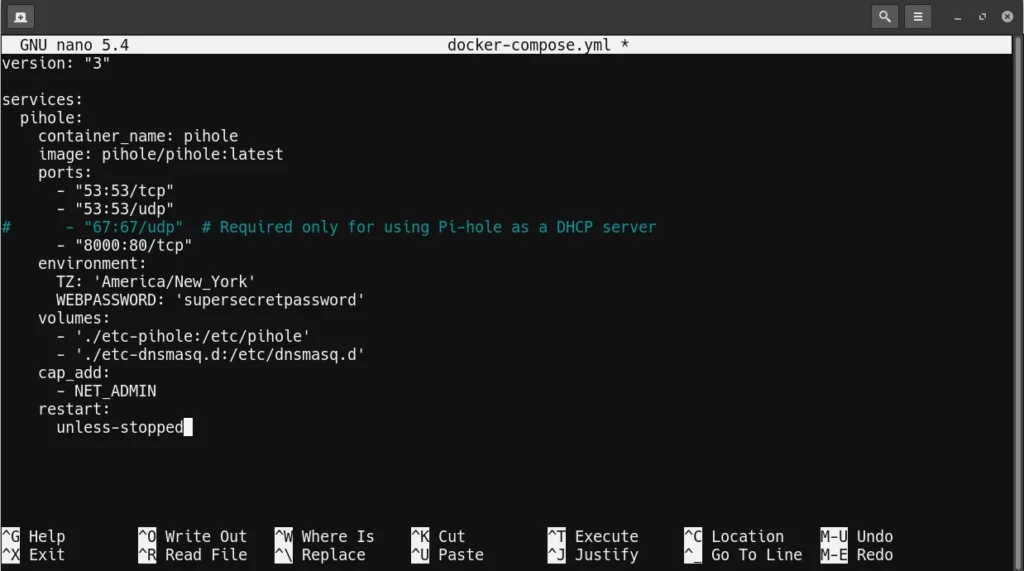
nano docker-compose.ymlOnce you’re inside of NANO, paste in the following:
version: "3"

services:
  pihole:
    container_name: pihole
    image: pihole/pihole:latest
    ports:
      - "53:53/tcp"
      - "53:53/udp"
#      - "67:67/udp"  # Required only for using Pi-hole as a DHCP server
      - "8000:80/tcp"
    environment:
      TZ: 'America/New_York'
      WEBPASSWORD: 'supersecretpassword'
    volumes:
      - './etc-pihole:/etc/pihole'
      - './etc-dnsmasq.d:/etc/dnsmasq.d'
    cap_add:
      - NET_ADMIN
    restart:
      unless-stopped
The docker-compose.yml file sets up all of the information necessary for docker to create and configure our container. Let’s discuss what some of those things are:
Container Name
This can be anything you choose to name the container. For this example, I’m simply using the name pihole. If i were planning to deploy multiple Pi-hole containers across multiple servers I might want to name them something like pihole1 and pihole2.
Image
Here we tell docker which container image to pull from the Docker Hub repository. In this case we’re using the official pihole:latest image.
Ports
This is how we configure which ports the container will expose from inside of the container to the outside world. The left side port is outside of the container and the right side port is what port it will correspond with inside the container.
You’ll notice in my example configuration that I have a # at the front of the line for port 67 to comment this line out. You’ll only to make use of port 67 if you plan to use your Pi-hole as a DHCP server on your network. Simply delete the # from the line if you want to make use of port 67. See my article on Advanced Pi-hole Configuration for additional information on using Pi-hole for DHCP.
Also take notice that I’ve specified to use a different port than port 80 for my web management interface – instead I’ve set the configuration to use port 8000. This is a matter of personal preference. You can change this to the default value of 80 or any other port you’d prefer to use for accessing the Pi-hole web admin interface that works for your environment.
Time Zone
If you need to modify the time zone information to fit your location you’ll want to do so before you save and exit. Wikipedia has a list of tz time zones that you can refer to if you don’t know what yours is.
Password
This is where you can specify what you want the web admin password to be. Please note – while this is how Pi-hole claims you should specify the password, this has never worked for me. Instead, as part of this tutorial I’ll show you how to set the password after the container has been created.
Restart
This is the last setting we’ll discuss here – specifying to unless-stopped tells Docker to restart this container if it stops running for any reason unless we actually tell Docker to stop it.
To save your file inside nano, press CTRL + X to exit and when prompted press Y to save the changes.
3 – Container Install
Now that we have our configuration file ready we can have Docker create our container. You should still be inside of our pihole folder that we created our config file inside when you run this command:
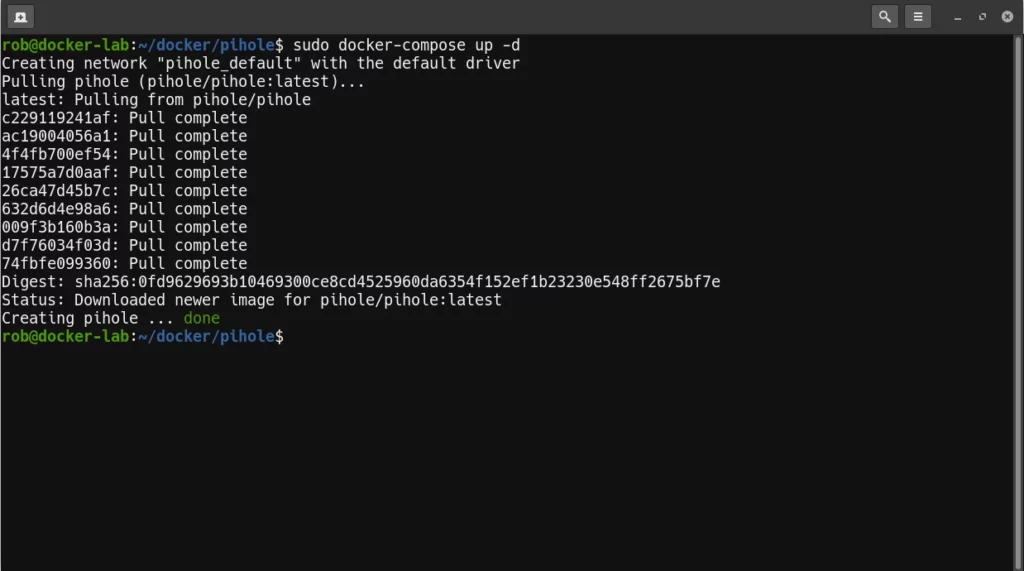
sudo docker-compose up -dDocker Compose will go out to Docker Hub and retrieve the necessary images and configure them for us. When complete the result show look similar to this screenshot.
You can check that your Pi-hole container is running with the following command.
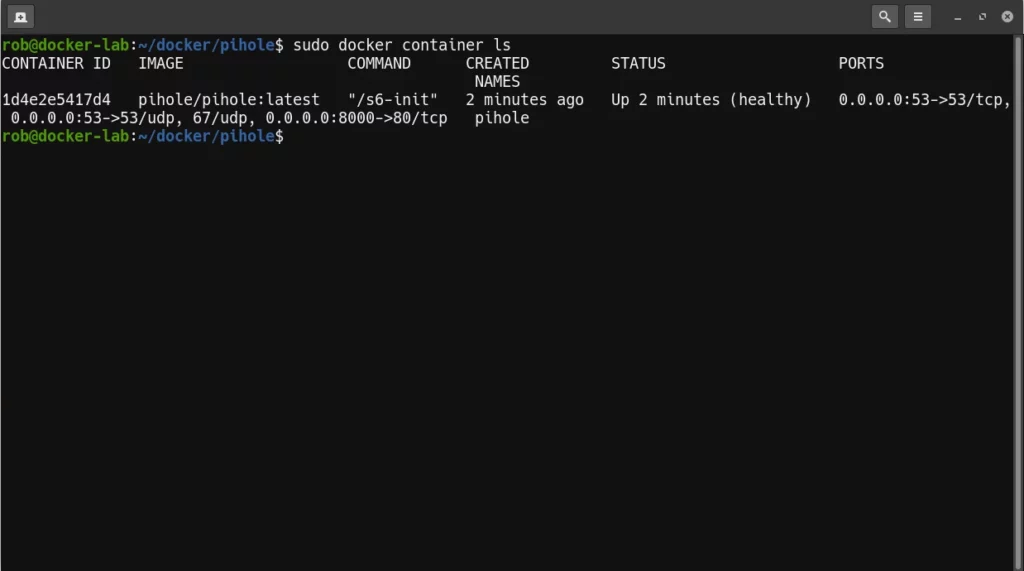
sudo docker container lsThe resulting list would look something like this if the Pi-hole container is your only container.
4 – Pi-hole Web Admin Password
As I mentioned previously, I’ve never had luck with setting the admin password via the config file. To fix this problem we can call the pihole command inside of the container to set a new password.
sudo docker-compose run pihole pihole -a -pHere we’re telling Docker Compose to run the command pihole -a -p inside the pihole container. You’ll be prompted to enter and confirm a new password.
5 – Web Interface
Now that we’ve completed the installation, we can connect to our web admin interface. To do this you need to know the IP address of your server. Additionally, if you changed the admin port as part of our container config, you’ll need to know that as well.
For my example, the system IP is 172.16.30.10 and I’ve configured the admin interface to listen on port 8000, making my example admin URL:
http://172.16.30.10:8000/adminWhen you browse to your URL it should look like this.
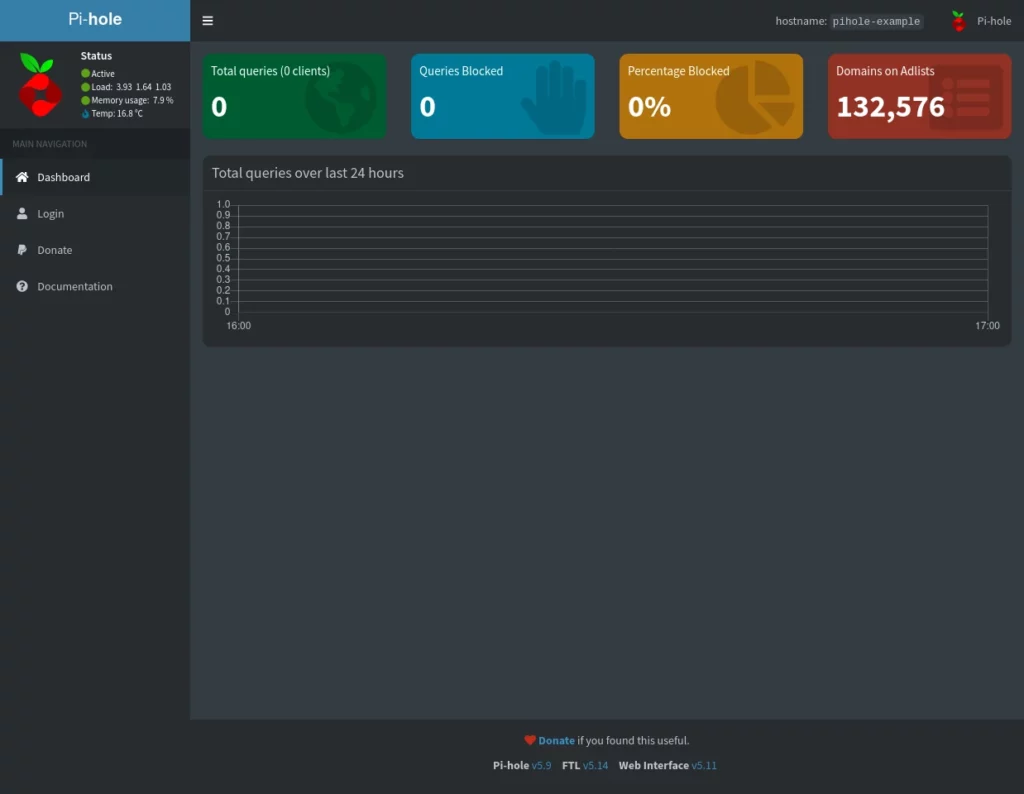
If you click on login on the left side you’ll get the login screen.
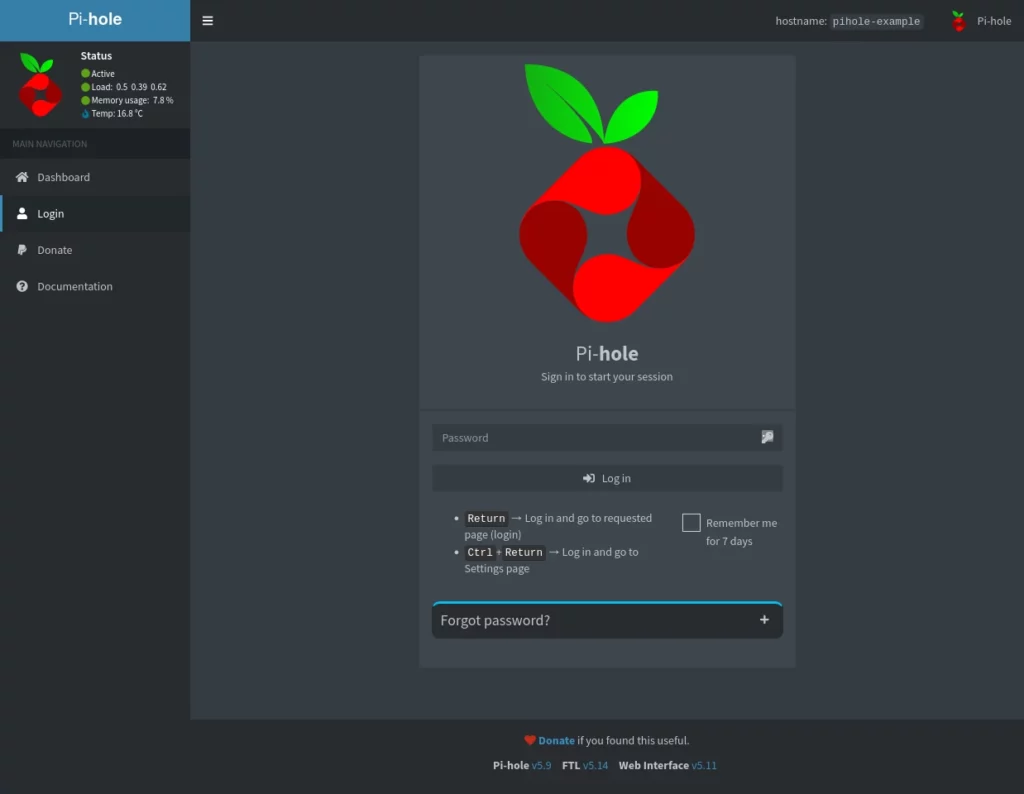
Once you login using your admin password, the main dashboard will load, as seen below.
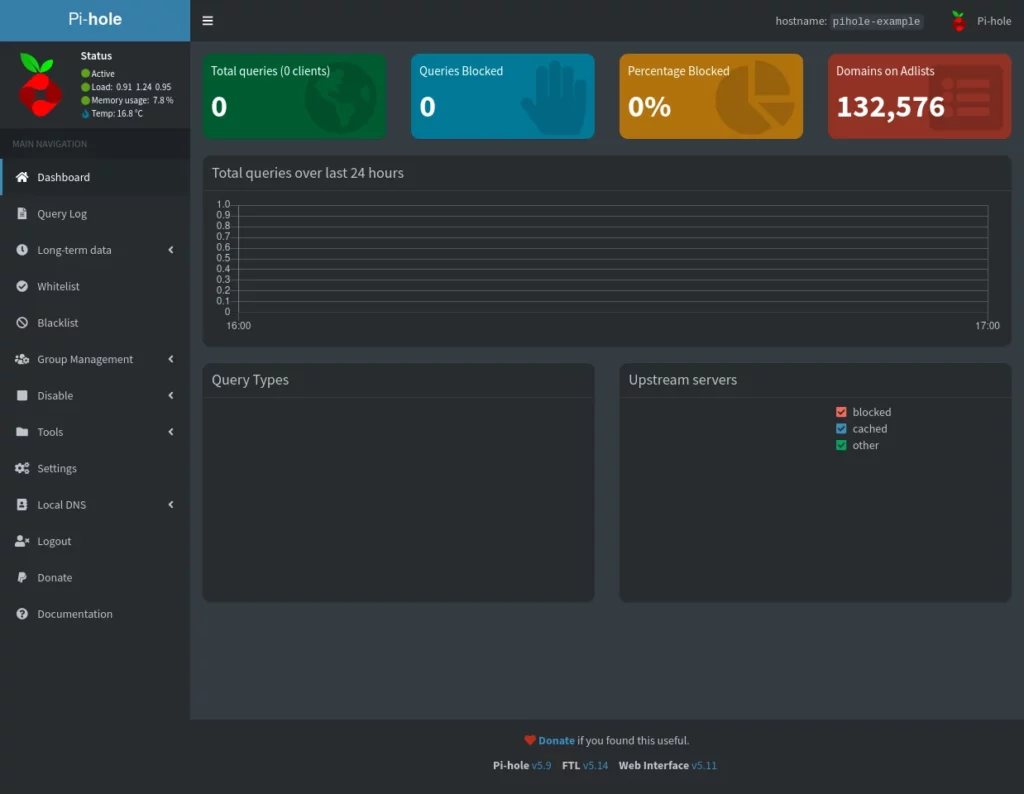
You’re ready to move on now to my article on Basic Pi-hole Configuration to help you get started with using your new Pi-hole DNS server.
If you found this tutorial helpful or have any questions, I encourage you to please share it with others and/or leave a comment below. If you would like to support our efforts to create additional resources like this, please consider making a donation. Your support is greatly appreciated! Thanks for reading and I hope you visit again soon!


Great tutorial! Had problems with other introductions, but this one worked great for me.
Thanks Stefan! Glad you found it helpful.
Very good tutorial. Worked first time for me. Thank you for doing a great job.
You’re welcome!
This is the BEST tutorial for running Pihole in a container, thanks!!!!
You’re very welcome. Thank you for the compliment!
Great step by step instructions. I was able to get it running on the first try. I had found a link prior to this one and it kept giving me errors or I missed a step or could have done something wrong. After using this it seemed more clear on what needed to be done.
Thanks
You’re welcome! Glad it helped. To let you know, I have another tutorial in the works that will cover how to do Pi-hole via Docker that includes using Unbound instead of upstream DNS.
Great tutorial – noticed that your docker-compose used a single ` instead of a double “. I was able to get my password added, without issue.