If you’re like me, you care about the accuracy of your website analytics. My search for more accurate data led me to switch my site analytics to Plausible. While data accuracy wasn’t my only reason for switching, it certainly played a large part in the decision.
Plausible estimates that anywhere from 6 to 26% of your site’s traffic is shielded from your analytics due to ad-blockers and other privacy plugins / browsers depending on the audience of the website. For more technical audiences – such as the one for this website – that number can exceed 50%.
In this tutorial, we’ll cover everything you need to setup a proxy of the Plausible scripts that will allow your site analytics to bypass ad-blocking tech and improve the accuracy of your website data.
Table of Contents
Prerequisites
Before you can proxy Plausible Analytics for your website(s), there are a few prerequisites you’ll need to be sure you have ready.
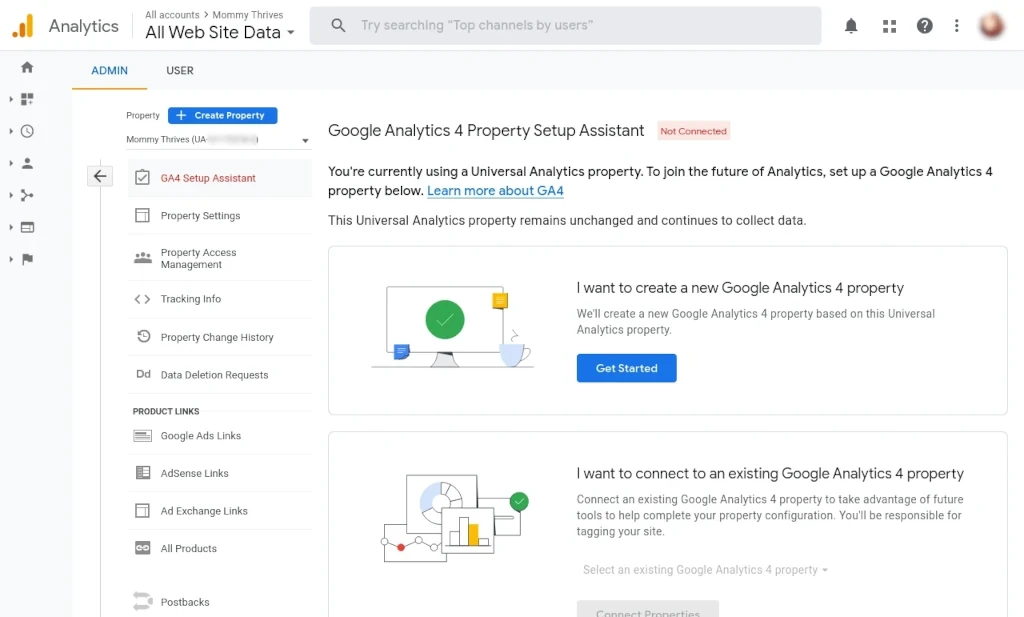
Plausible Account
It should go without saying that you’ll need an account setup with Plausible for your website(s). If you haven’t setup your account yet, it’s very easy to setup your site once your account is created.
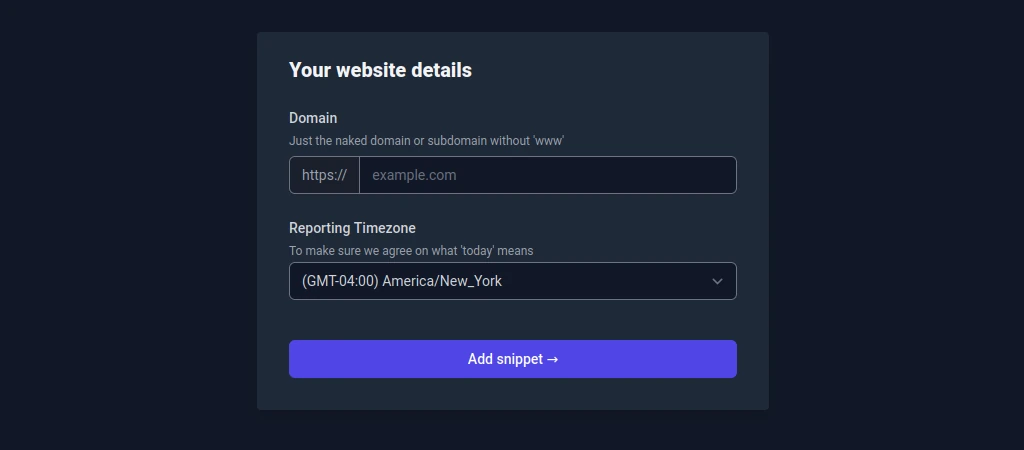
Once you’ve added the site to their system, however, do not deploy their JavaScript code to your site that points to their servers. We’ll add appropriate code in this tutorial that will point to your proxy instead.
Cloud Based Server
In this tutorial we’ll be making use of a cloud server instance running Debian Linux and Nginx. Nginx is a popular open source web server / reverse proxy solution.
If you don’t already have a cloud server account with a reputable provider, a couple of the ones that I can recommend personally include:
- Akamai – formerly Linode (affiliate)
- DigitalOcean (affiliate)
To the homelab crowd – while it’s entirely possible to run this reverse proxy from your lab, I’d encourage you not to do so unless your home is configured with redundant ISPs and you have appropriate battery backups for your servers and network. Otherwise, in the event of a network or power outage, the reverse proxy will fail until the issue is resolved.
NOTE: Nginx isn’t the only possible reverse proxy you could use for this purpose. You could opt for something like HAProxy or Caddy instead. Additionally, it’s possible to setup a proxy for your analytics using only Cloudflare – without the need for a cloud based server. Let me know in the comments section, below, if you’re interested in tutorials on any of these options.
Shared Hosting Providers
If your website is hosted with a standard shared web hosting provider – such as Siteground or DreamHost – it’s not typical that these sorts of providers will allow you to setup a reverse proxy on their shared systems. However, if your hosting provider offers VPS / cloud servers, you might be able to setup a reverse proxy on one of these options.
Please be aware, though, that this kind of account with a typical hosting provider can often be expensive compared to other providers like the ones I’ve linked to, above.
You’ll want to check with your provider to see what your options are.
Server IP Address
In order to setup the domain / subdomain that will function as your analytics proxy, you need to know the IP address of the server hosting the proxy.
SSL Certificate
You’ll need a valid SSL certificate for the domain / subdomain that will proxy your analytics. You can use any certificate provider you prefer. The most popular option is likely to obtain certificates via Let’s Encrypt – which I cover in my Nginx Reverse Proxy tutorial.
Dedicated Domain or Subdomain
While it’s possible to proxy Plausible off of your primary domain, it’s a bit easier to do so from another domain or via a subdomain. This method has the added benefit that you’re able to manually setup an ad-blocker in your browser – such as uBlock Origin – to prevent your own traffic to your website from being counted in your site’s visitor data.
There’s no advantage to using an entirely separate domain for proxying your analytics. However, it could be a matter of personal preference for you to do so.
Regardless, whether you choose to use a separate domain or a subdomain of your existing domain, you’ll need to have access to wherver your domain’s DNS is hosted. Whether it’s with your domain registrar – like namecheap.com (affiliate), for example – a CDN like Cloudflare, or your web hosting provider.
Ability To Add JavaScript To Your Website
You’ll need to have appropriate access to your website’s code and the knowledge of how to insert a line of JavaScript into your site’s header.
Notice To WordPress Users
At this time there is a known issue with proxying Plausible’s analytics and their WordPress plugin. When I noticed the issue, I exchanged a few emails with Marko Saric, Plausible’s Co-Founder. In that exchange, he mentioned to me that they’re aware of the problem and are working on a new version that will work with proxies in the future. In the meantime, WordPress users will need to deploy the JavaScript code to their site, instead, in order to integrate Plausible Analytcs.
Setup Analytics Domain / Subdomain
I can’t conceivably document every possible interface for every service that could be hosting your domain’s DNS, however the concepts are the same regardless of provider.
To setup your domain, you’ll need to create either an A record (for IPv4) or AAAA record (for IPv6) that will point to the IP address of the server hosting your reverse proxy. On Cloudflare, it would look something like this:

Tips For Selecting Your Domain / Subdomain
Before you make the mistake I made when I first setup my analytics proxy, let’s talk about what kind of terms you want to avoid in your domain / subdomain. Using one of terms is likely to cause your analytics to be blocked by ad-blockers in your visitors’ browsers.
- plausible
- analytics
- tracking
- stats
Originally, I wanted to use a stats subdomain. It took me a bit before I realized that this was the reason why I wasn’t seeing anywhere near the kind of traffic in the data that I was expecting.
My personal recommendation is to use the subdomain pa (short for Plausible Analytics). For the purposes of this tutorial, all examples will use the following domain.
pa.yourwebsite.comIn the end, the choice of what domain / subdomain to use is yours to make. Think carefully about whatever option you decide to go with.
Obtain A SSL Certificate
Before we setup the reverse proxy itself, we want to have the SSL certificate for your domain / subdomain in place on the server. If you aren’t familiar already with how to obtain a SSL certificate, I recommend you check out my previously mentioned tutorial on “How To Setup & Configure A Nginx Reverse Proxy” before continuing. In that tutorial, I cover obtaining a certificate from Let’s Encrypt using Certbot.
Once your server has a valid SSL certificate in place, you’ll want to make a note of the path to the certificate files. You’ll need that information when you configure the reverse proxy.
Configure The Reverse Proxy Using Nginx
For this tutorial, I’m making use of the nano text editor, though any editor you prefer will work fine.
To create the reverse proxy configuration file, from a terminal:
cd /etc/nginx/sites-available/
sudo nano plausible-proxy
Copy the configuration details, below, then modify it with the appropriate values for your website.
server {

        listen 80;
        server_name pa.yourwebsite.com;
        return 301 https://pa.yourwebsite.com$request_uri;

}

server {

        listen 443 ssl http2;
        ssl_certificate /path/to/your/fullchain.pem;
        ssl_certificate_key /path/to/your/privkey.pem;

        server_name pa.yourwebsite.com;

        location = /js/script.js {
                proxy_pass https://plausible.io/js/script.js;
                proxy_set_header Host plausible.io;
                proxy_buffering on;
        }

        location = /js/script.outbound-links.js {
                proxy_pass https://plausible.io/js/script.outbound-links.js;
                proxy_set_header Host plausible.io;
                proxy_buffering on;
        }

        location = /api/event {
                proxy_pass https://plausible.io/api/event;
                proxy_set_header Host plausible.io;
                proxy_buffering on;
                proxy_http_version 1.1;
                proxy_set_header X-Forwarded-For   $proxy_add_x_forwarded_for;
                proxy_set_header X-Forwarded-Proto $scheme;
                proxy_set_header X-Forwarded-Host  $host;
        }

}
If you’ve obtained your SSL certificate via Let’s Encrypt, the path to your certificate files should look something like this:
/etc/letsencrypt/live/pa.yourwebsite.com/fullchain.pem
/etc/letsencrypt/live/pa.yourwebsite.com/privkey.pem
When you’ve finished making the necessary modifications, press CTRL + O then ENTER on your keyboard to save the file followed by CTRL + X to exit nano.
Next, we need to create a symbolic link that enables this configuration file.
cd /etc/nginx/sites-enabled/
sudo ln -s ../sites-available/plausible-proxy/
Next, let’s verify that there’s no errors with your new configuration file. Nginx includes a command that allows you to test everything before the changes are applied.
sudo nginx -tIf everything is fine, the result should look similar to this.
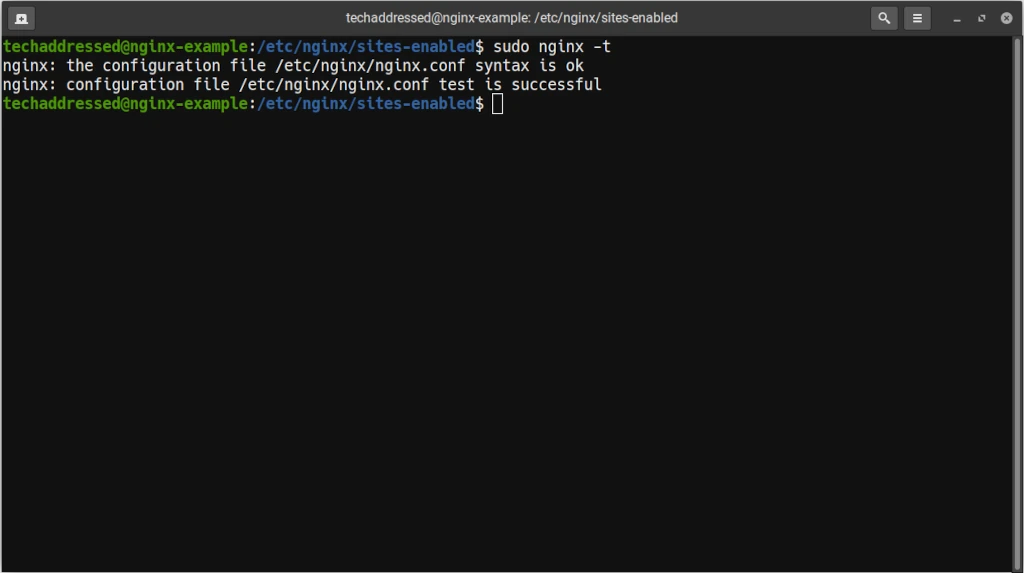
However, if Nginx detected a problem with your configuration it will give you an error and tell you on what line of what file the error exists for you to attempt to correct it. For example:
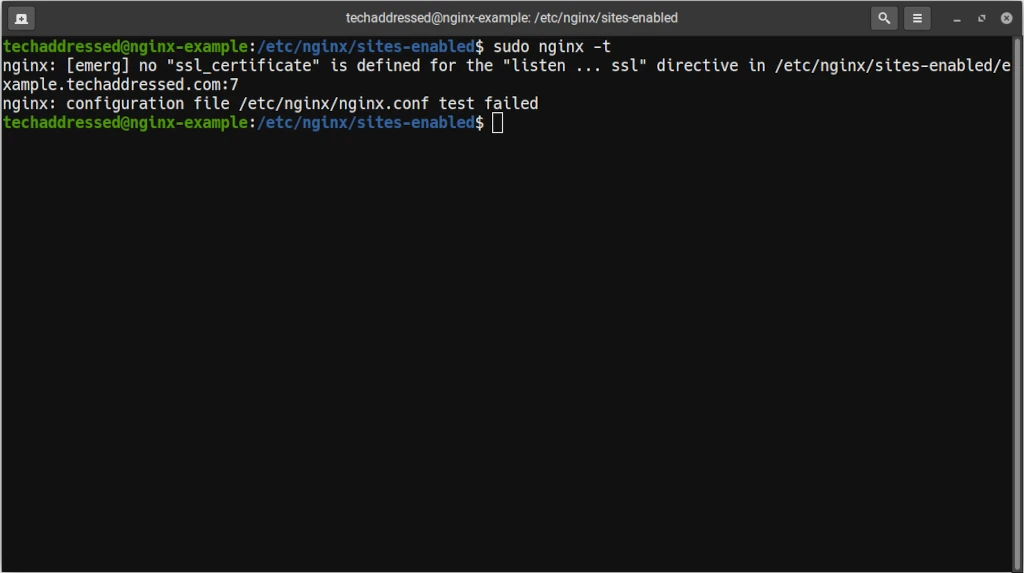
After you’ve made corrections, test your configuration again. When you’ve got no configuration errors, you’re ready to enable the reverse proxy.
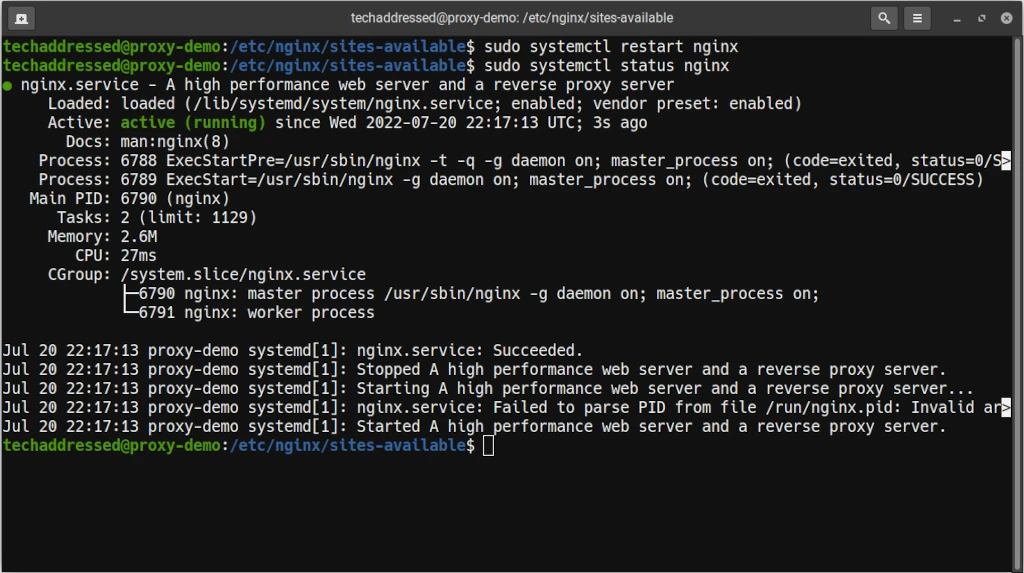
sudo systemctl restart nginxTo test that Nginx is working properly run:
sudo systemctl status nginxIf it is working properly, you’ll see a result similar to this:
With your reverse proxy configured in Nginx, it’s time to integrate Plausible into your website.
Add Analytics JavaScript Code To Website
To integrate Plausible into your site, you’ll need to include a line of JavaScript code into the page header for every page you wish to have tracked. If your site uses a content management system – such as WordPress – it should be possible to add this script in a single place such that it loads on every page.
You can choose between two different scripts to have load on your site – the default script.js file or script.outbound-links.js. The difference between the two is that one allows for the tracking of what links visitors click on that lead them out of your website.
Which ever of the two you use is completely up to you and your needs.
<script defer data-domain="yourwebsite.com" data-api="https://pa.yourwebsite.com/api/event" src="https://pa.yourwebsite.com/js/script.js"></script><script defer data-domain="yourwebsite.com" data-api="https://pa.yourwebsite.com/api/event" src="https://pa.yourwebsite.com/js/script.outbound-links.js"></script>You’ll want to make sure to have this code load as early in the page loading process as possible – hence why you want to deploy it in the page header. If your site isn’t designed to allow you to add it to the header, you should deploy the code at the very top of the page body.
After the JavaScript code is in place, it’s a good idea to clear any caches of the website that might exist. Once this is done, you should start receiving analytics data in your Plausible dashboard.
Using Your Proxy With Multiple Websites
If you decide you want to deploy Plausible on additional websites, add your site into the Plausible dashboard and then deploy a modified form of the JavaScript code above. In the following example, the only change that needs to be made is the data-domain value.
<script defer data-domain="yourotherwebsite.com" data-api="https://pa.yourwebsite.com/api/event" src="https://pa.yourwebsite.com/js/script.js"></script>In this example, the data-domain is set to yourotherwebsite.com instead of yourwebsite.com.
Wrapping Up
Congratulations! You’ve successfully configured a Plausible proxy, and your website is now collecting more accurate data. If you found this tutorial helpful and would like to support our efforts to create additional resources like this, please consider making a donation. Your support is greatly appreciated!
If you can’t make a donation, please consider sharing this tutorial with others who may be interested. If you have questions about anything regarding this review, please be sure to leave them in the comments below. Thanks for reading, and I hope you visit again soon!