If you need to setup a high availability Galera cluster, you’ve come to the right tutorial! In 9 easy-to-follow steps you’ll learn how to configure MariaDB on your Debian / Ubuntu based servers to ensure your databases continue functioning in the event of a system failure.
Prerequisites
For your Galera cluster, you’ll need a minimum of three servers or virtual machines with static IP addresses running either Debian or Ubuntu. You can use more than three nodes in your cluster, however, the total number of nodes should always be an odd number in order to satisfy cluster quorum.
These server nodes can exist either in your own network or in the cloud. If you’re in need of cloud servers, I can personally recommend both Linode (affiliate) and DigitalOcean (affiliate) as quality service providers.
Tutorial Example
For this tutorial, I created three virtual machines running Debian 11 “Bullseye” with the following names and IP addresses:
- galera-example-01 / 172.16.11.201
- galera-example-02 / 172.16.11.202
- galera-example-03 / 172.16.11.203
While I’ve used Debian for my operating system, this tutorial should work without issue on Ubuntu servers as well. If you’re curious, I wrote an article that details the main reasons why I prefer Debian over Ubuntu.
1 – Package Installation
First things first – make sure your packages are updated.
sudo apt update && sudo apt upgrade -y && sudo apt autoremove -yNext, install the necessary packages on all of your server nodes.
sudo apt install mariadb-server ufw ntp -yWhile the ufw (uncomplicated firewall) and ntp packages (network time protocol) aren’t exactly necessary, it’s a good idea to include both as accurate time keeping is essential – especially in clustered setups – and every server should have a firewall configured.
2 – MariaDB Secure Installation
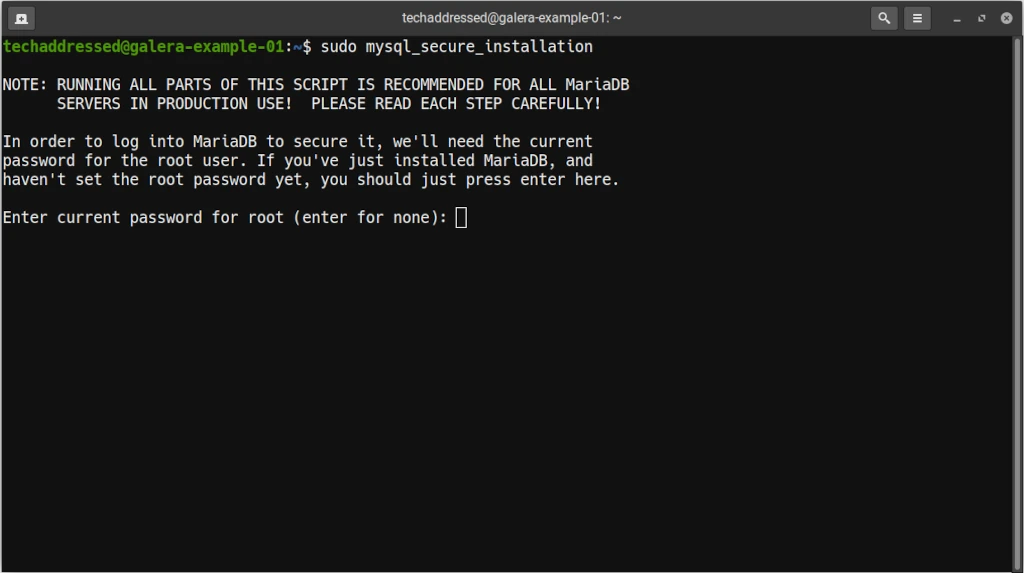
On each server node you’ll need to run the secure installation wizard.
sudo mysql_secure_installationThis process will step you through things like setting up your MariaDB root password as well as a few other items. The general rule I follow when stepping through these questions is to answer Y for yes to every appropriate question.
If it’s helpful to you, I’ve stepped through the entire wizard here. You can skip ahead to the next step if you are comfortable with this process already.
When asked to enter your current root password – on a brand new server you won’t have an existing root password so just press ENTER here for none.
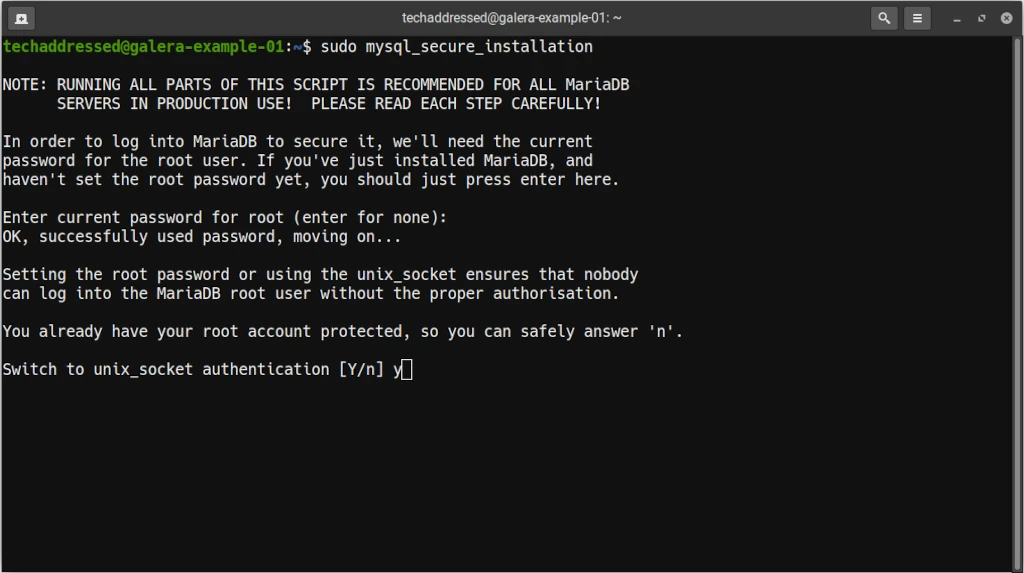
The next question asks to switch to unix_socket authentication. Whether you use standard ports or Unix sockets is up to you depending on your needs. If you’re uncertain, you probably should answer N to use standard ports. Type Y or N and press ENTER.
IMPORTANT – please note that this question isn’t asked on Ubuntu servers.
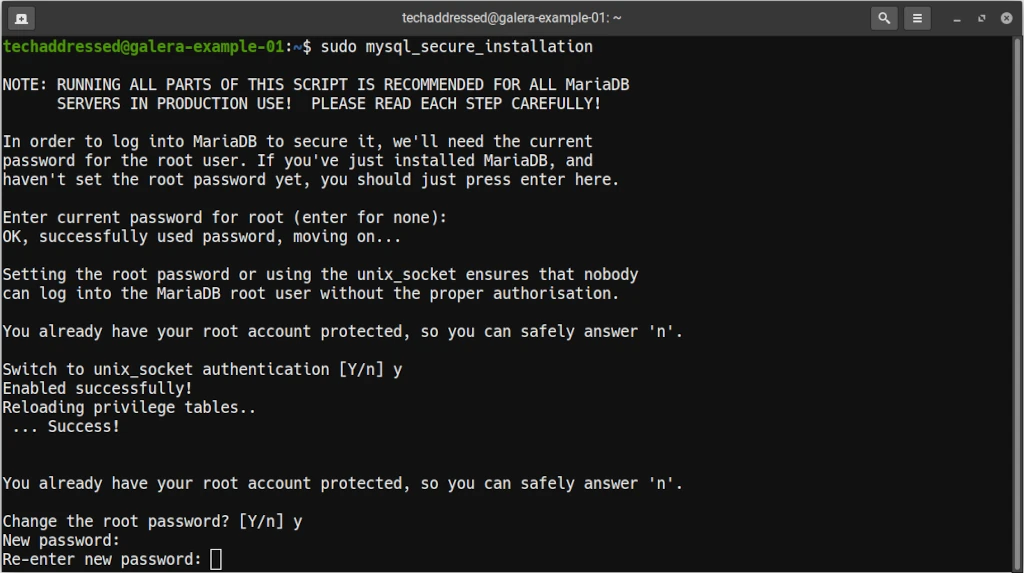
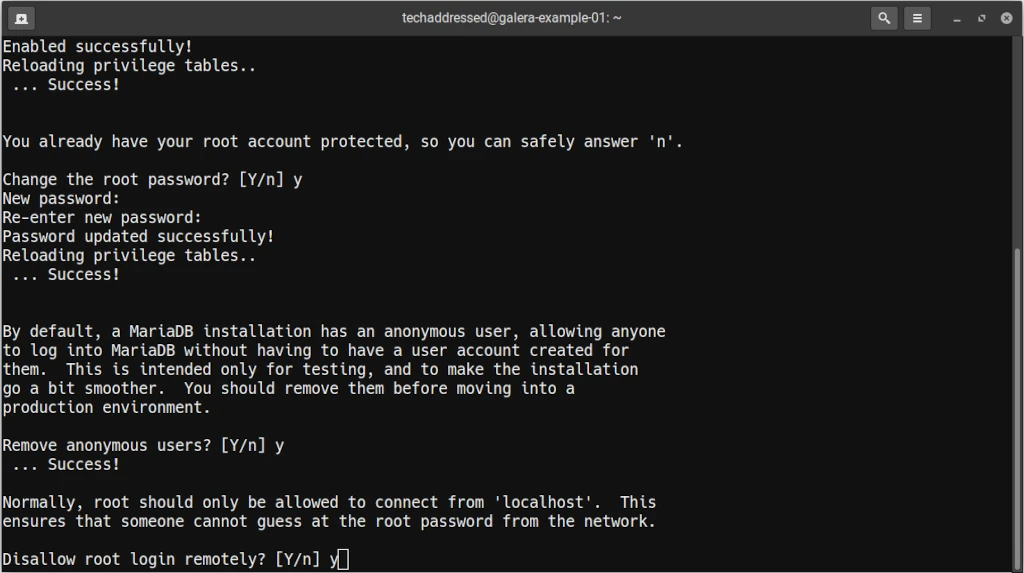
Next, you’re asked if you wish to change the root password. Seeing as we’ve yet to configure one, answer Y then press ENTER, then input your new MariaDB root password.
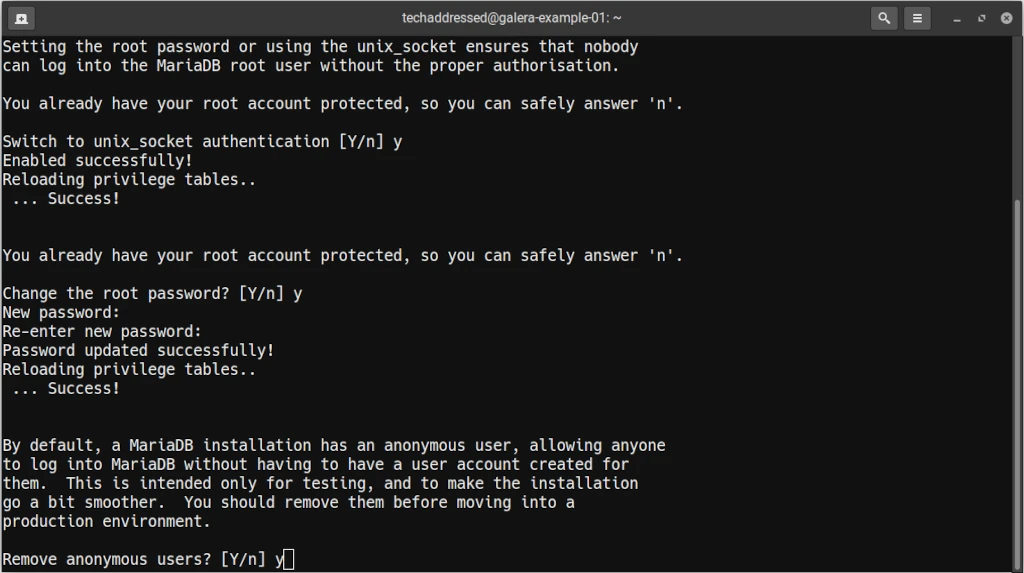
The next prompt mentions that MariaDB includes an anonymous user by default that allows anyone to login without having an account created and asks if you wish to remove this anonymous user. Answer Y and press ENTER to continue.
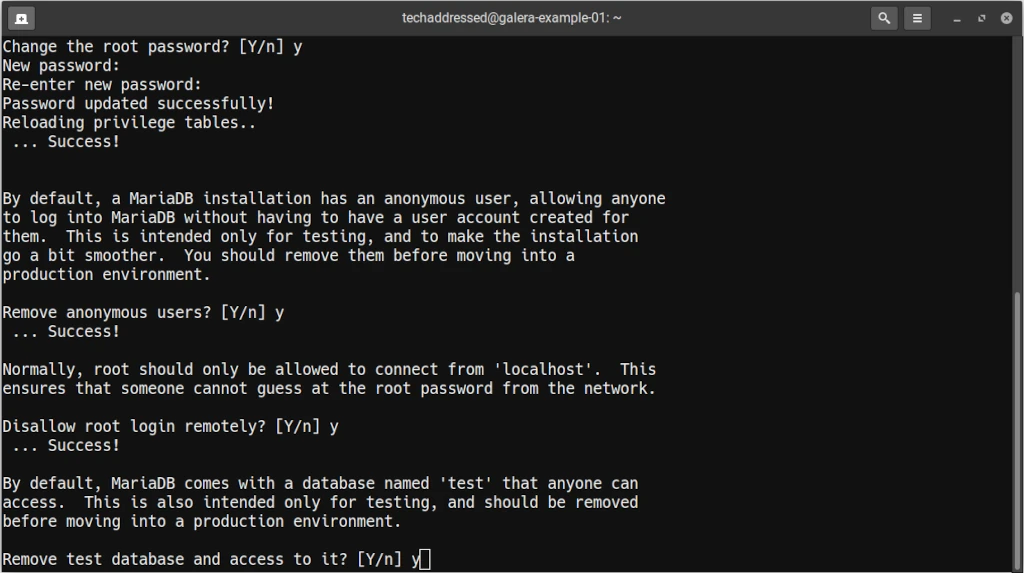
When prompted if you wish to disallow remote root logins, answer Y and press ENTER to continue.
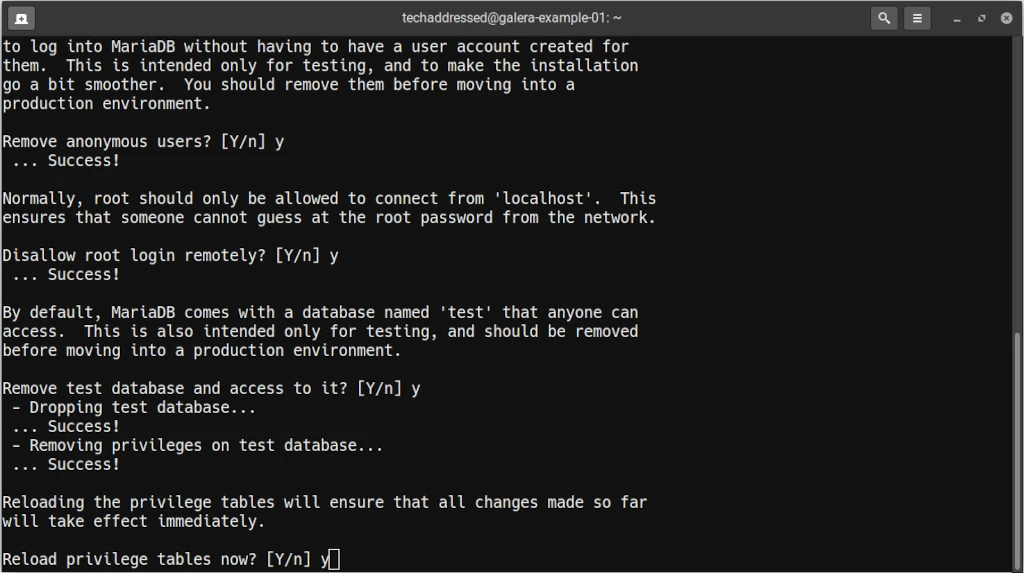
MariaDB includes a test database by default that anyone can access. This database isn’t needed so when asked if you wish to remove it and access to it, answer Y and press ENTER to continue.
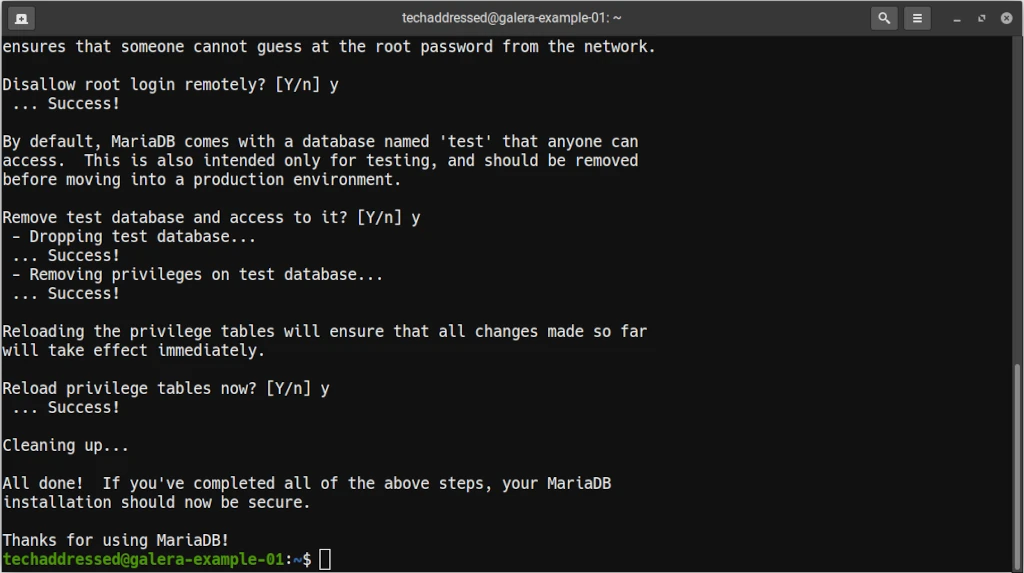
Lastly you’ll be prompted to reload the database privilege tables. Answering yes to this question ensures that any changes we’ve made will be made effective immediately. Type Y and press ENTER to continue.
This concludes the secure installation wizard.
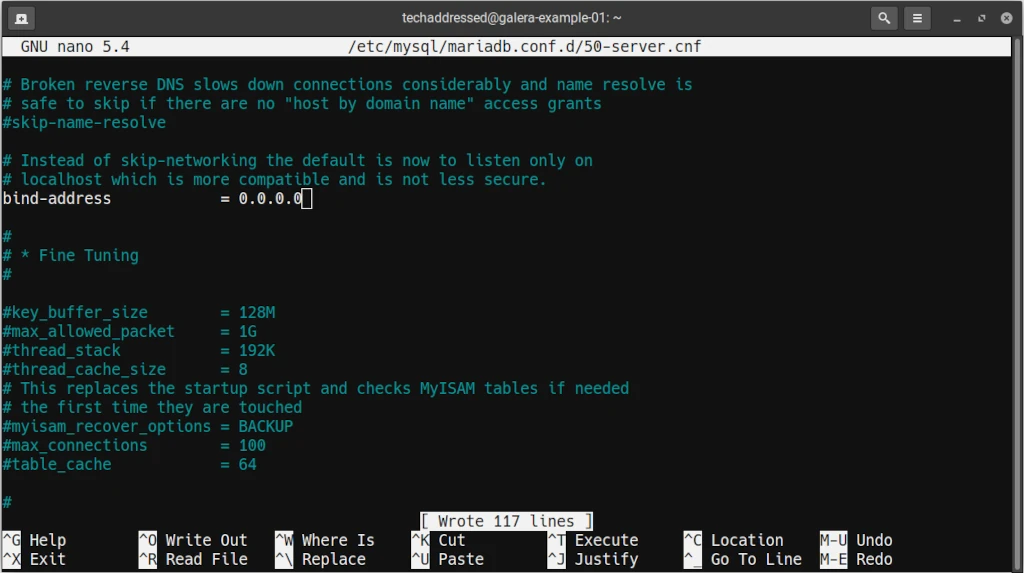
3 – MariaDB Bind Address
In order for MariaDB to allow for connections from other systems, you need to modify it’s BIND ADDRESS.
nano /etc/mysql/mariadb.conf.d/50-server.cnfScroll down to the bind address and replace 127.0.0.1 with 0.0.0.0 to allow MariaDB to listen on all network interfaces. If there’s a specific interface you’d like it to listen to instead of all network interfaces, use that interface’s IP address instead.
4 – Stop MariaDB On All Server Nodes
Next step in this process is to stop the mariadb service on each node so we can apply our Galera cluster configuration.
sudo systemctl stop mariadb5 – Galera Cluster Configuration
On each server node, you need to create a galera.cnf file containing the necessary configuration for the Galera cluster and the specific node you’re configuring. For this tutorial, I’m using the nano editor. If you have a preference for something different that’s fine for you to use it instead.
sudo nano /etc/mysql/conf.d/galera.cnfI’ve provided here a template you can use for your Galera configuration. I’ll go over each of the parts you’ll need to modify.
[mysqld]
binlog_format=ROW
default-storage-engine=innodb
innodb_autoinc_lock_mode=2
bind-address=0.0.0.0

# Provider Configuration
wsrep_on=ON
wsrep_provider=/usr/lib/galera/libgalera_smm.so

# Galera Cluster Configuration
wsrep_cluster_name="ClusterName"
wsrep_cluster_address="gcomm://FirstNodeIP,SecondNodeIP,ThirdNodeIP"

# Synchronization Configuration
wsrep_sst_method=rsync

# Node Configuration
wsrep_node_address="NodeIP"
wsrep_node_name="NodeName"
Once you’ve finished with setting up the configuration file in nano, press CTRL + X to exit and answer Y when prompted to save the changes.
Configuration Items
As you setup your Galera cluster, the items I have listed under the comment Galera Cluster Configuration will be identical on each node. The values under the comment Node Configuration, however, must be changed for each individual cluster node in order for things to function properly.
ClusterName
Here you’re going to provide your Galera cluster with a name that will identify it from other clusters you might have running. This name can be anything you choose – though it’s best to use something descriptive.
Say, for example, you’re setting up your Galera cluster as part of a Kubernetes deployment, you might name it KubeCluster. Or maybe you’re setting up a high availability WordPress stack. In that case, you might name it something like WordPressDBCluster.
For this tutorial, I’ll use the name ExampleCluster.
FirstNodeIP / SecondNodeIP / ThirdNodeIP
These values correspond with the IP addresses of each node that’s a member of this Galera cluster. As I mentioned earlier in this tutorial, you’ll need a minimum of three nodes and for quorum purposes you should always use an odd number of nodes.
NodeIP
Replace this with the IP address of the specific node you’re configuring. If I were configuring the first node from my example, I’d use the IP 172.16.11.201.
NodeName
Replace this with the name of the specific node you’re configuring. Again, if I were configuring the first node from my example, I’d use galera-example-01.
Completed Config Example
Putting everything together – the screenshot, below, shows the final configuration for my first node.
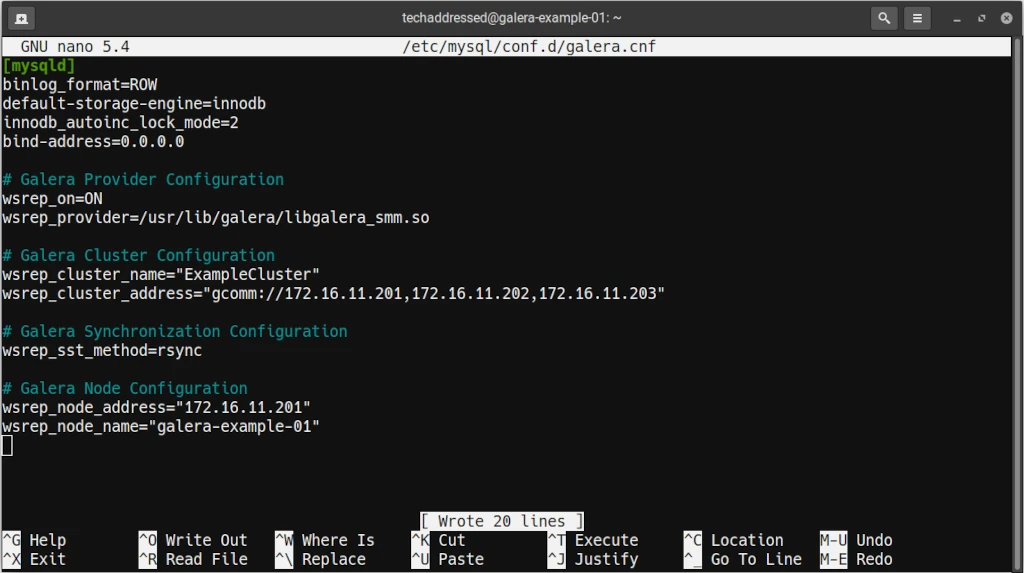
As I’ve indicated, make sure you modify the node specific values for each of your nodes. Once you’ve got each node’s configuration file in place, you’re ready to proceed.
6 – Firewall Configuration
As I mentioned under the package installation step, every server should have a firewall configured. Let’s begin with telling ufw what ports we need to open up on each node of the Galera cluster.
sudo ufw allow 3306,4567,4568,4444/tcp
sudo ufw allow 4567/udp
If you’re connecting to your server via SSH and you haven’t already configured ufw to allow access, you’ll need to be sure to allow for this as well. The default SSH port is 22 unless you’ve modified it to use a non-standard port … and if you have, you probably know already what you’re doing here.
sudo ufw allow 22/tcpNext, you’ll need to ensure that the firewall is enabled.
sudo ufw enableWith your firewall in place, you’re ready to move on to getting the Galera cluster running.
7 – Create A New Galera Cluster
On your first node, you’ll need to tell the system to create a new Galera cluster.
sudo galera_new_clusterNot only will this create the new Galera cluster, but this command will also enable the MariaDB service on the node.
8 – Start The Remaining Nodes
On the remaining nodes you’ll need to start the MariaDB service manually.
sudo systemctl start mariadbYou can check that the service has started properly with this command:
sudo systemctl status mariadbYour Galera cluster should be up and running at this point. It’s a smart idea, however, to check everything to be certain there aren’t any problems. We’ll cover this with the last two steps in this tutorial.
9 – Testing
There are two tests to run to confirm that the cluster is working properly.
Check Galera Cluster Size
First, we can check that every node has joined the Galera cluster with this command on any node:
mysql -u root -p -e "SHOW STATUS LIKE 'wsrep_cluster_size'"If your Galera cluster is meant to have 3 total nodes, you should get a result back of 3. You should get this same result from each node.
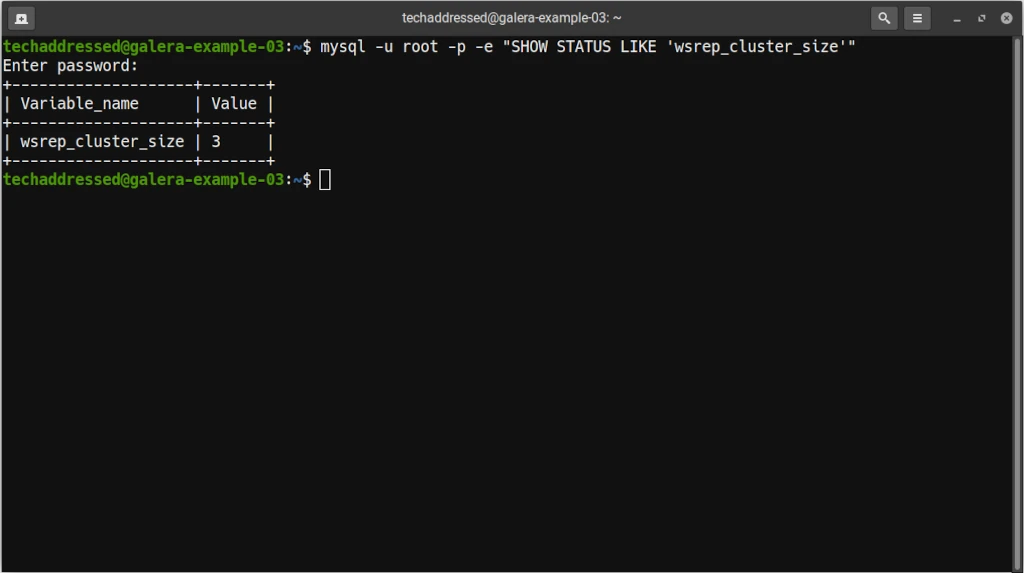
If the result is anything less than 3, you’ll need to troubleshoot each node’s configuration and make sure that MariaDB has started.
Replication Test
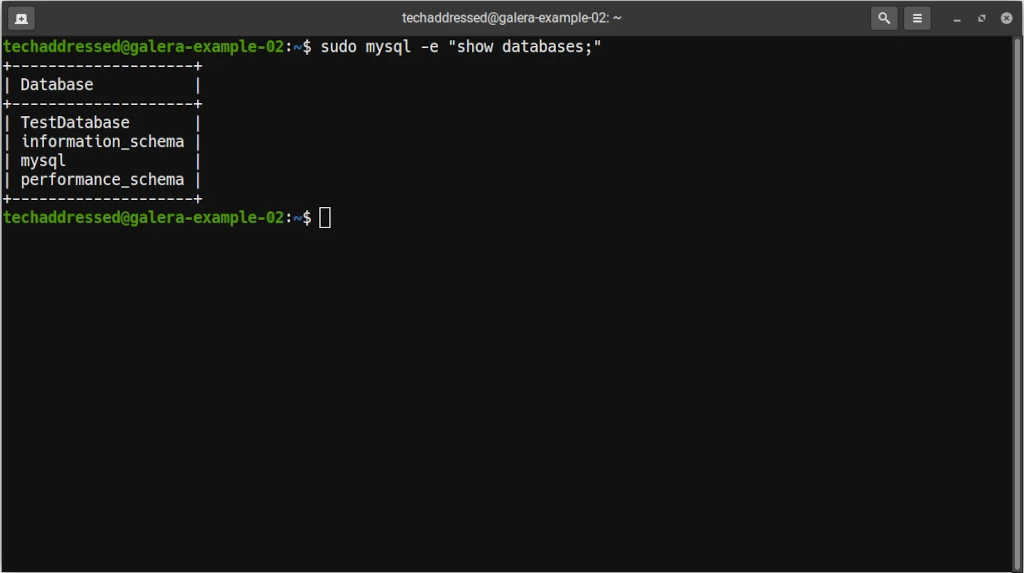
The last test we’ll perform to make sure everything is functioning properly is a simple replication test by creating a test database on one of the nodes.
sudo mysql -e "create database TestDatabase;"If you go to a different node and bring up a list of the databases in MariaDB, that test database should show up on the different node.
sudo mysql -e "show databases;"For my example TestDatabase, the results looked like this.
Once you’ve verified that replication is working, you can delete the test database with this command:
sudo mysql -e "drop database TestDatabase;"Conclusion
Congrats on your new Galera cluster! I’m curious to know, what kind of application is your new high availability MariaDB setup going to be used for? Sound off in the comments below!
If you found this tutorial helpful and would like to support our efforts to create additional resources like this, please consider making a donation. Your support is greatly appreciated!
As always, if you have questions regarding this tutorial I encourage you to ask in the comments. I’m always willing to help explain something better if needed. If you found this tutorial helpful, I encourage you to please share it with others. Thanks for reading and I hope you visit again soon!


Hello, I am a Korean high school student. There was an error in what ChatGPT GPT-4 told me, but techaddressed works well without an error. It was very helpful to configure the MariaDB HA cluster on the i7-13700K home server.
Thanks for this explanation. Which Address am i using in my Client Configurations then to make sure that they have Access to their databases in case one or two nodes fail? Or do i Need a sql loadbalancer too?
You’ll likely need some form of load balancing or fail-over setup depending on your use case. I’ve had situations where I haven’t needed one but it was a very niche setup.