This tutorial covers how to configure a Gitea instance on TrueNAS Scale with SSH functioning properly for server communication. As of the time I’m writing this tutorial, there are problems with getting SSH working when deploying Gitea using the TrueCharts catalog. I’ll update this tutorial when I’ve worked out how to resolve the SSH related issues with the TrueCharts install.
Before We Begin
A few quick things to note.
- Important elements in the screenshots of this tutorial have been highlighted to make them easier to locate.
- This tutorial assumes that you already have a working TrueNAS Scale server. We won’t be making use of the TrueCharts catalog for this tutorial, however, it’s recommended that you ensure your networking settings are configured properly.
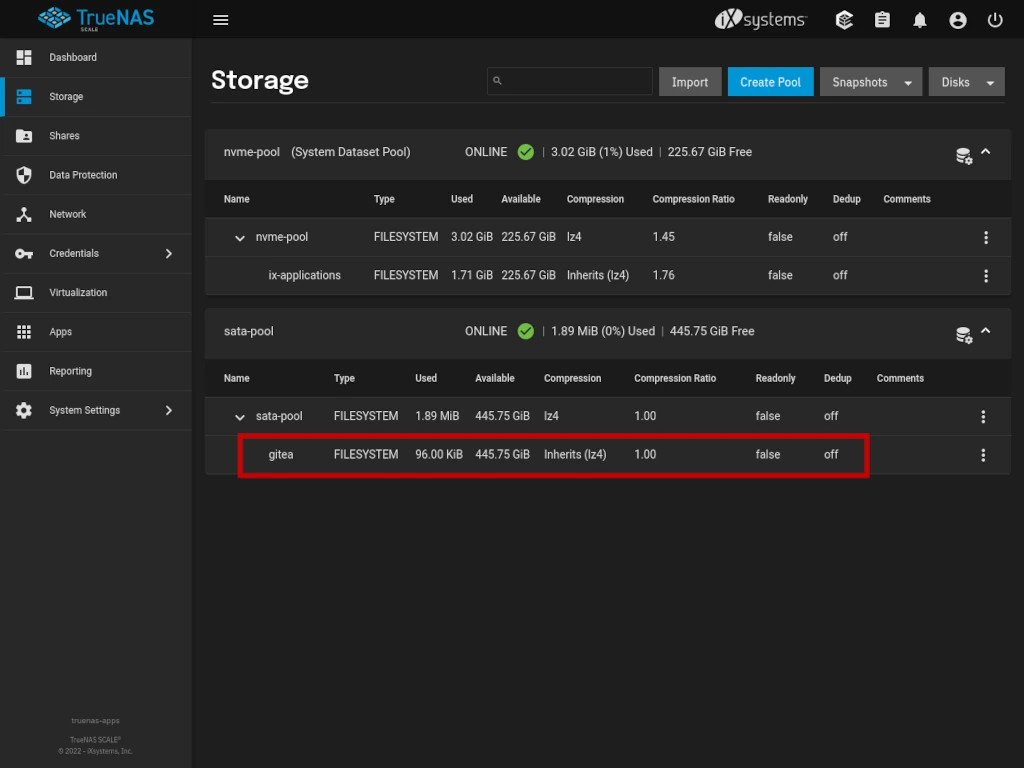
Create A Data Storage Location
Before you can create a Gitea container on your TrueNAS Scale server, you first need to create a dataset to hold it’s data. You can put it on any pool your like and name it whatever you like so long as you know where it is you’re storing your data.
You can see in my screenshot, below, that I’ve named my dataset gitea.
Docker Image Wizard
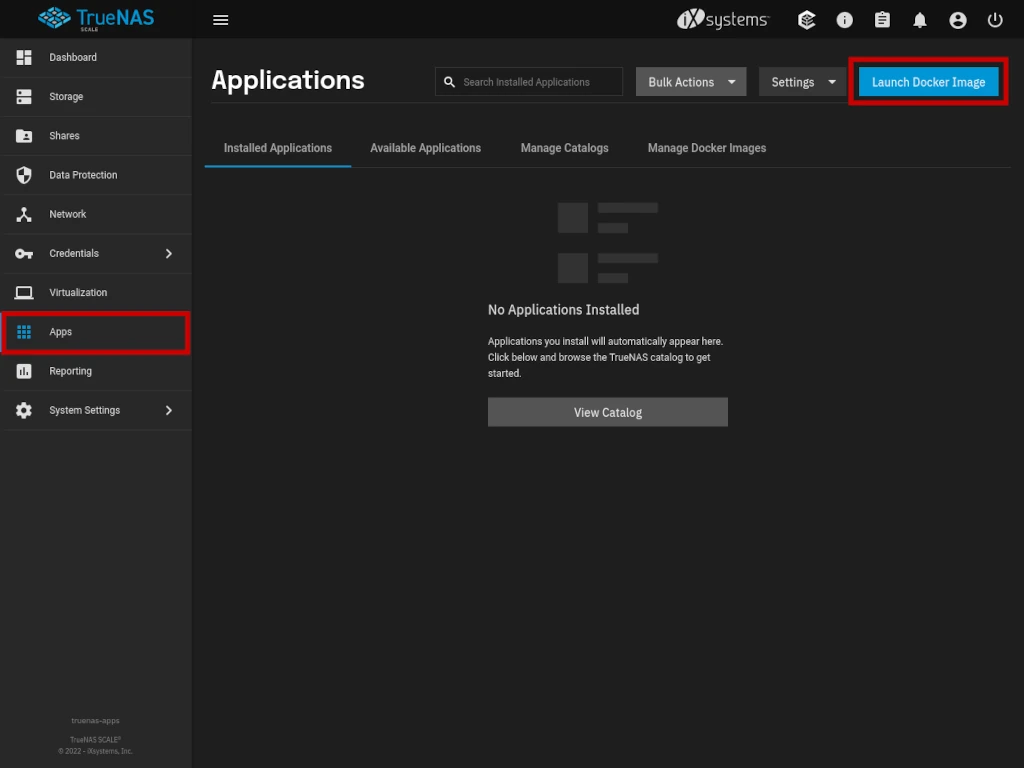
Starting off inside TrueNAS, go to the APPLICATIONS DASHBOARD by clicking APPS in the left side navigation. Then, from the dashboard click the blue LAUNCH DOCKER IMAGE button.
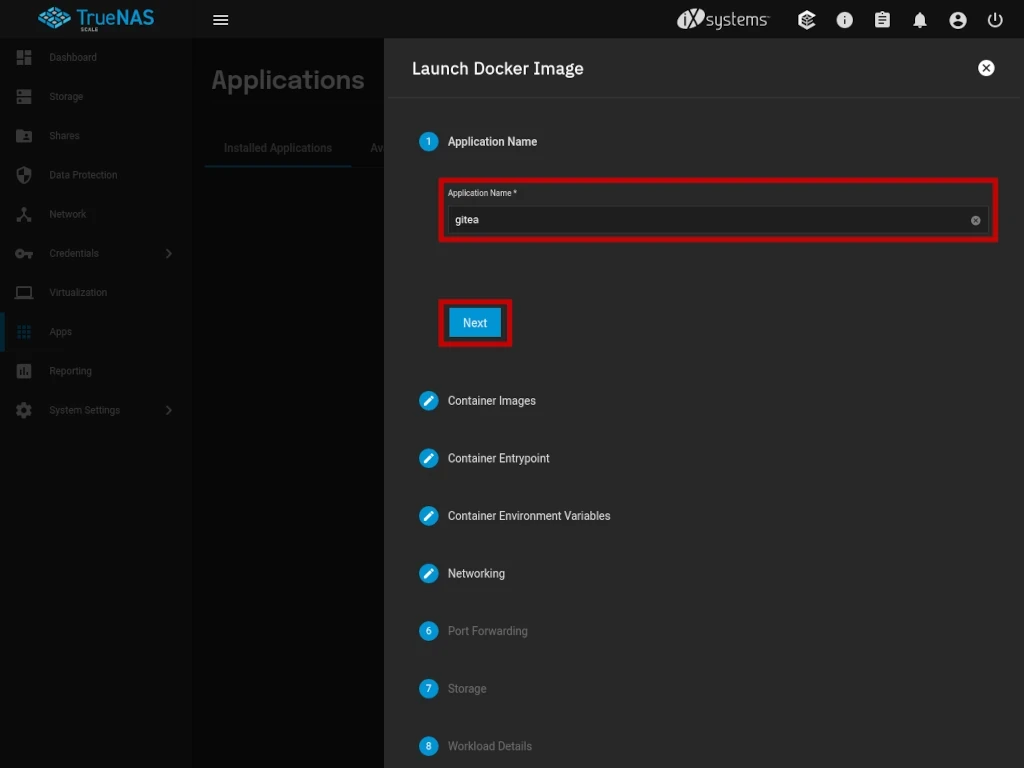
Application Name
Enter a name for your application – I’ve chosen gitea. Click the NEXT button to continue.
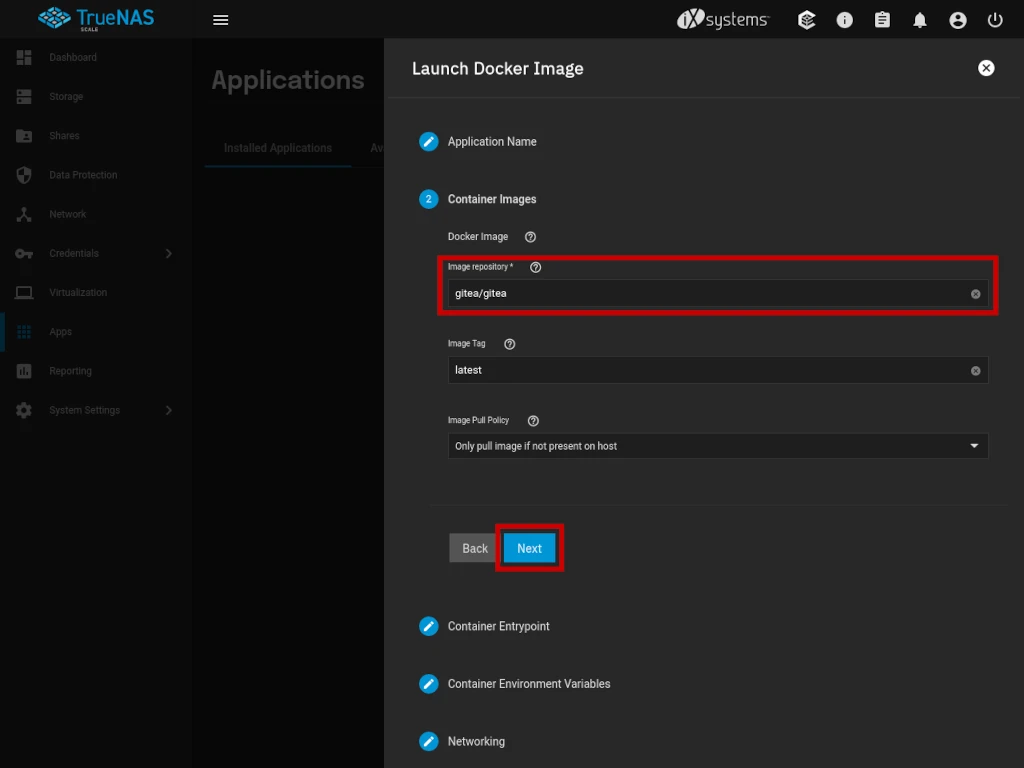
Container Images
In the field labeled Image repository enter gitea/gitea. Click the NEXT button to continue.
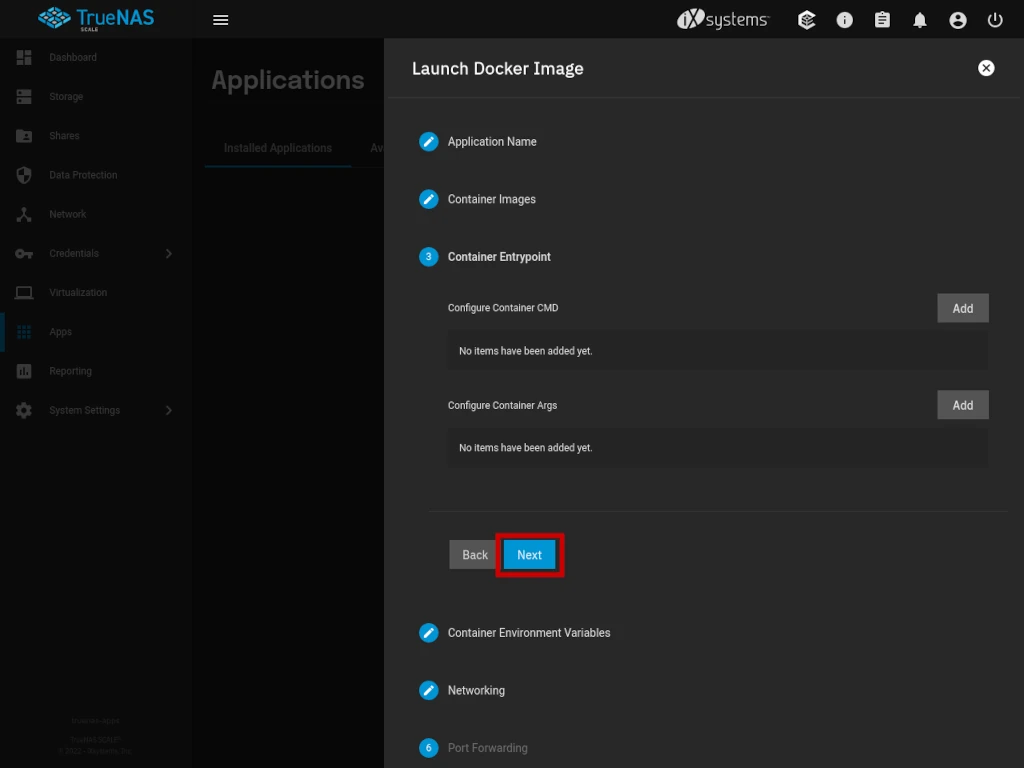
Container Entrypoint
Click the NEXT button to continue.
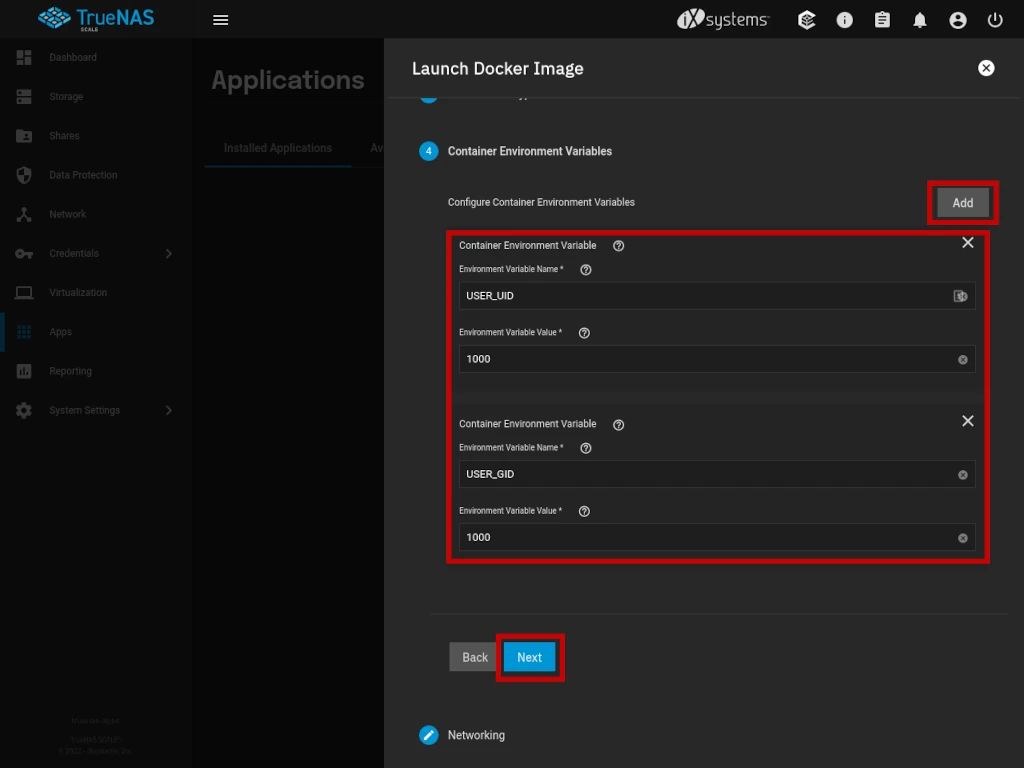
Container Environment Variables
Here we need to create two environment variables for our Gitea container. Click the ADD button twice. Name your environment variables USER_UID and USER_GID and give each a value of 1000. Click the NEXT button to continue.
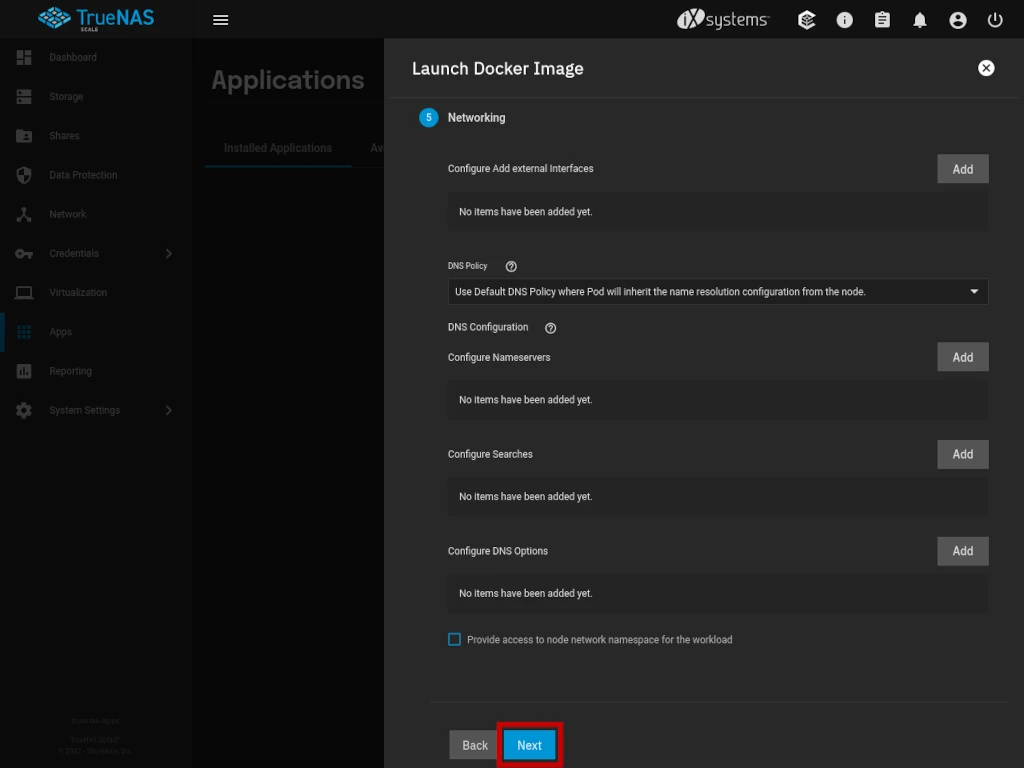
Networking
Click the NEXT button to continue.
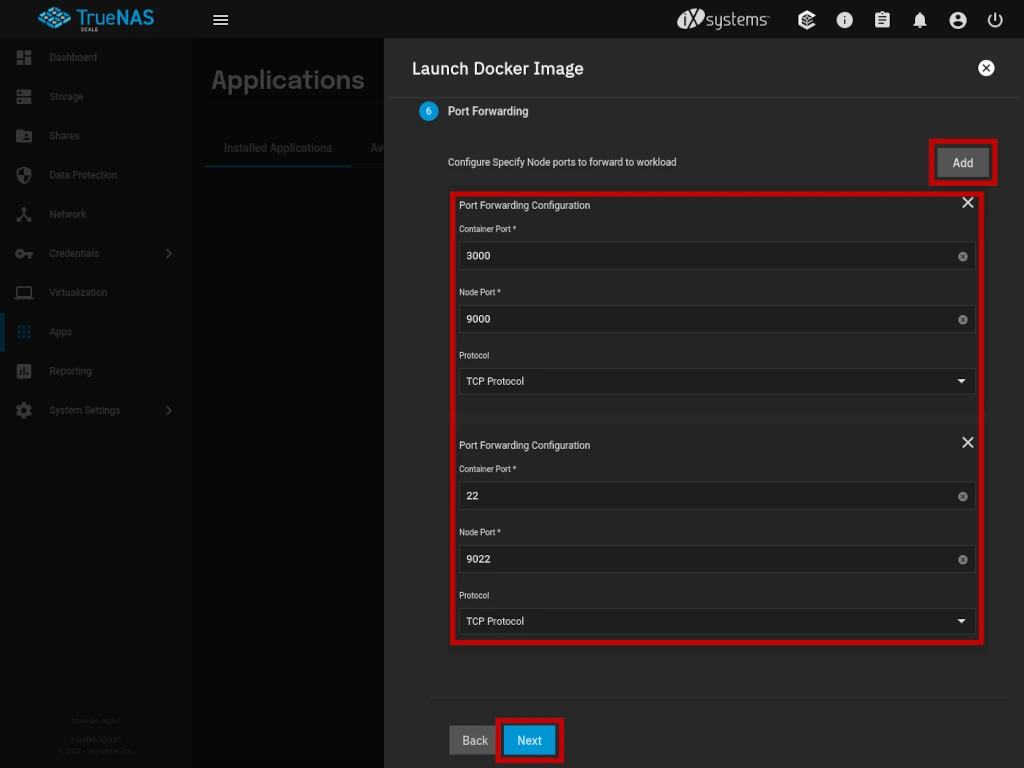
Port Forwarding Configuration
Gitea uses two ports internally that need forwarded – 3000 for HTTP and 22 for SSH. Click the ADD button twice.
For the first port forward, enter 3000 as the CONTAINER PORT then choose a NODE PORT value of 9000 or higher to use as the external port that you’ll use to access Gitea. I’ve chosen port 9000.
For the second port, enter 22 as the CONTAINER PORT then choose a NODE PORT value of 9000 or higher for SSH. I’ve chosen port 9022.
Click the NEXT button to continue.
Storage
Next you need to specify where your Gitea data will be stored. Click the ADD button that corresponds to HOST PATH VOLUMES. Find the dataset you created at the beginning of this tutorial then enter /data as the MOUNT PATH.
Click the NEXT button to continue.

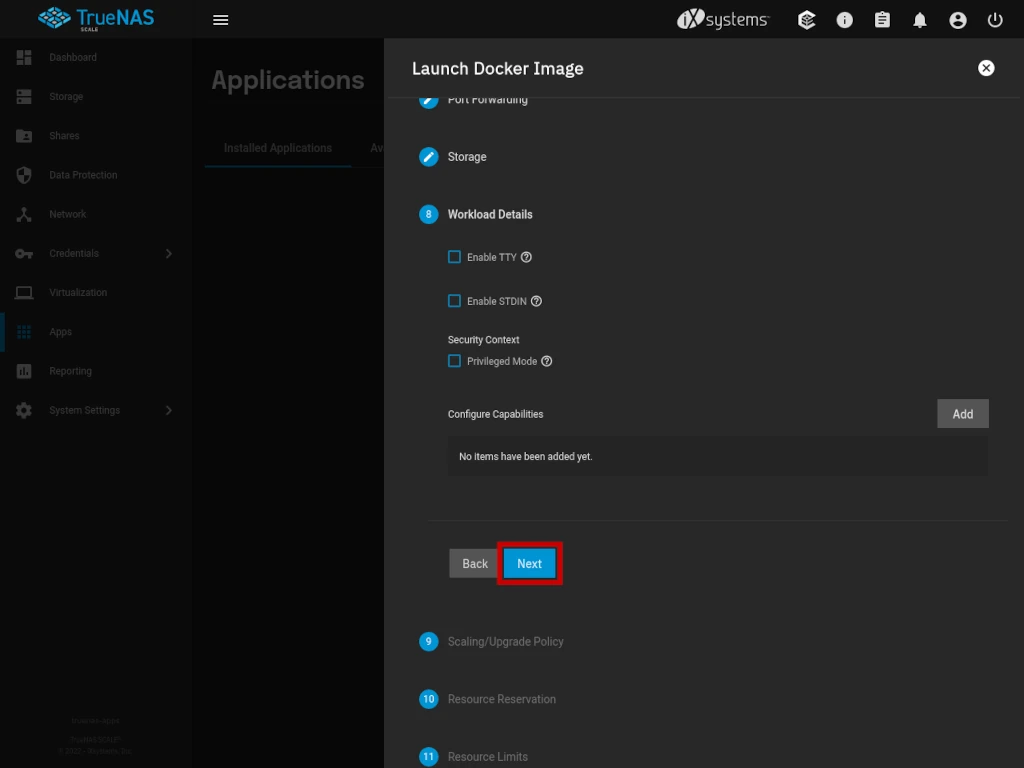
Workload Details
Click the NEXT button to continue.
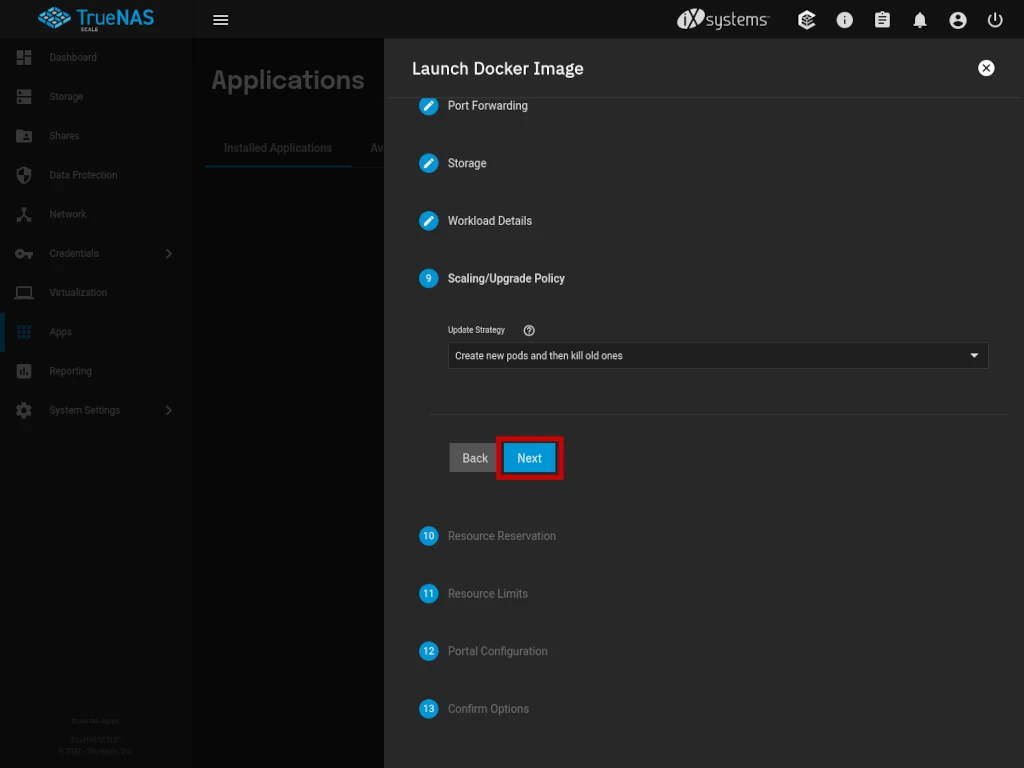
Scaling/Upgrade Policy
Click the NEXT button to continue.
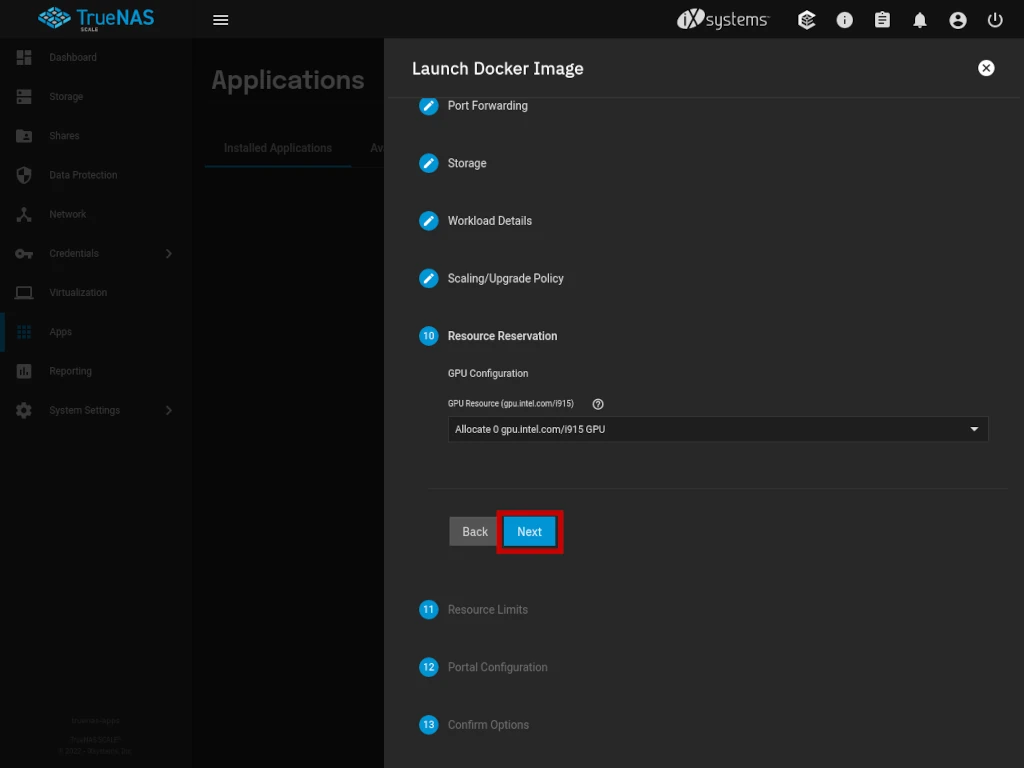
Resource Reservation
Click the NEXT button to continue.
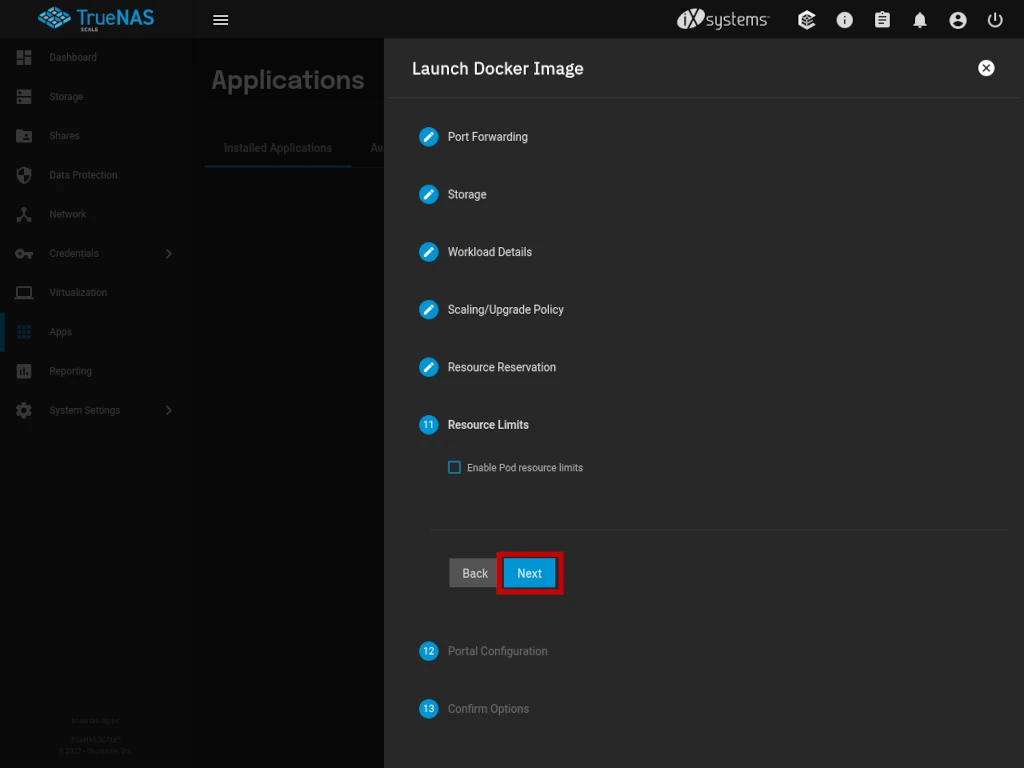
Resource Limits
Click the NEXT button to continue.
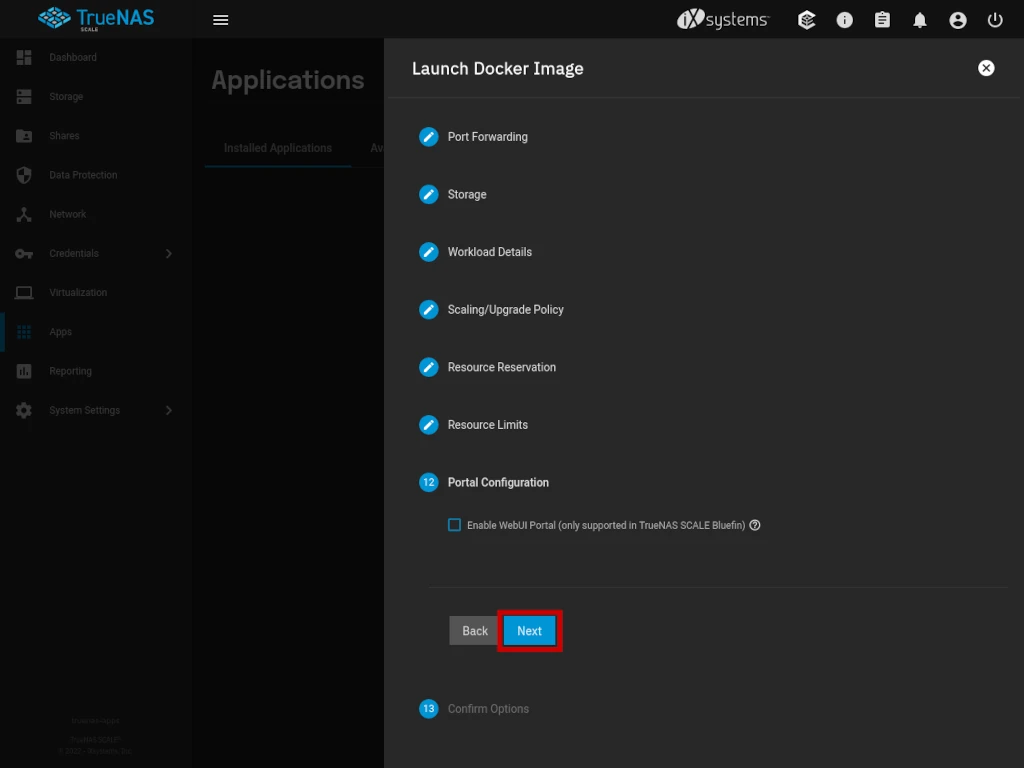
Portal Configuration
Click the NEXT button to continue.
Confirm Options
Click the SAVE button to create and start your Gitea container.

Once TrueNAS Scale has retrieved the container image from Docker Hub, the running application will appear like this on the APPLICATIONS DASHBOARD. You’re ready now to complete the setup via the Gitea Initial Configuration wizard.

Gitea Initial Configuration
To access your Gitea server, open a browser to the IP address of your TrueNAS Scale server and the port you specified. For example, on my test system the URL for my Gitea server is http://172.16.10.21:9000/.
When the page loads you’ll be presented with an INITIAL CONFIGURATION WIZARD. Skip past the DATABASE SETTINGS and go right to the GENERAL SETTINGS. I’ve highlighted the settings you either need to modify or should consider modifying.
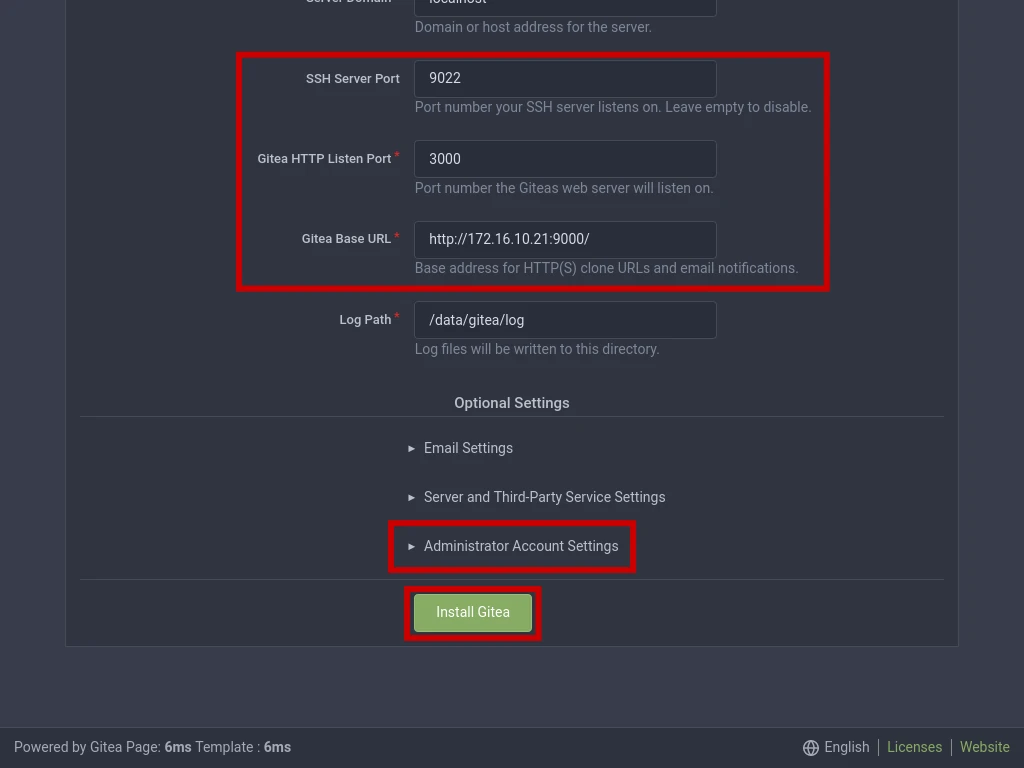
Start by setting the SITE TITLE to whatever you’d like your Gitea site’s title to be. Next, change the server domain to be your TrueNAS Scale server’s IP address. For my example I’ve entered 172.16.10.21.

Next, modify the SSH SERVER PORT to match the external port you specified earlier. For my example I’ve entered 9022. Be sure the GITEA HTTP LISTEN PORT to set to 3000 as this corresponds to the internal port that Gitea uses. Now modify the GITEA BASE URL replacing localhost with your server’s IP address and the external port you specified earlier in the tutorial. For this example, I’ve entered https://172.16.10.21:9000/.
Under the heading OPTIONAL SETTINGS you can specify SMTP email server settings if you want your Gitea server to be able to send mail via a SMTP account you own. There are additional settings you should review under SERVER AND THIRD-PARTY SERVICE SETTINGS – such as being able to disable self registration for new accounts.
While the other optional settings are absolutely optional, I highly recommend you make sure to create an ADMINISTRATOR ACCOUNT at this time using the provided fields.
Once you’ve completed the wizard click the green INSTALL GITEA button.
Possible Error After Initial Configuration
After you’ve completed the initial configuration, the page will attempt to reload and you might experience an error when it does. If this happens, DON’T PANIC. Try loading the root URL itself without any directories and it should load fine.
Adding SSH Keys To Gitea
Once you’ve logged into the system, you can add your own SSH certificate to your account to allow for this method of accessing your repositories. If you need help with how to accomplish this, I have created a brief tutorial that shows you how this is done.
Conclusion
Congrats! You should now have a working Gitea instance on your TrueNAS Scale server. If you found this tutorial helpful and would like to support our efforts to create additional resources like this, please consider making a donation. Your support is greatly appreciated!
If you can’t make a donation, please consider sharing this tutorial with others who may be interested. If you have questions about anything regarding this tutorial, please be sure to leave them in the comments below. Thanks for reading, and I hope you visit again soon!

Hey, great article. I’m a complete beginner at TrueNAS application hosting and this has been really good information. Unfortunately, it seems out of date. I am running TrueNAS Scale v22.12.4.2 and unsurprisingly the interface and options are quite different – gitea container is up to v1.20.5_1.0.20. I’m stuck and can’t find any beginner friendly documentation to explain the process and configuration items. I was wondering if you would consider updating this article.
It’s on my always growing to-do list. I’ll try to get to it soon.